

WP Travel Engine – Blocks, Patterns & Templates
Design your trip pages by dragging and dropping ready-made sections into place. No coding needed. Set up page templates, customize your trip layout, and add review sections.
Build your trip pages by clicking and dragging ready-made sections into place. No coding required. This guide shows you how to turn on the page templates that control how your trips look, customize your individual trip page, and add review sections that travelers can read and fill out.
Turn on the page templates
Starting with WP Travel Engine 5.9.0, your plugin includes ready-made page templates. A template controls how a type of page looks across your whole site. For example, the Single Trip template controls how every individual trip page appears to visitors.
Before this, you had to rely on your theme's built-in layouts. These templates give you direct control over the design instead.
"Full Site Editing" (or FSE) is the WordPress feature that makes this possible. It lets you edit your entire site using blocks. Blocks are ready-made sections like a photo gallery, a price box, or a map. You pick the ones you want, drop them where you want, and arrange them by dragging.
You'll need WP Travel Engine version 5.9.0 or newer, and a WordPress theme that supports Full Site Editing.
Open your Display Settings
This is where you tell WP Travel Engine which templates to use. From the left sidebar of your WordPress dashboard, go to WP Travel Engine > Settings > Miscellaneous > Display Settings.
Turn on the templates
Switch on the FSE template setting. This tells WordPress to use the WP Travel Engine templates for your Single Trip, Trip Archive, and Trip Search Result pages automatically.
Already using a WP Travel Engine theme that supports Full Site Editing, like Travelverse? You can skip this step. The templates are already set up for you.
Connect templates to your Destination and Activity pages
Some pages don't get a template automatically. These include your Destination pages and Activity pages. A "taxonomy" page is WordPress's way of grouping trips by category. Destinations and Activities are the most common ones. You'll need to connect each one to a template by hand:
- Create a new page and give it a title, like "Destinations."
- Open the page in the editor. At the top of the page, click Pages, then Swap Template.
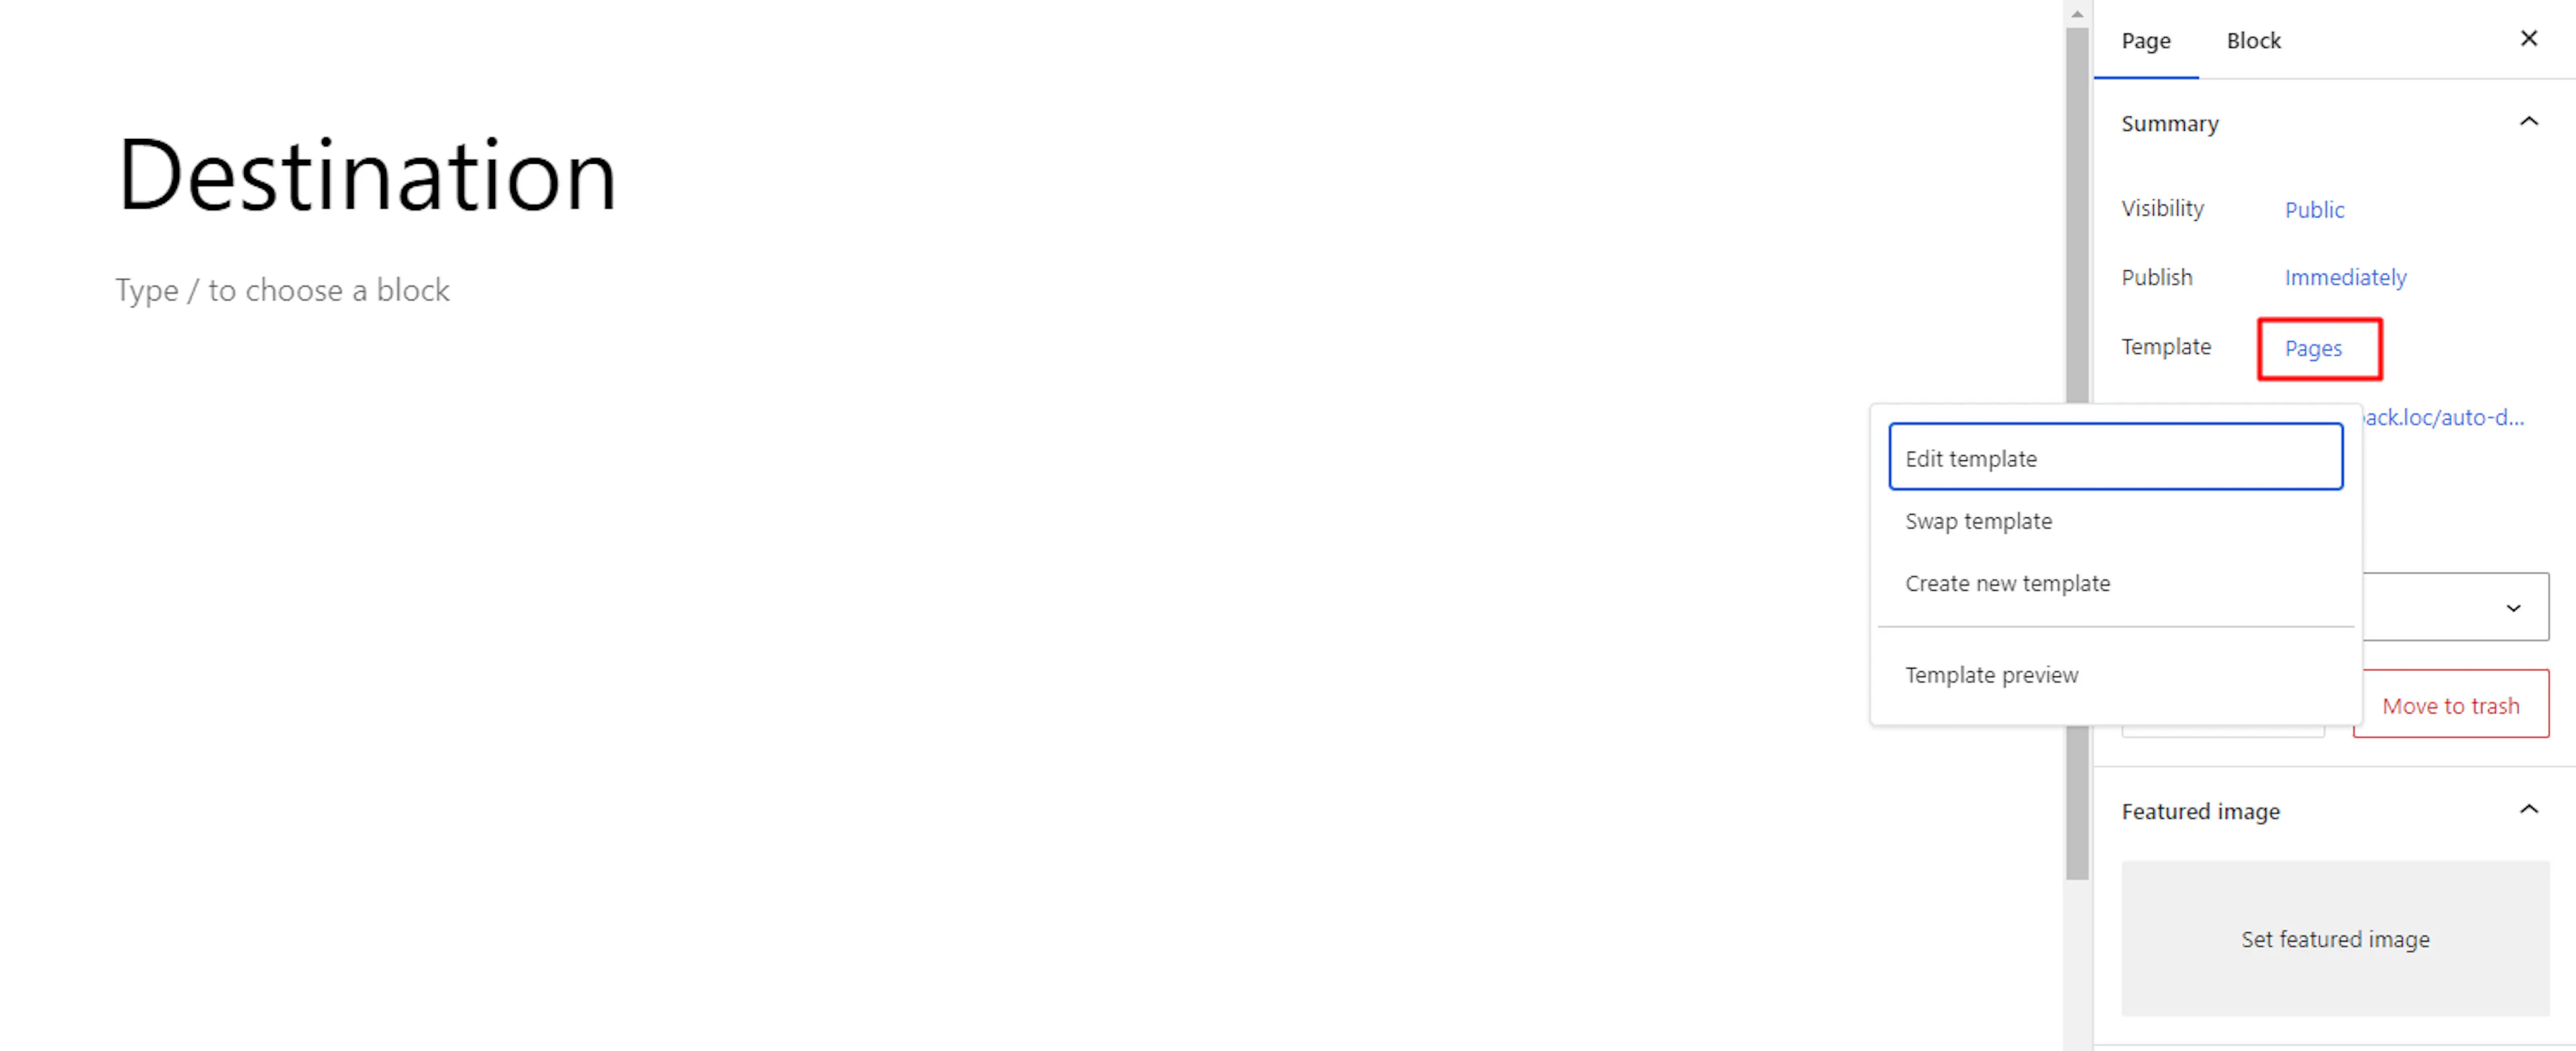
- In the popup that appears, pick the WP Travel Engine template you want to use.
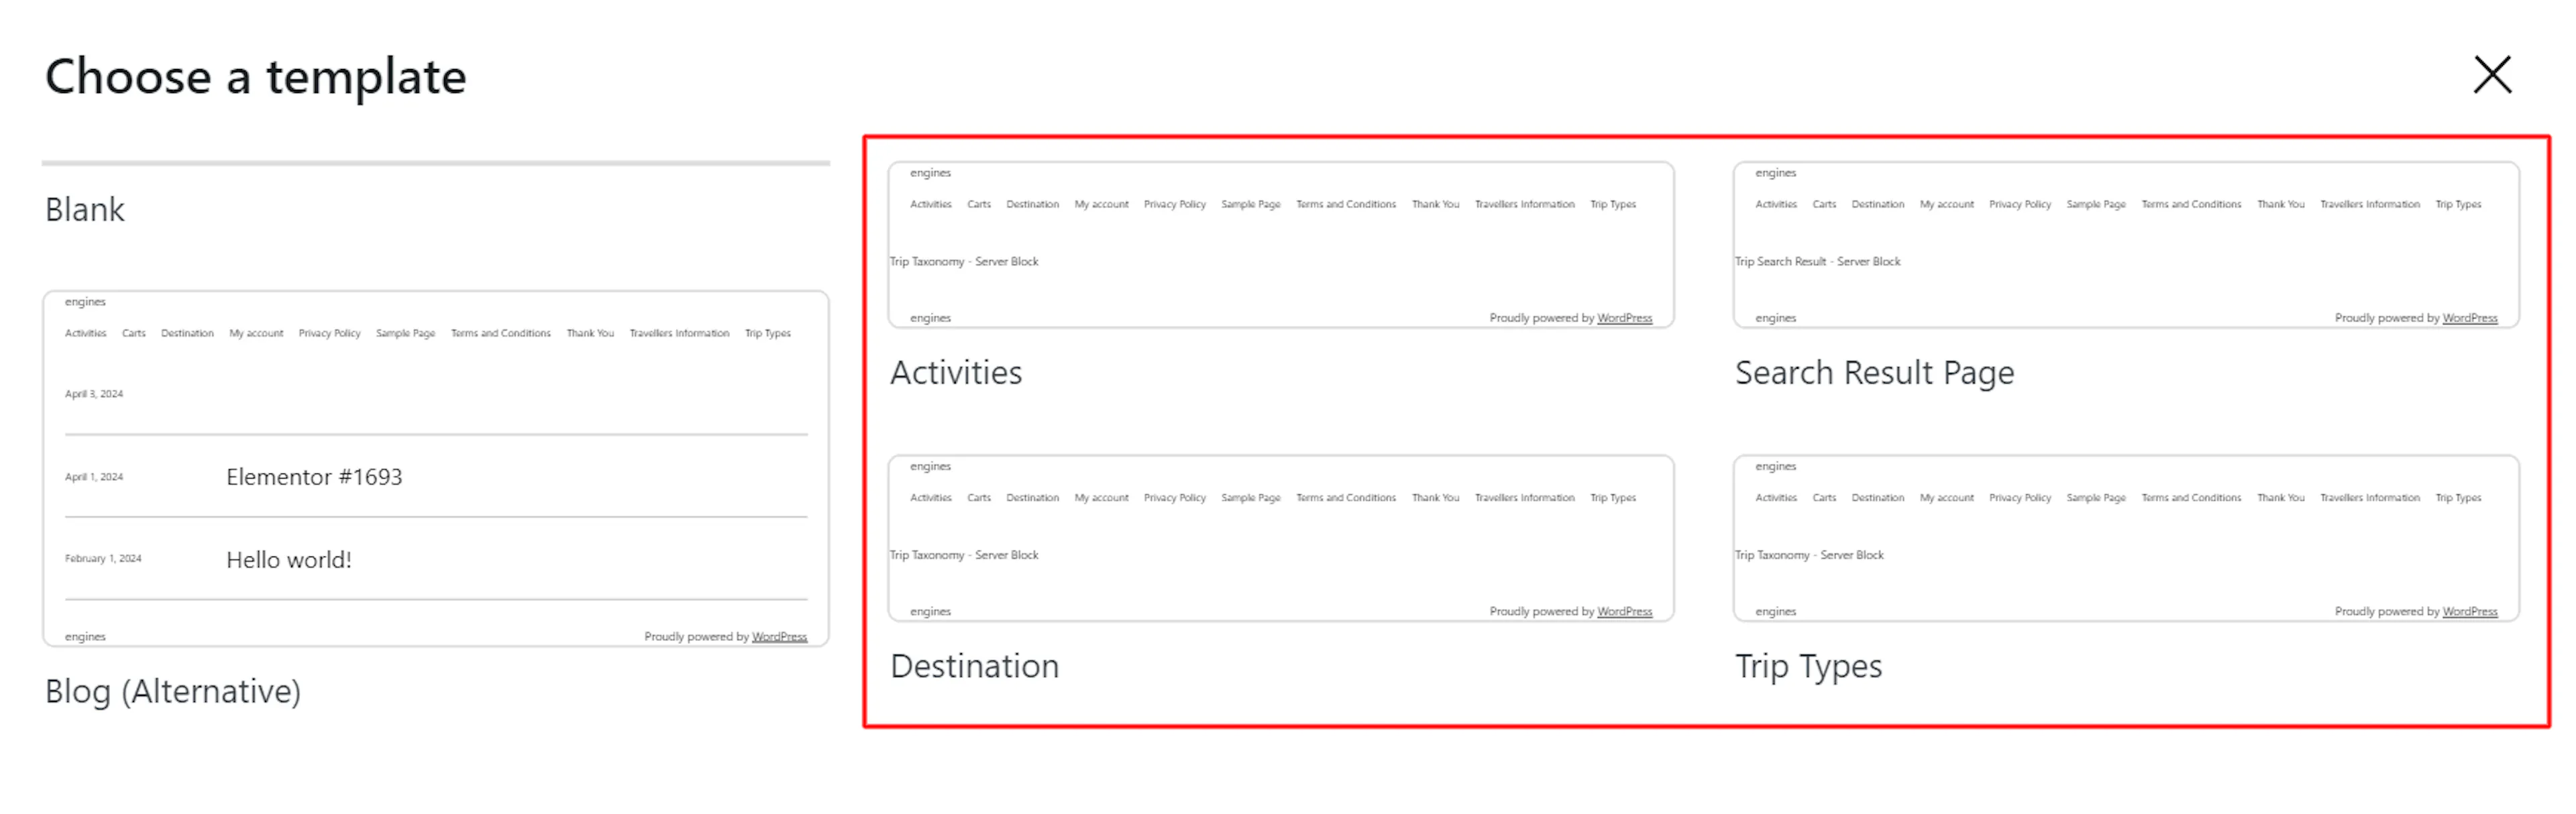
- Click to confirm your choice.
You only need to do this once per page. After that, the template stays connected.
That's the setup done. Now you can move on to customizing how your individual trip pages look.
Customize your Single Trip page
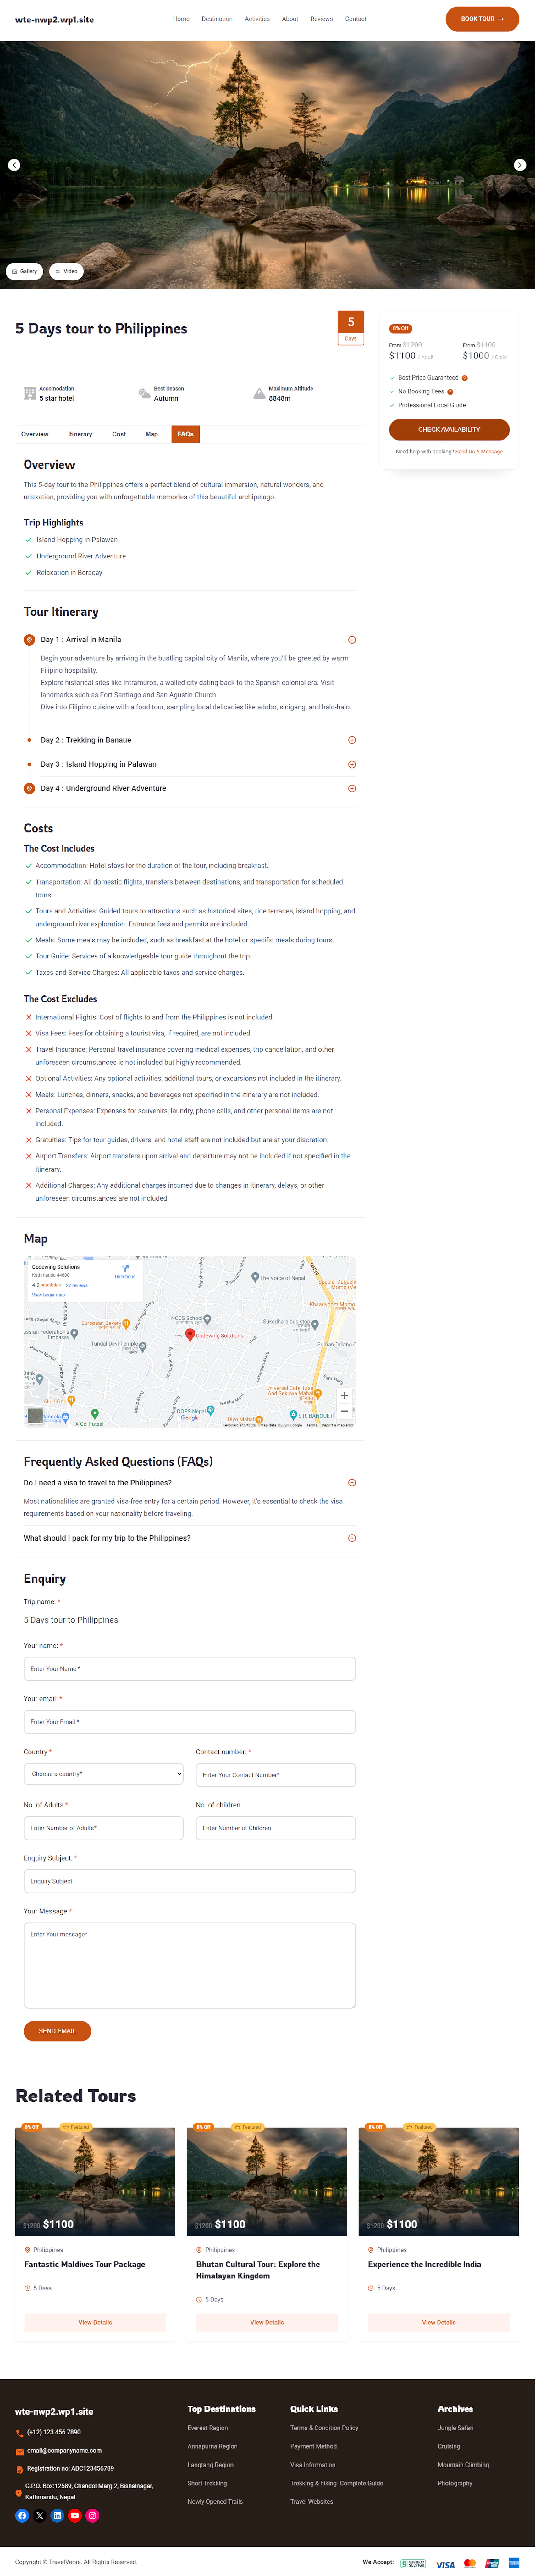
The Single Trip template controls how every individual trip page looks on your site. You set it up once, and it applies to all your trips. So if you want trip photos at the top and the booking button right below them, this is where you arrange that.
Right now, WP Travel Engine gives you flexible blocks only for the Single Trip template. You won't need to touch any other template.
You'll need the page templates turned on first. If you haven't done that yet, follow the steps in the section above.
Open the Site Editor
The Site Editor is WordPress's tool for editing your page templates and overall site design. From your WordPress dashboard, look for Editor in the left sidebar and click it.
Go to Templates
In the Site Editor's sidebar (the panel on the left), click Templates. This shows you all the page templates available on your site.
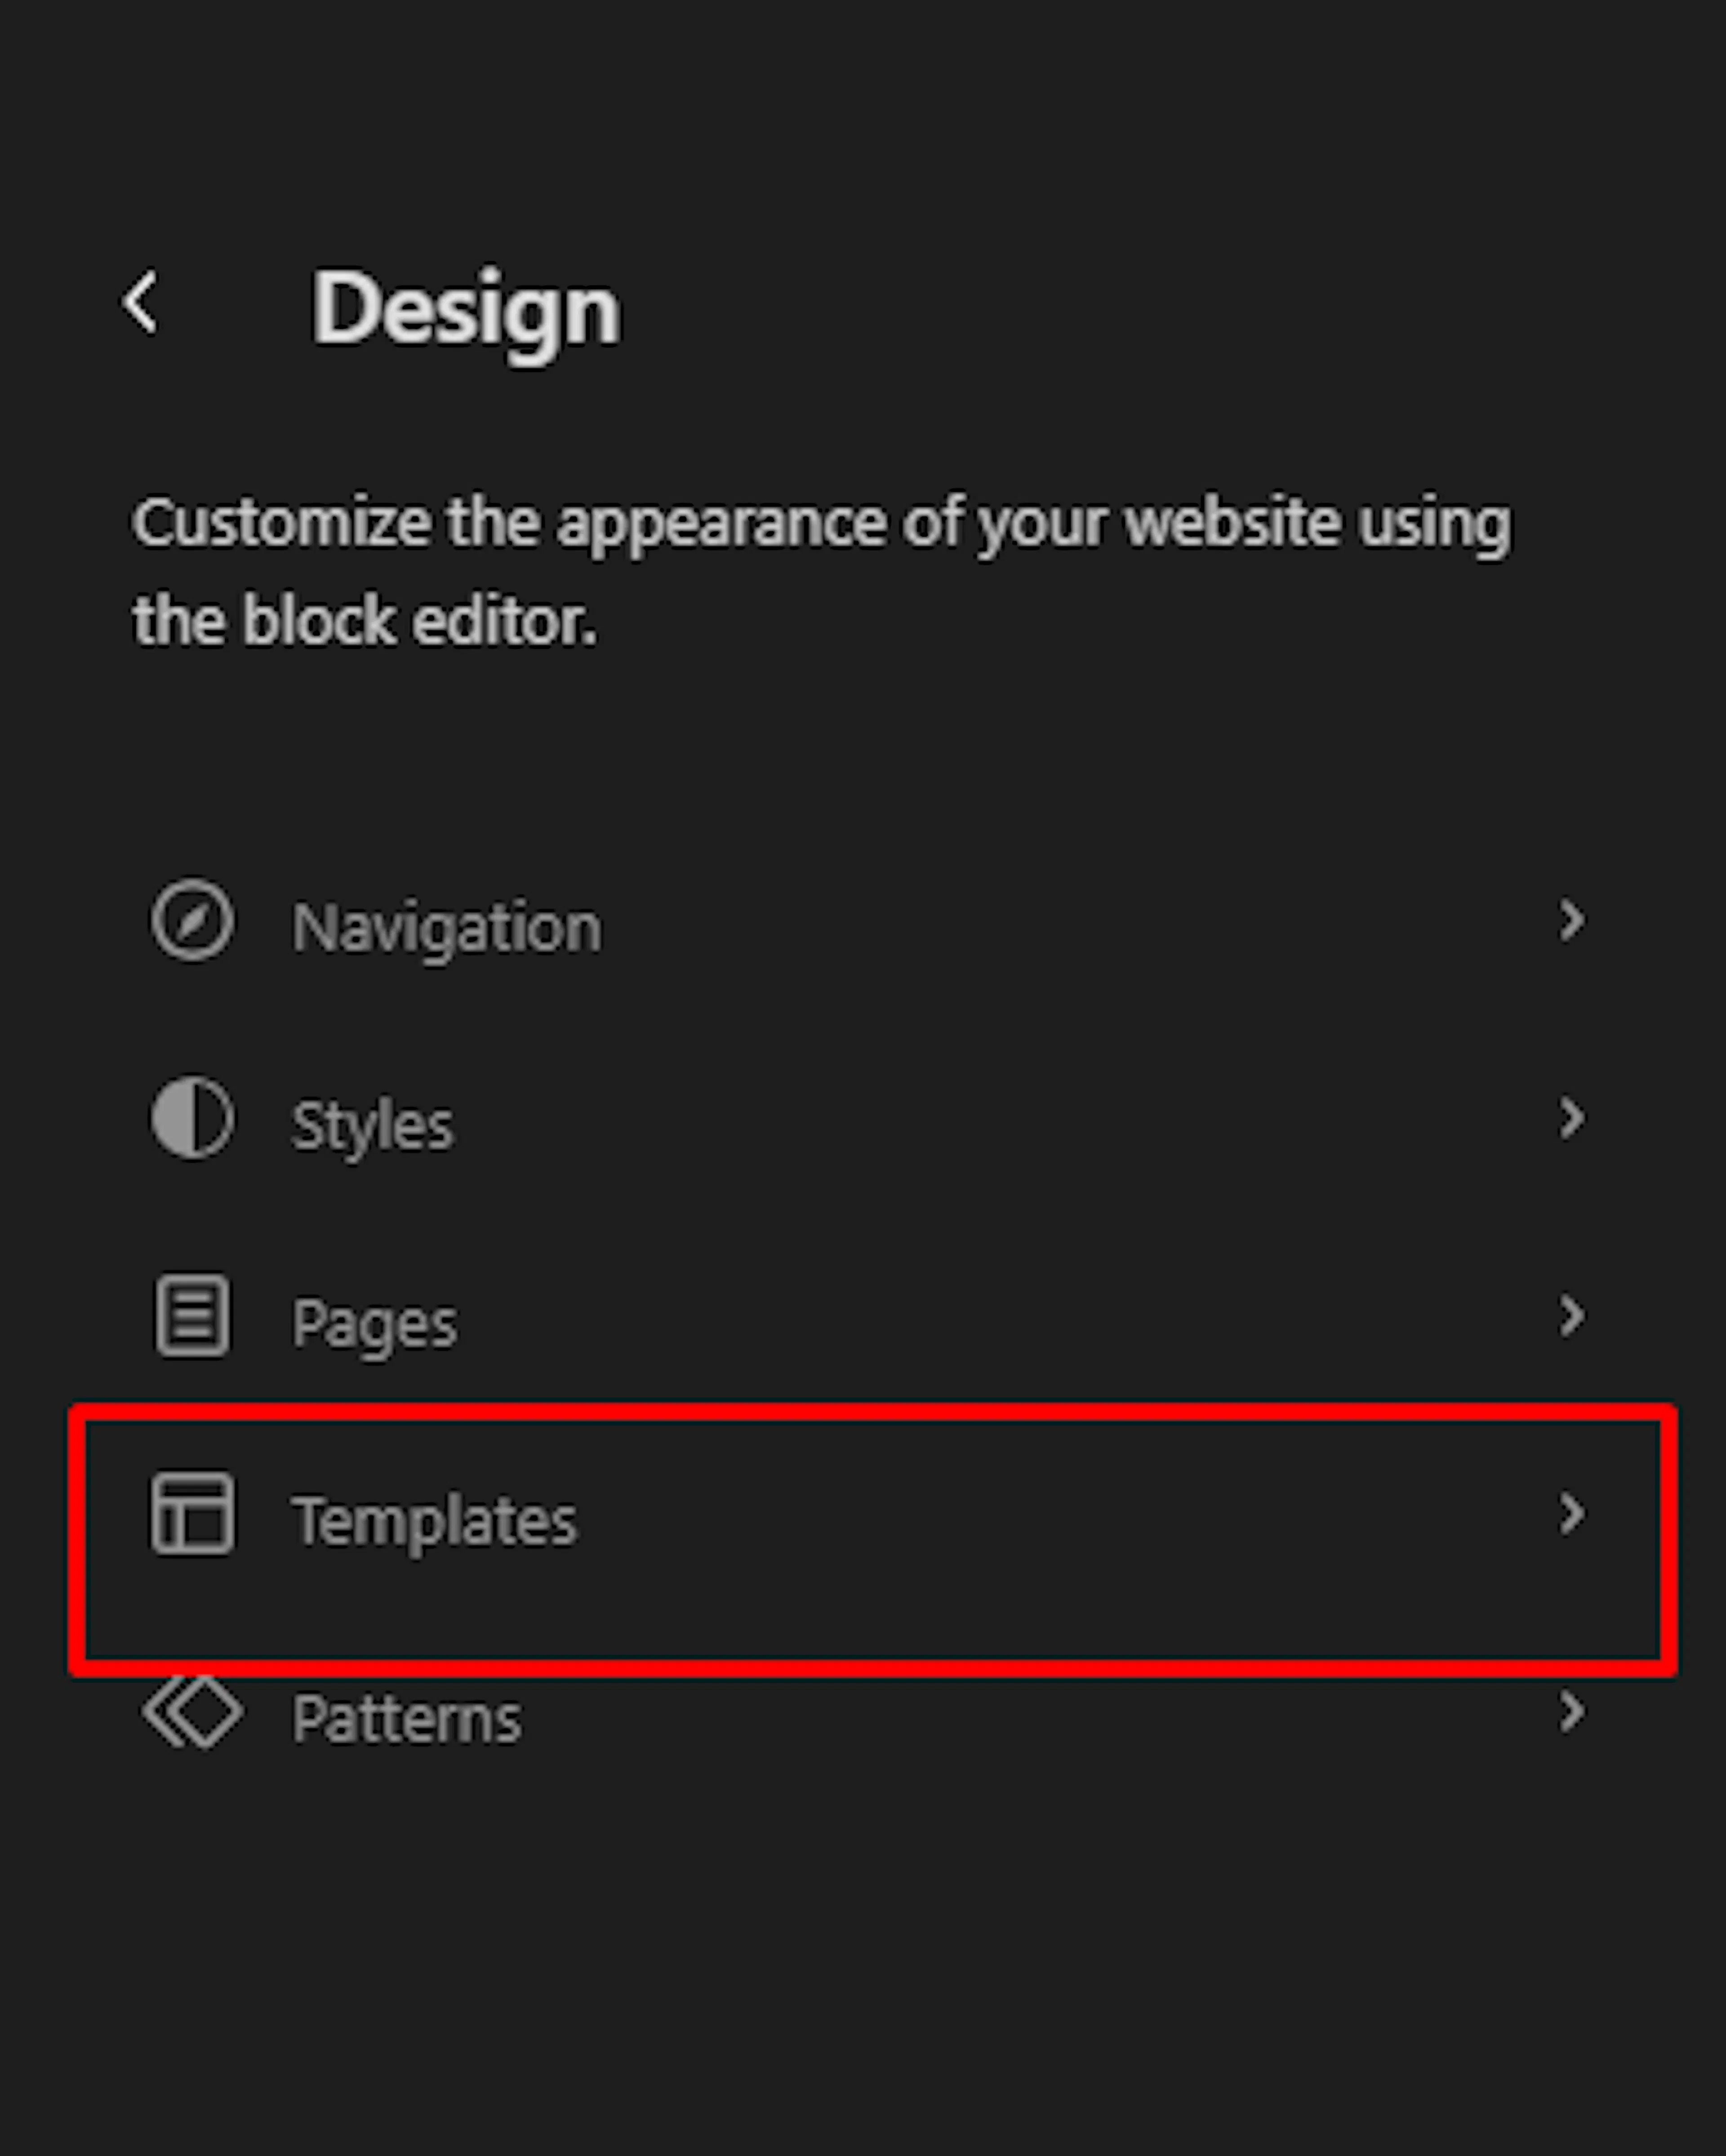
FSE template
You will then see a list of FSE templates provided by WP Travel Engine.
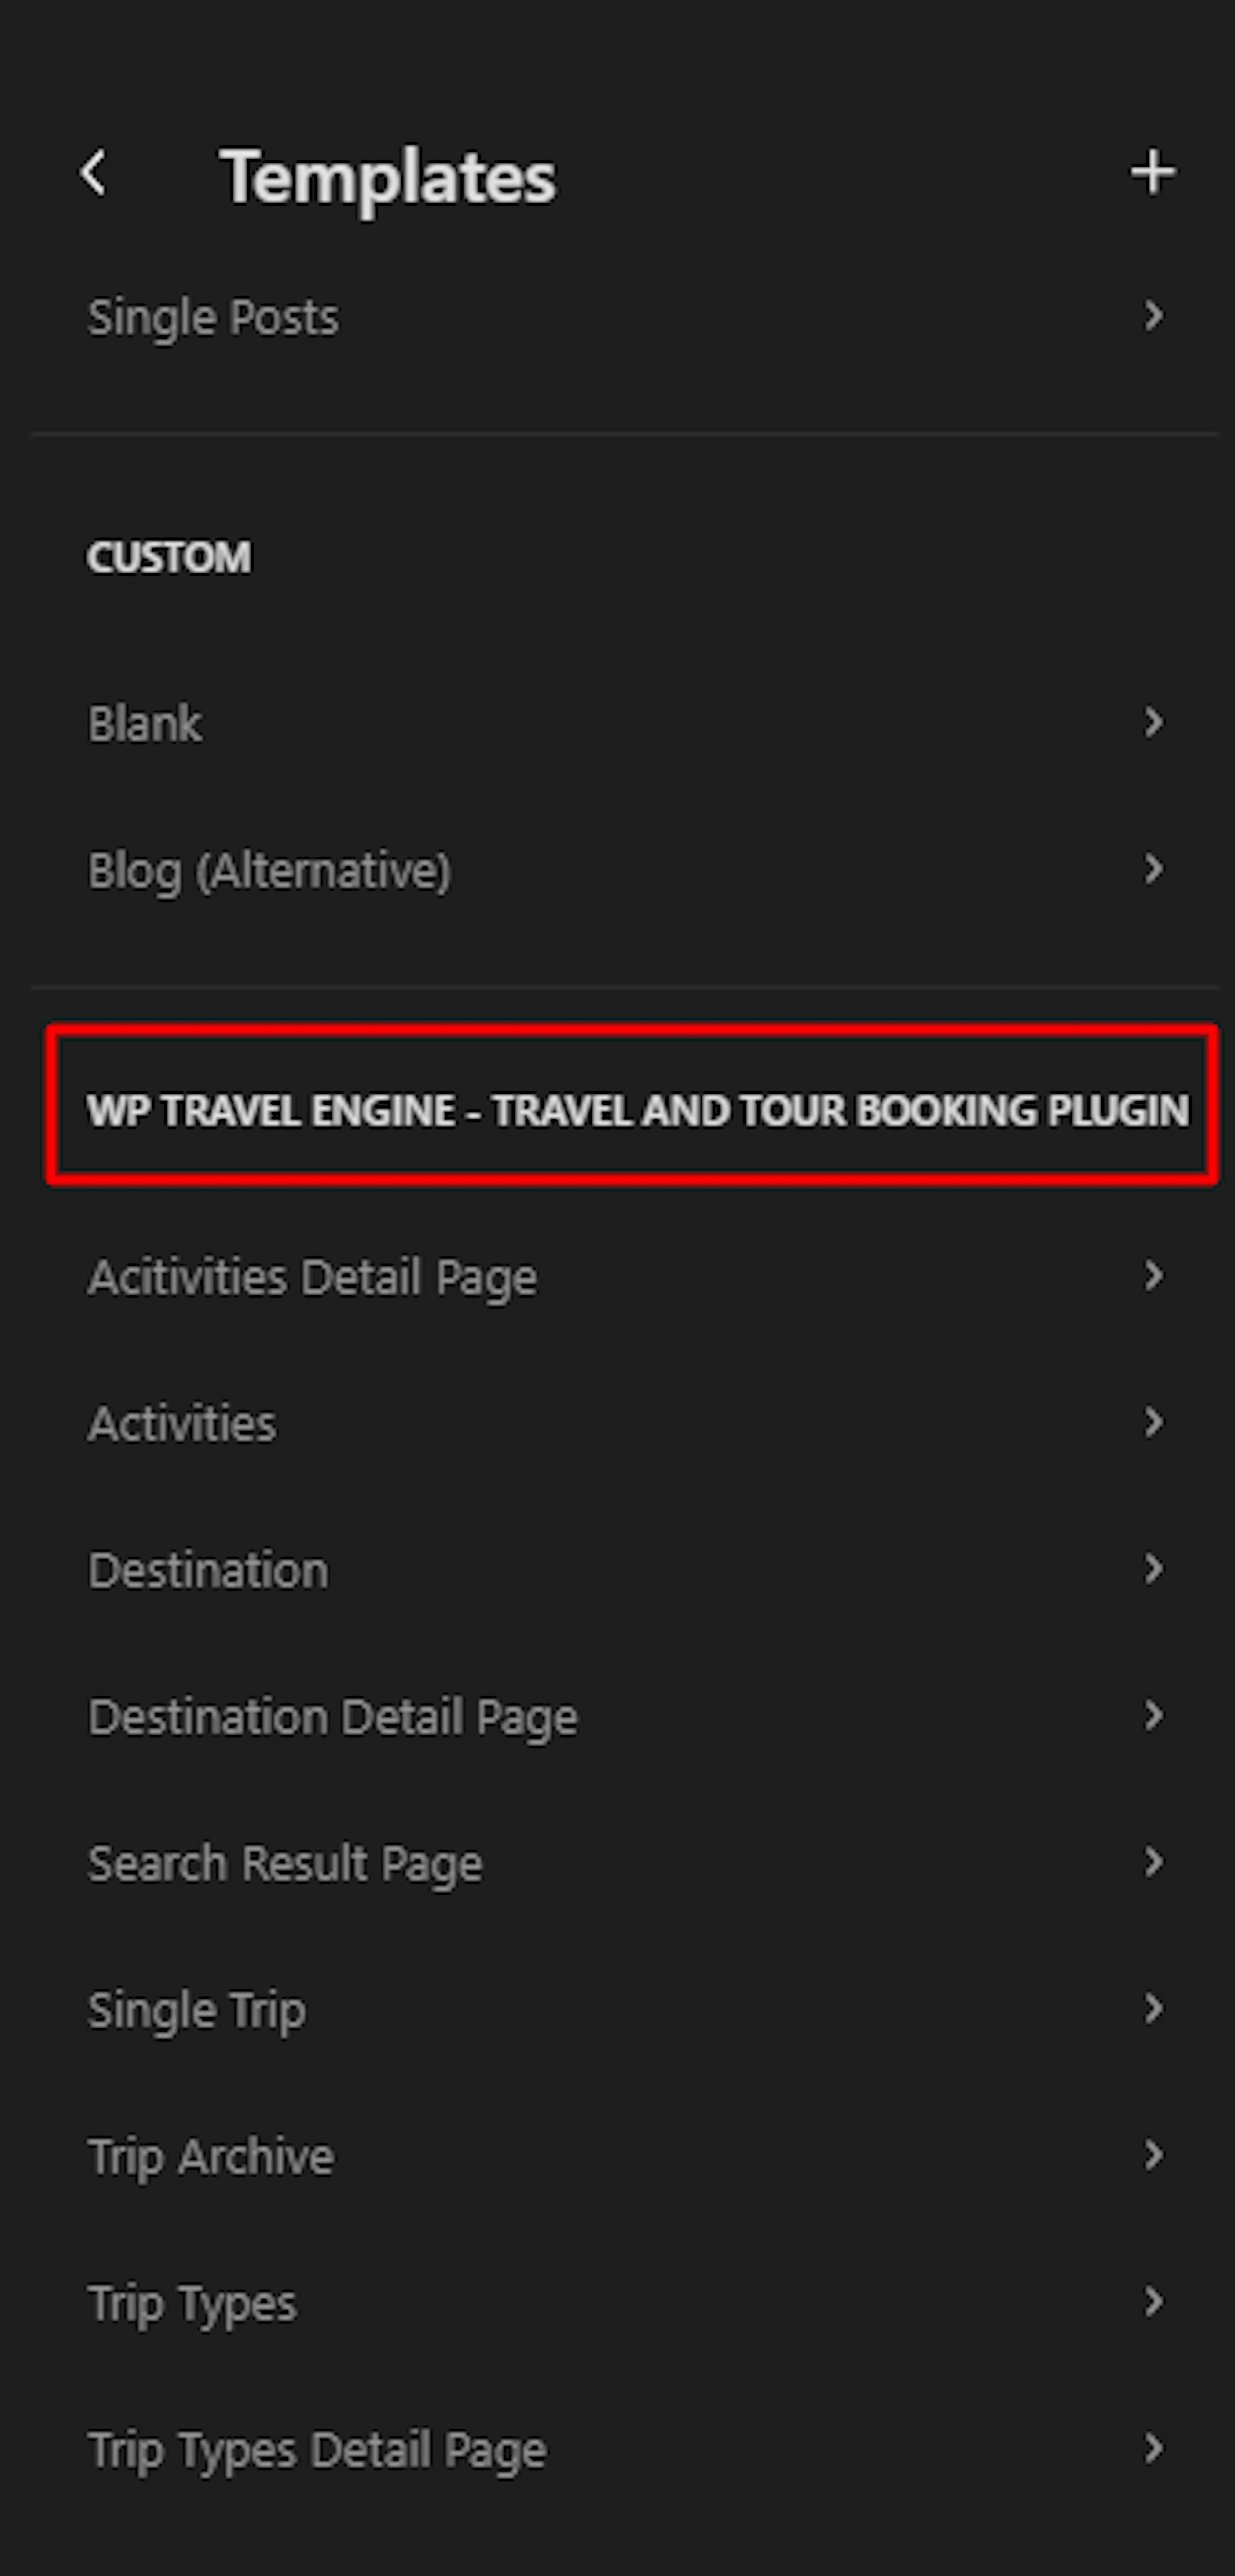
Open the Single Trip template
You'll see a list of templates that WP Travel Engine provides. Find and click the one called Single Trip.
Make it yours
The template loads with sample content so you can see how it looks. Click any block to change its color, spacing, font, and other style options. Everything you change here applies to all your trip pages at once.
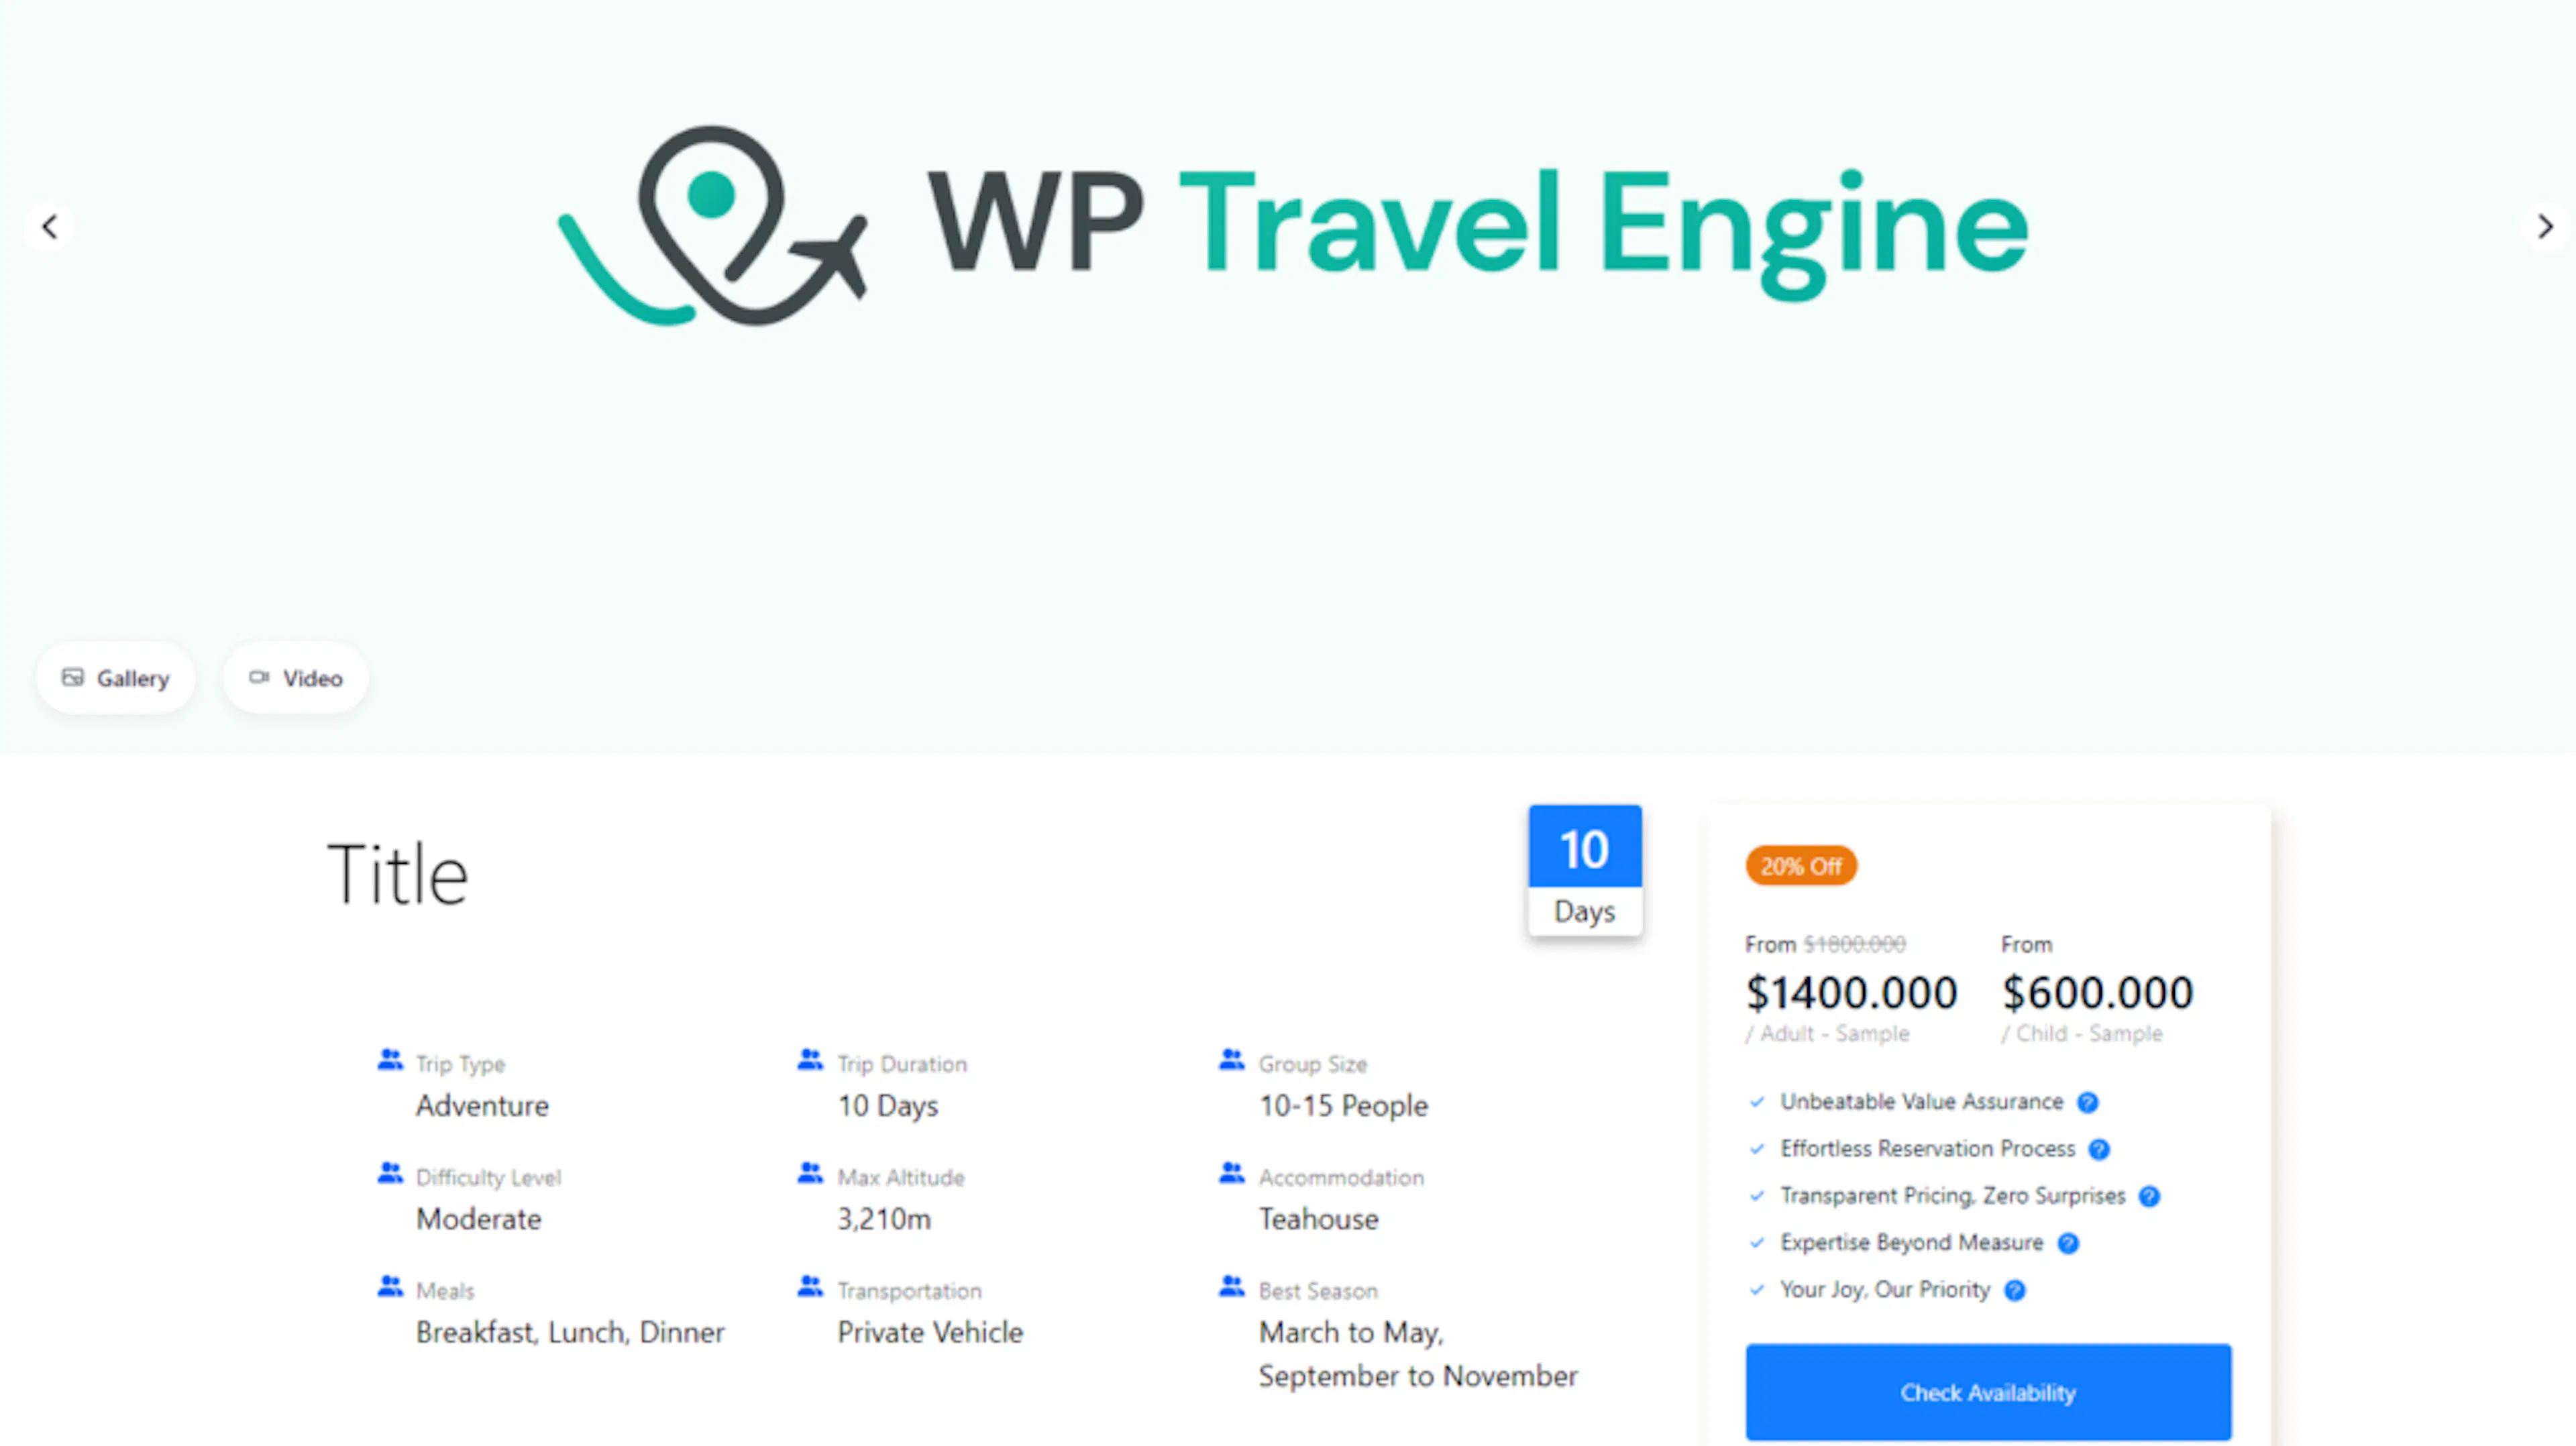
The sample content only appears in the editor. To see your real trip content in this layout, open any trip page on your live site.
Don't worry about getting everything perfect on the first try. You can come back and adjust the template any time, and your changes will show up across all your trips.
Blocks you can use on your trip page
Each block below is a ready-made section you can add, move, or restyle on your Single Trip template. Think of them like building blocks. You pick the ones that make sense for your trips and arrange them however you like.
Trip Booking block
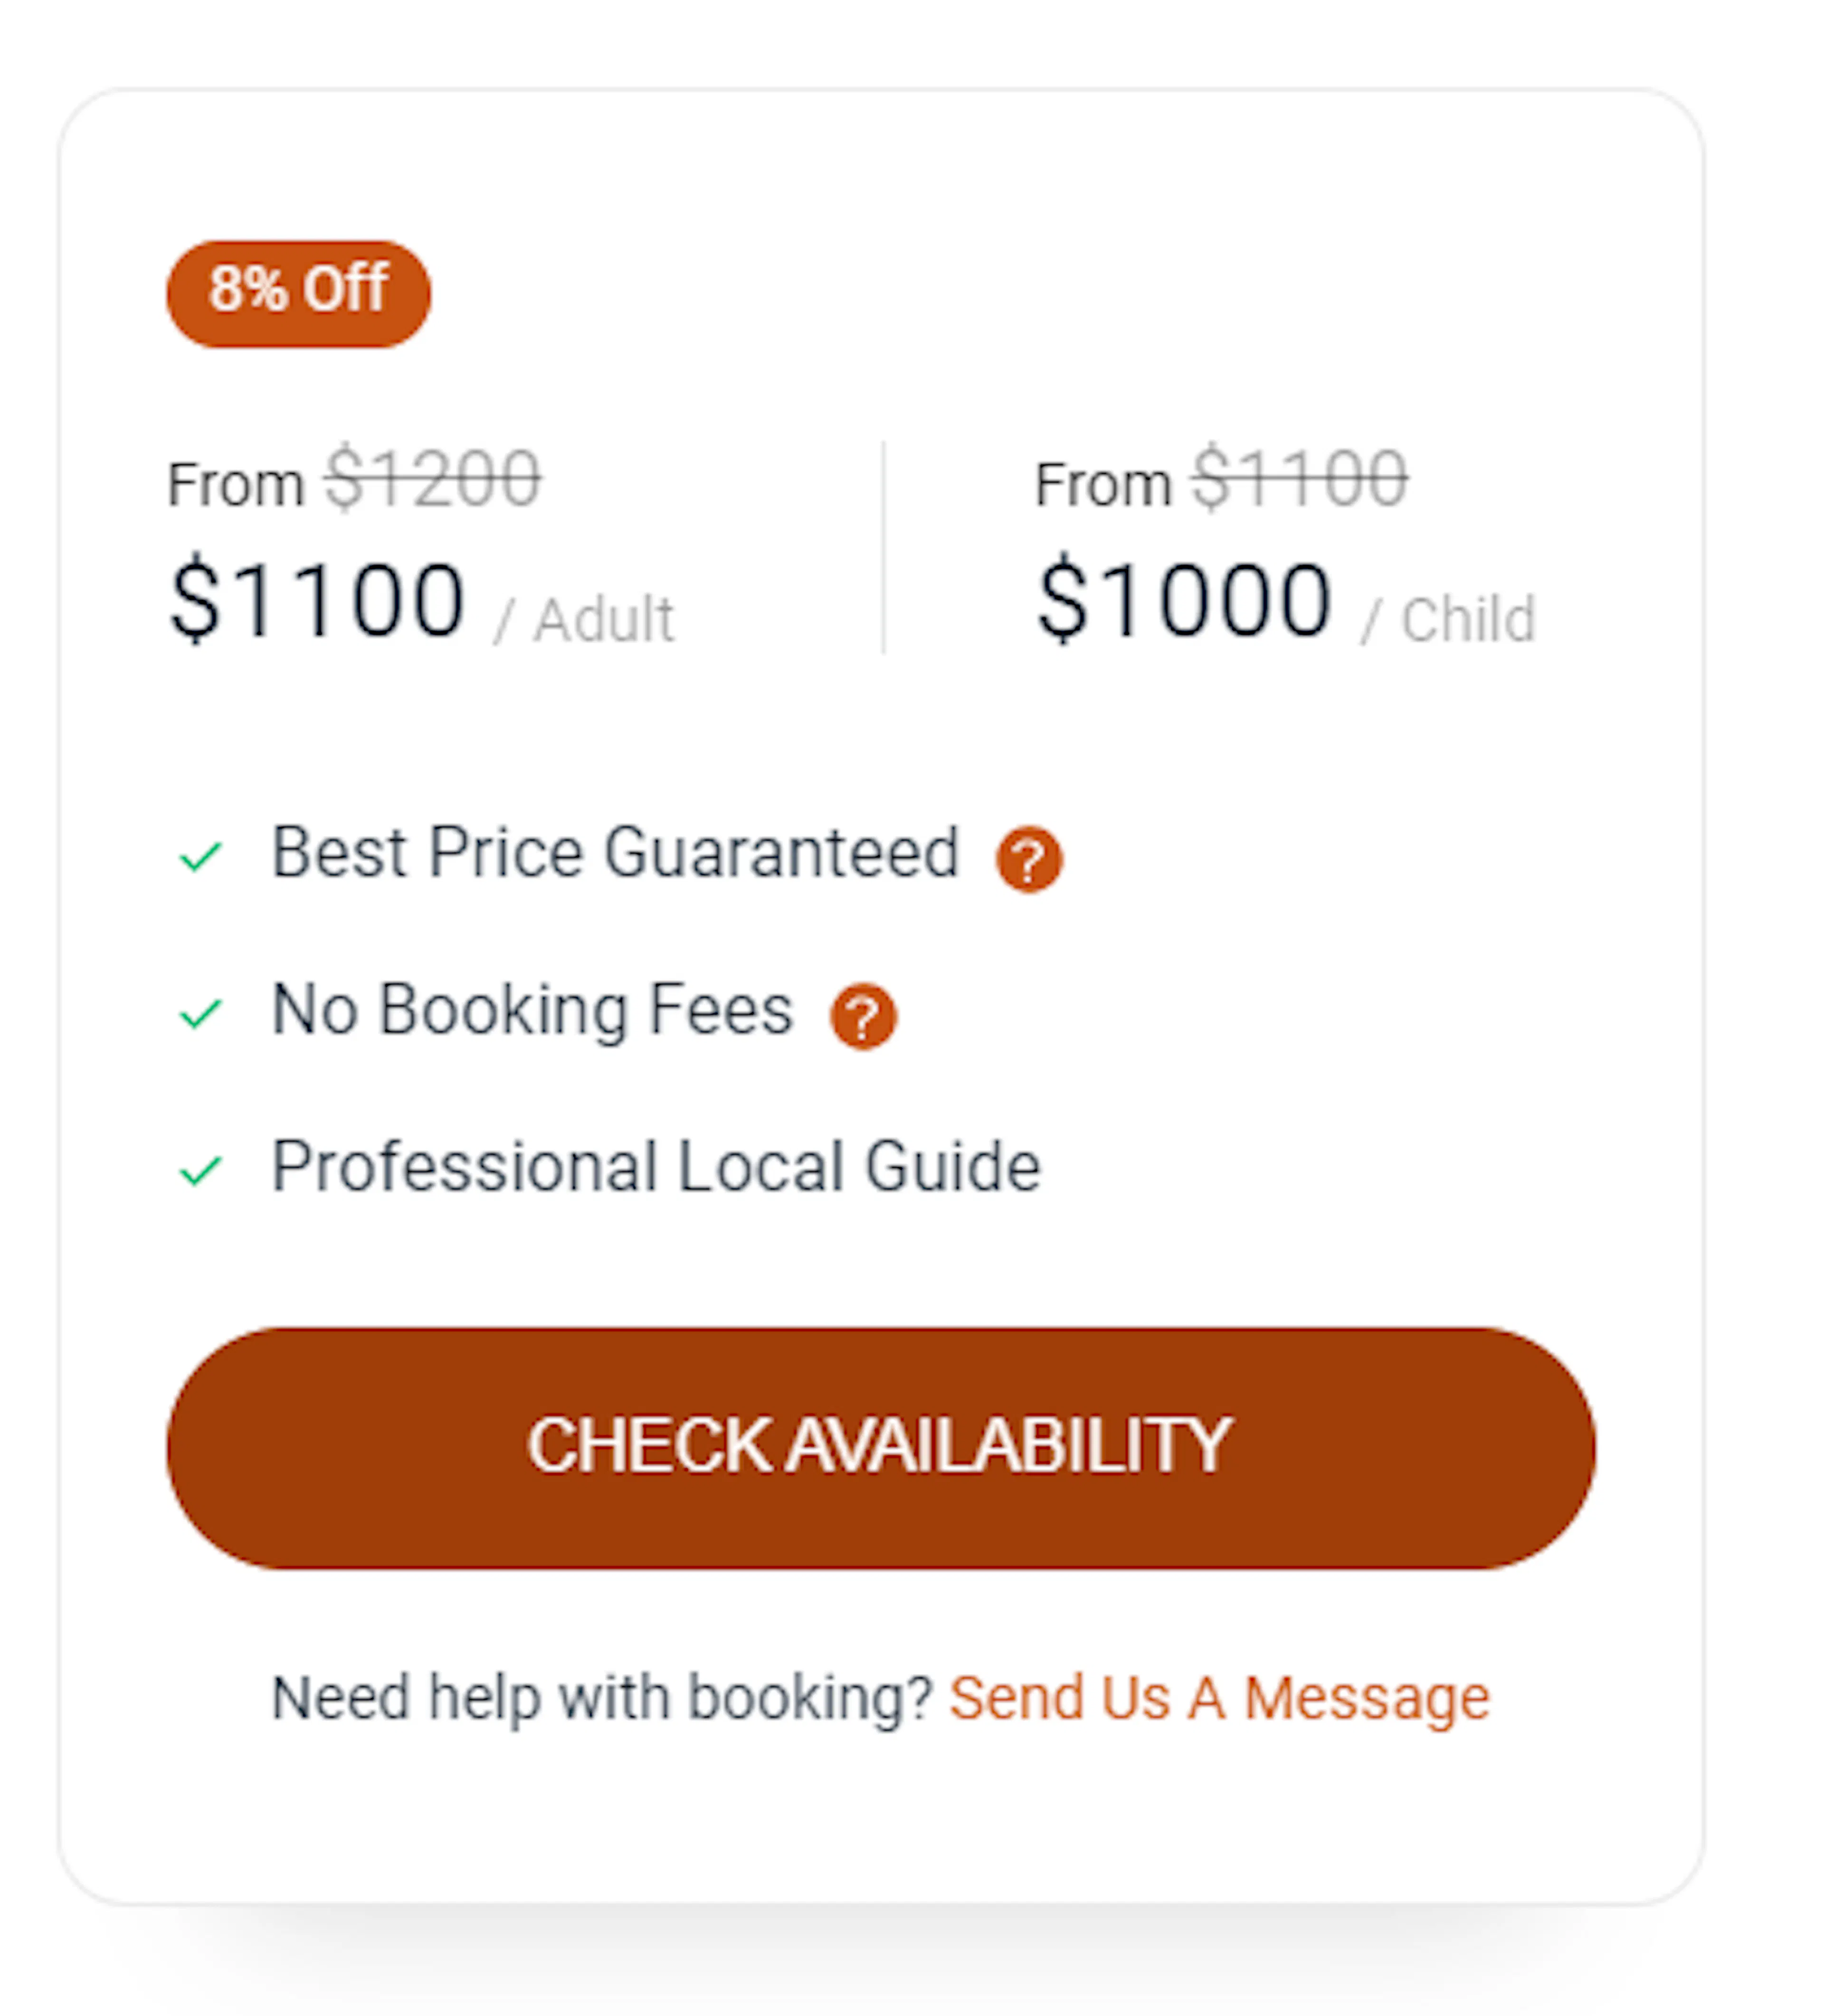
Shows your trip's price, any discount, key highlights, and booking button all in one section. Each part can be styled on its own.
- Booking button: change the background color, border color, and font to match your brand.
- Discount badge: shows a discount or special offer to catch a traveler's eye. Say you're offering 10% off for early bookings. This badge makes that visible right away.
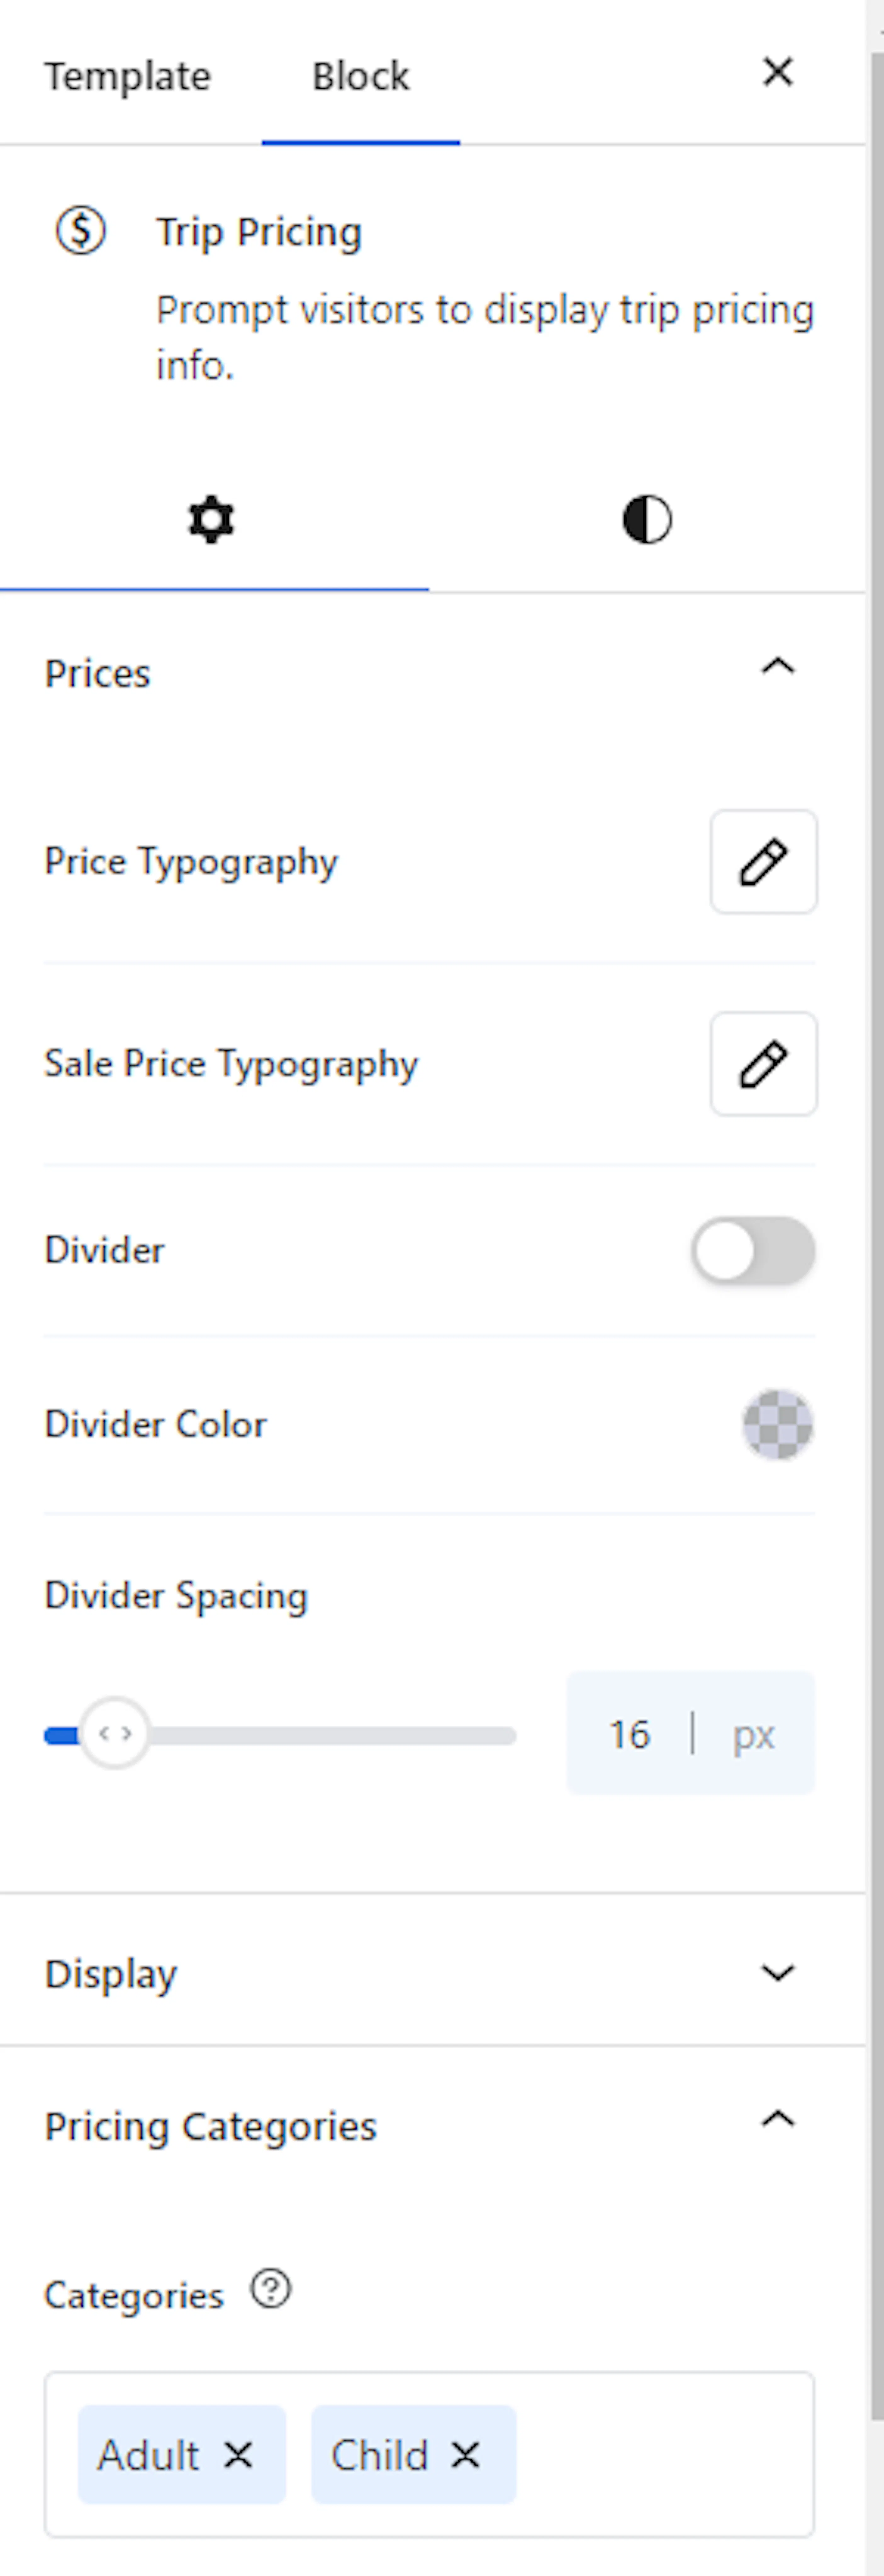
- Pricing: choose whether to show the regular price, the sale price, or both.
- Global highlights: shows your trip's main selling points right next to the booking button. For a 5-day Everest Base Camp trek, highlights might include "English-speaking guide" or "All meals included."
Trip Duration block
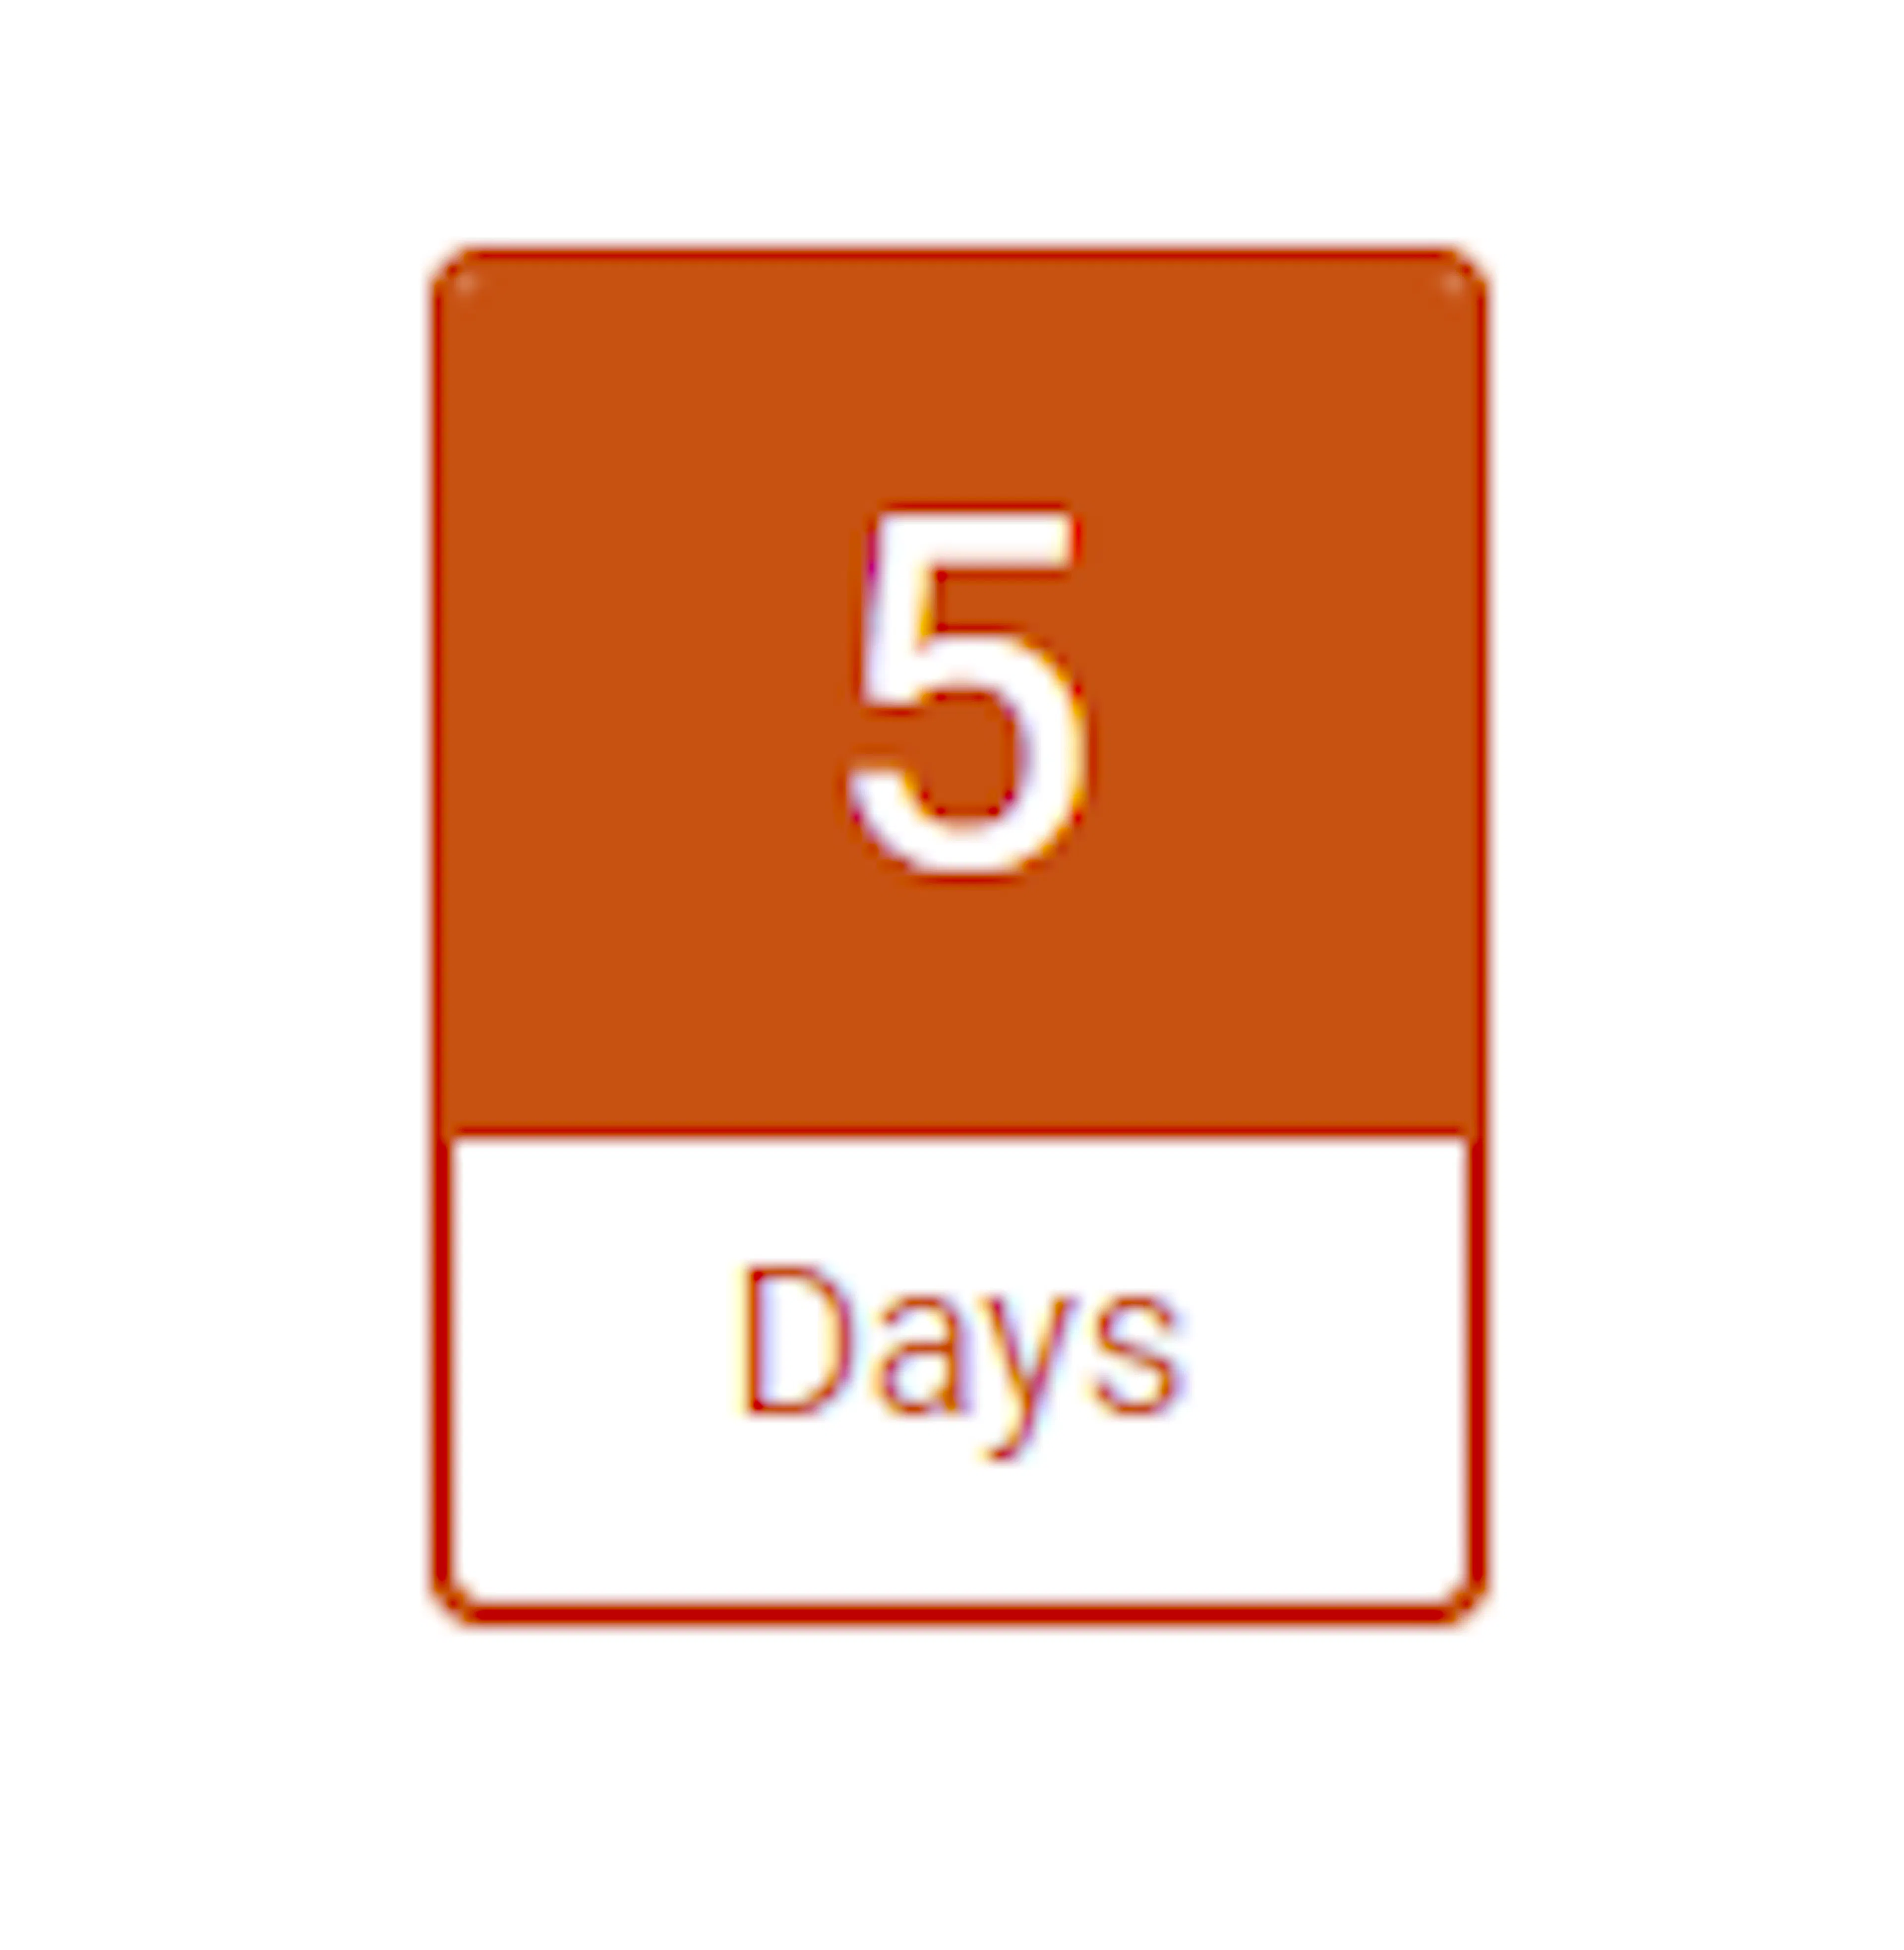
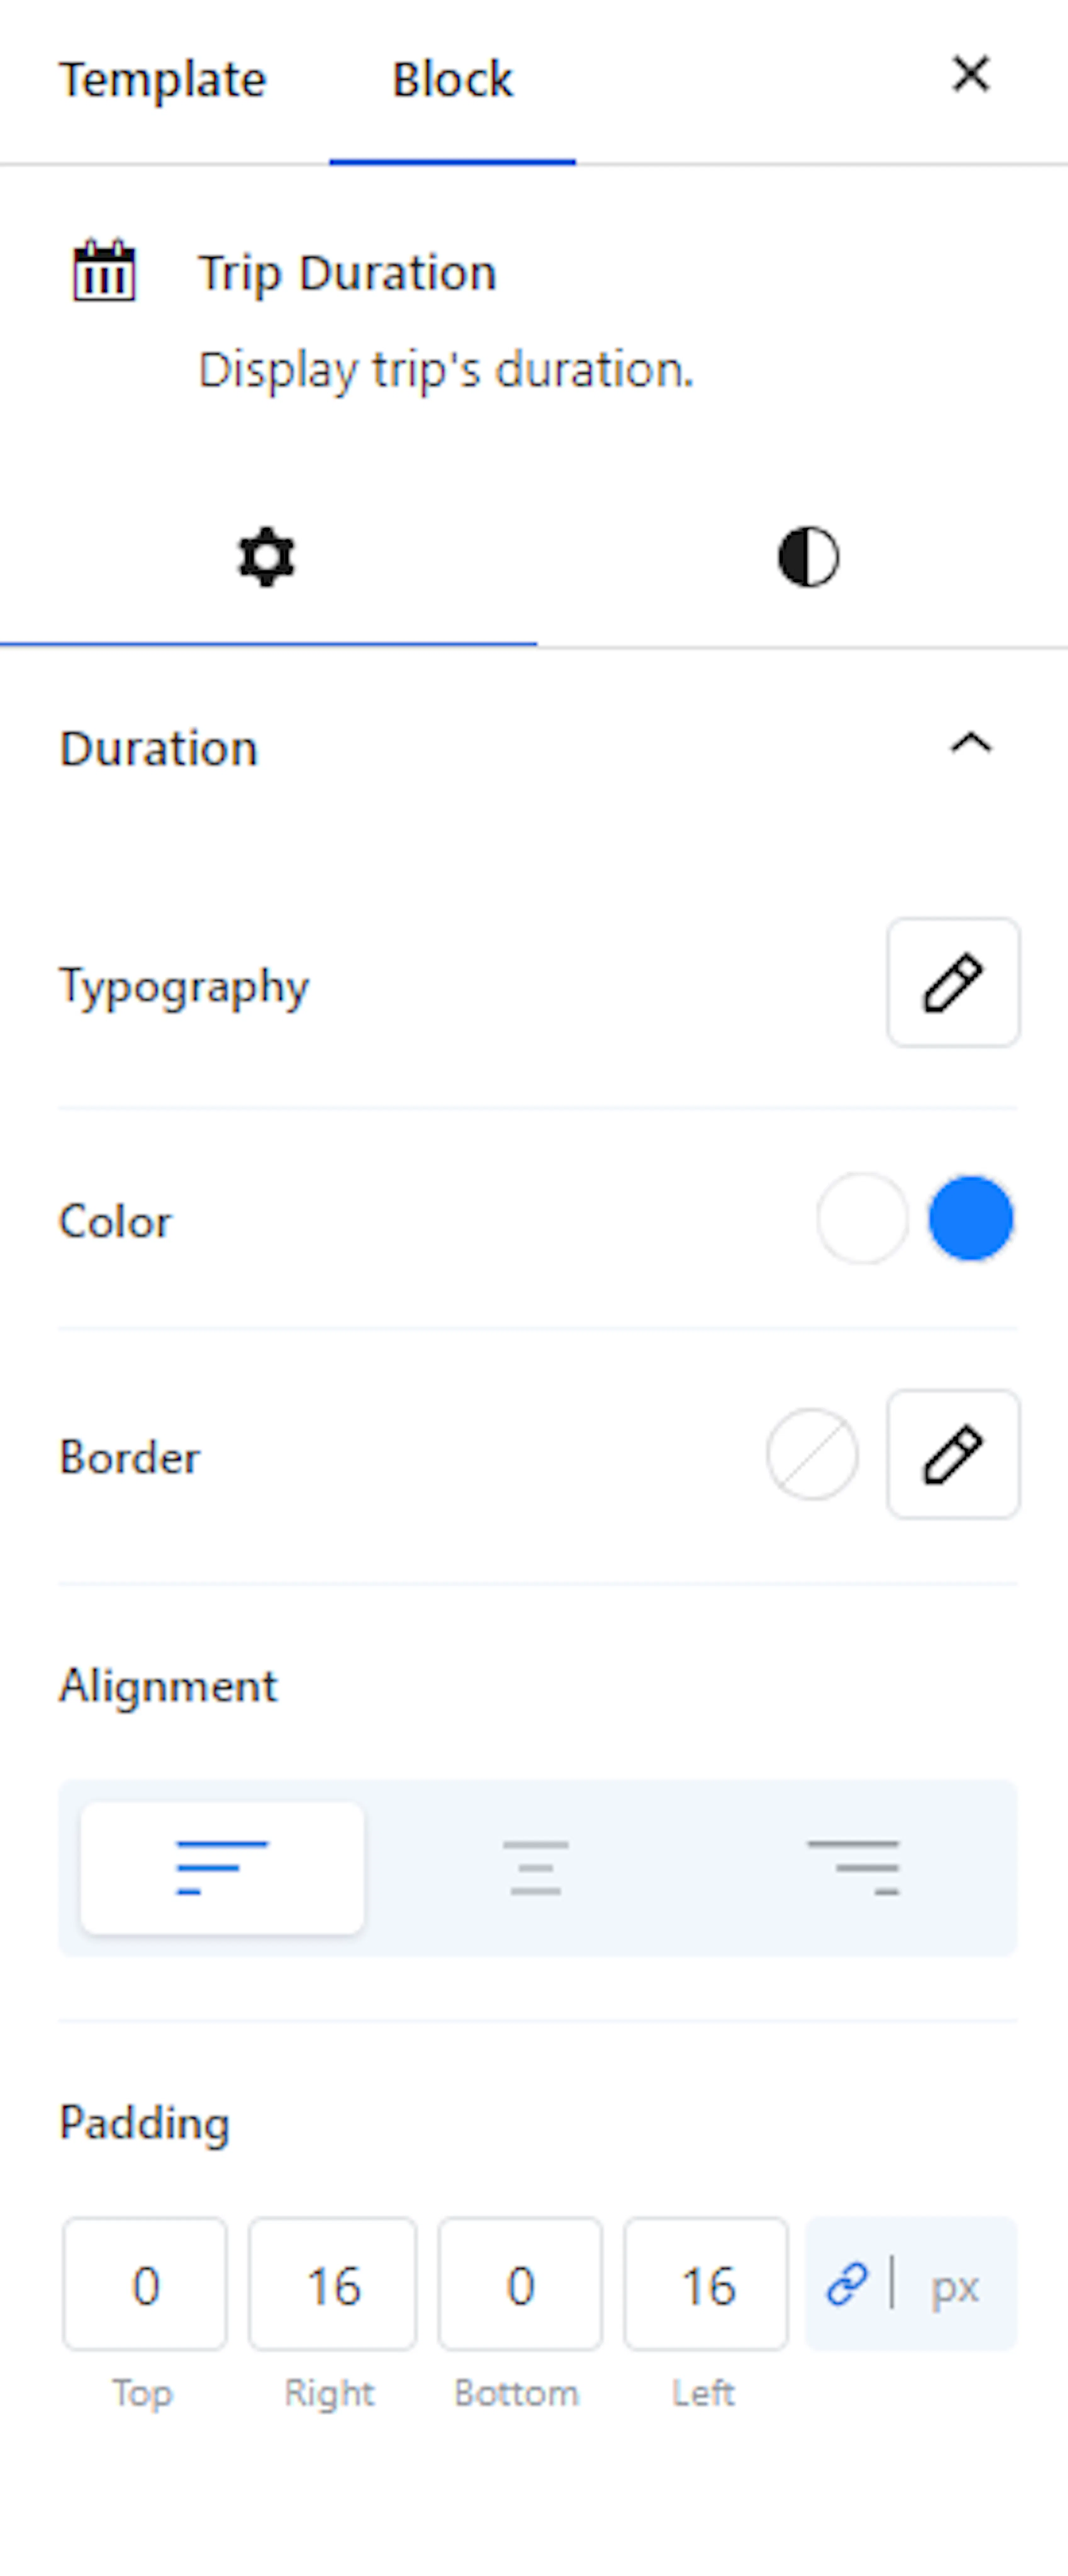
Shows how long the trip lasts, anywhere on the page. If your trek is 3 days and 2 nights, this block displays "3 Days 2 Nights." Pick from several built-in styles to match your site's look.
Trip Description block
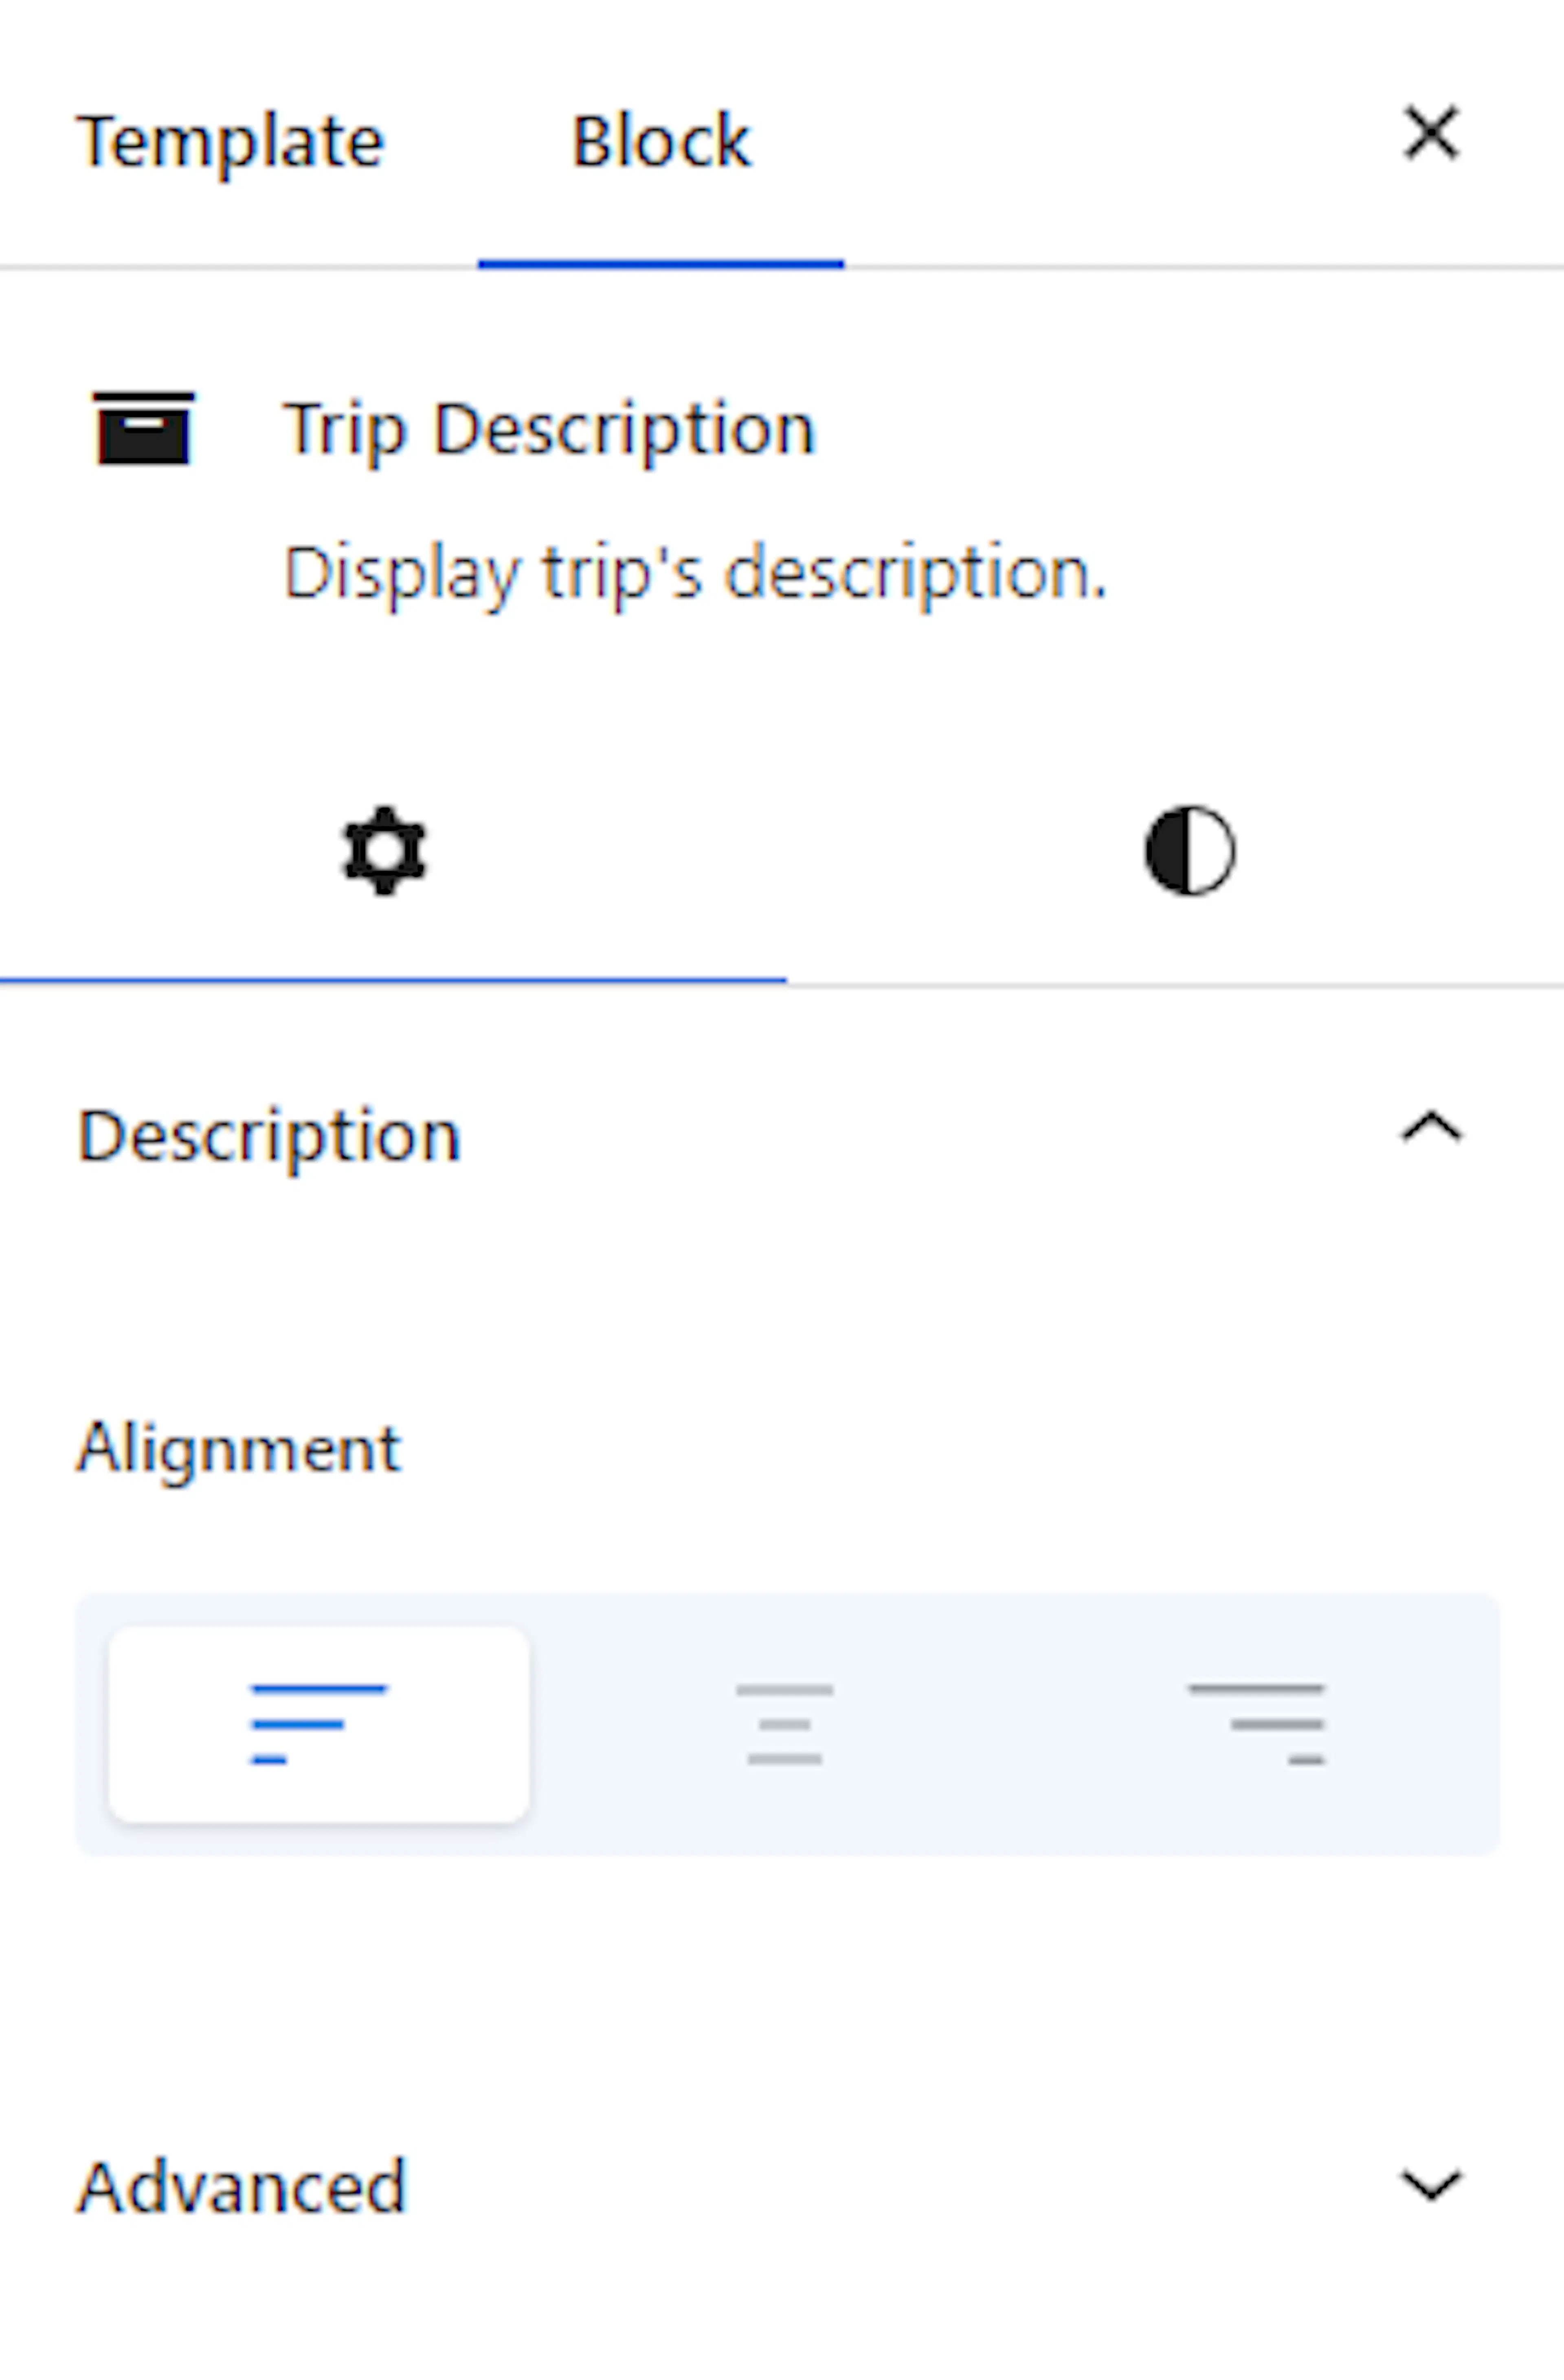
Shows the trip's description with full control over font, color, and styling so it matches the rest of your site.

Trip Highlights block
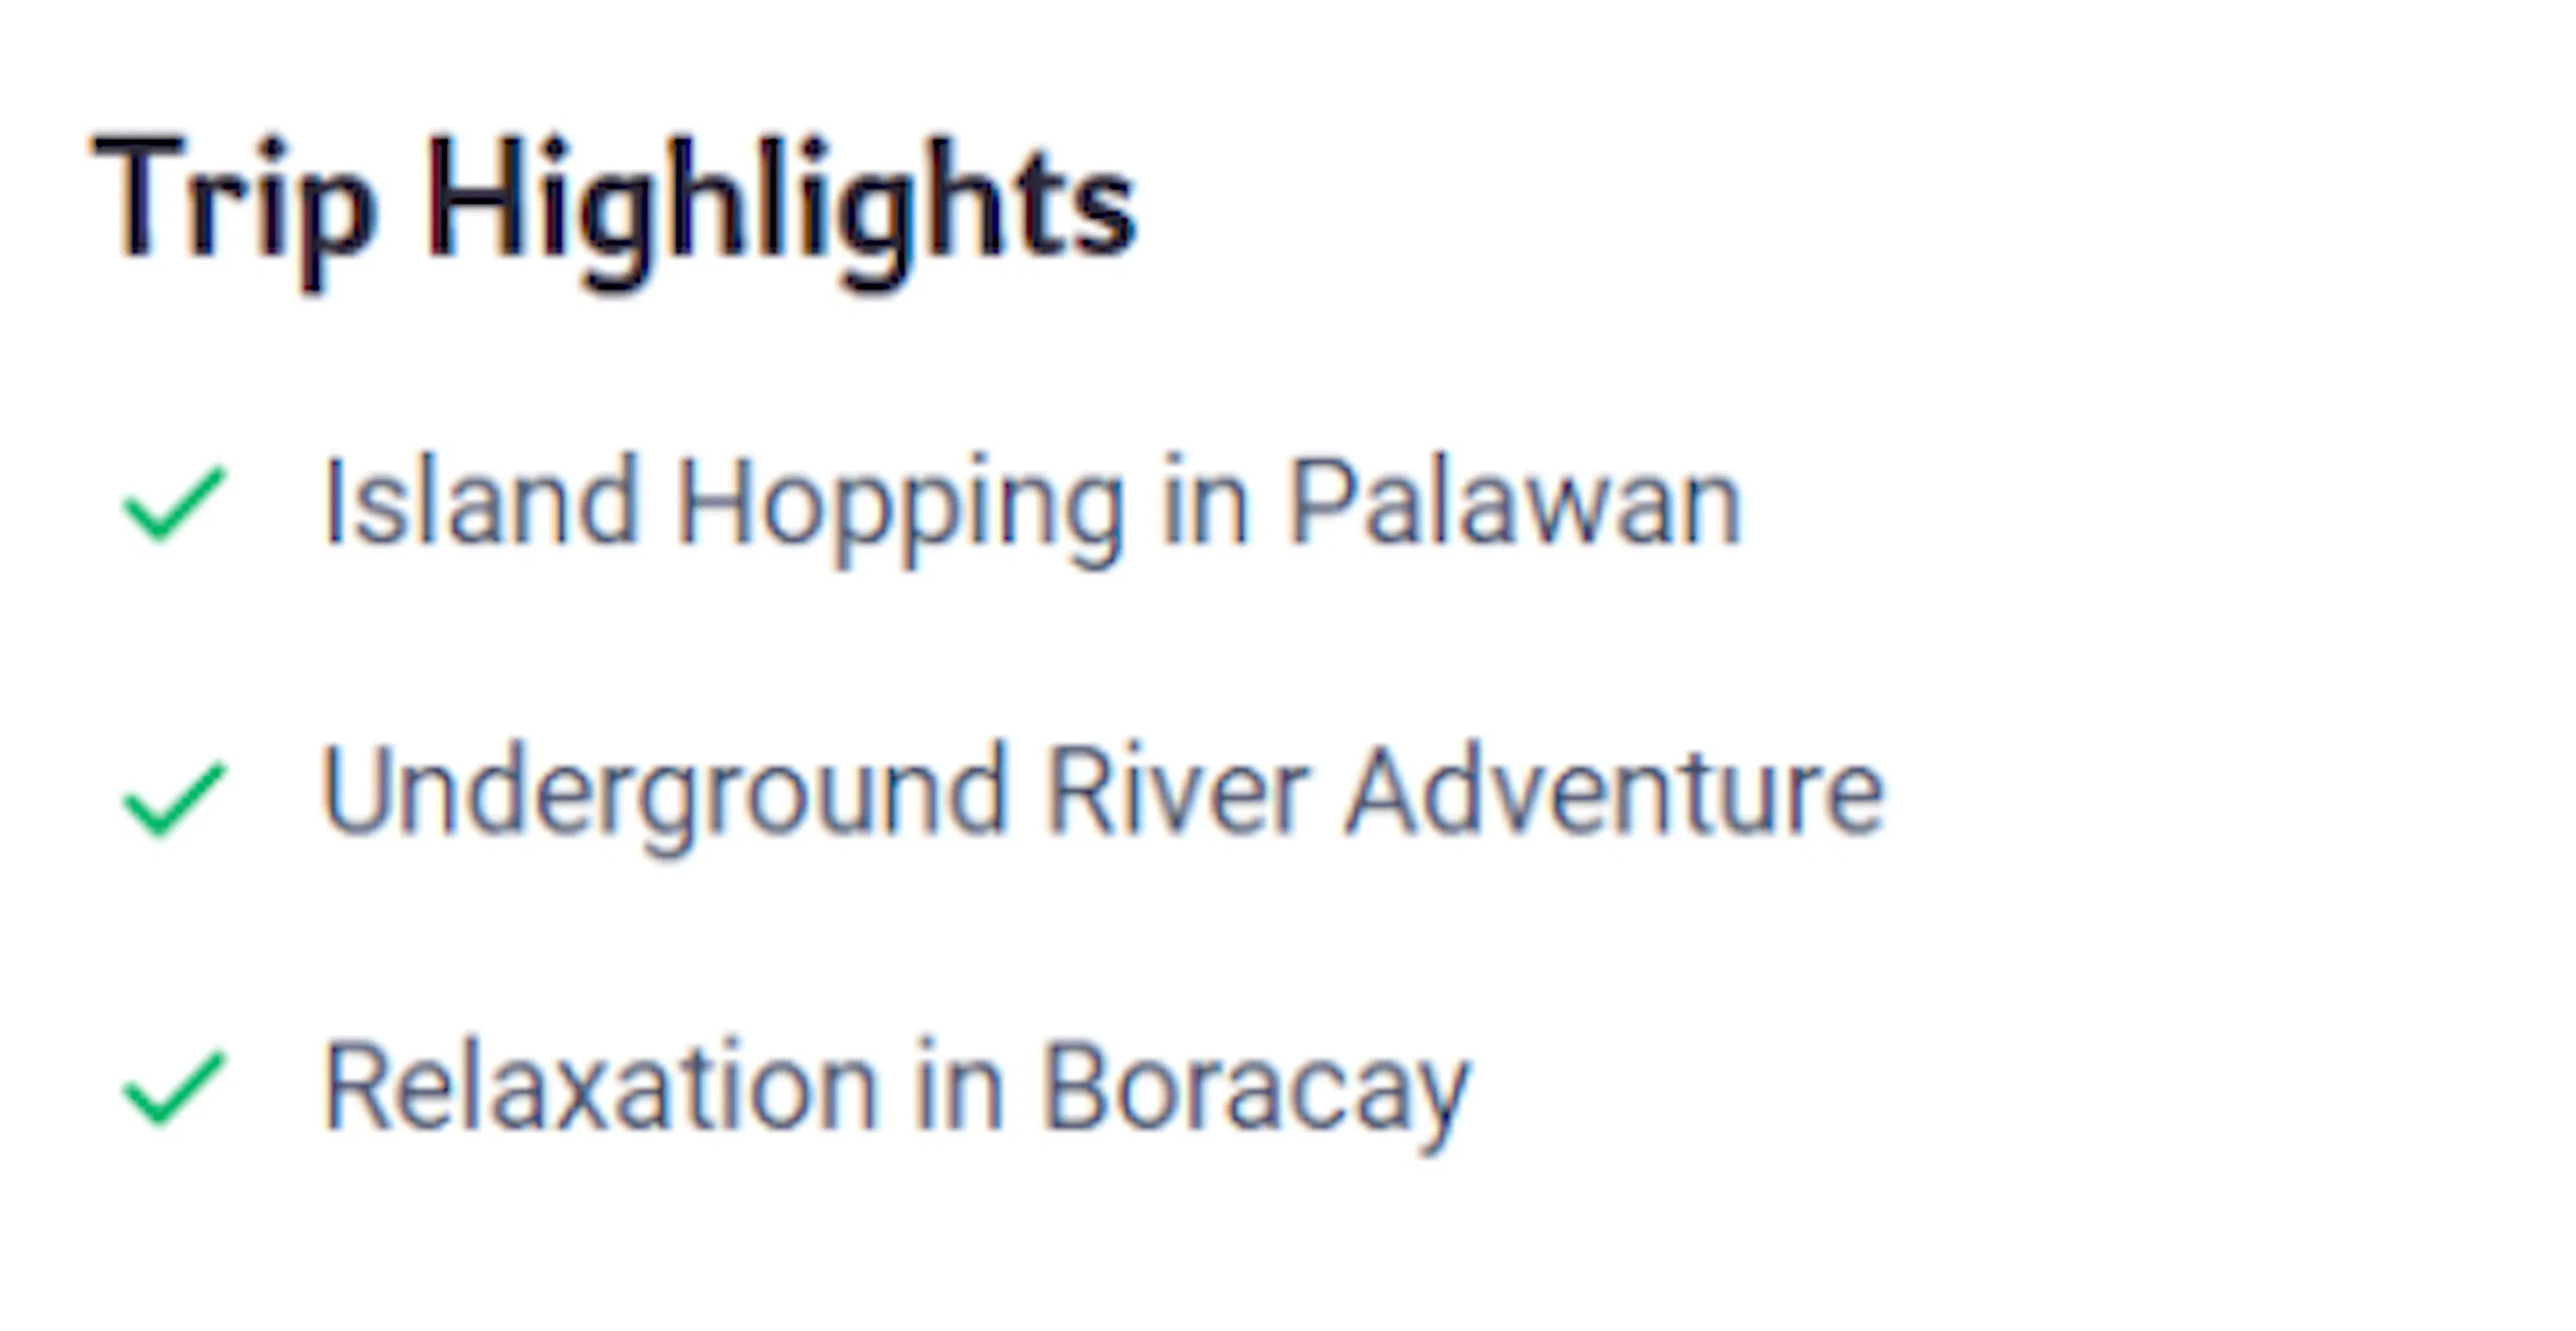
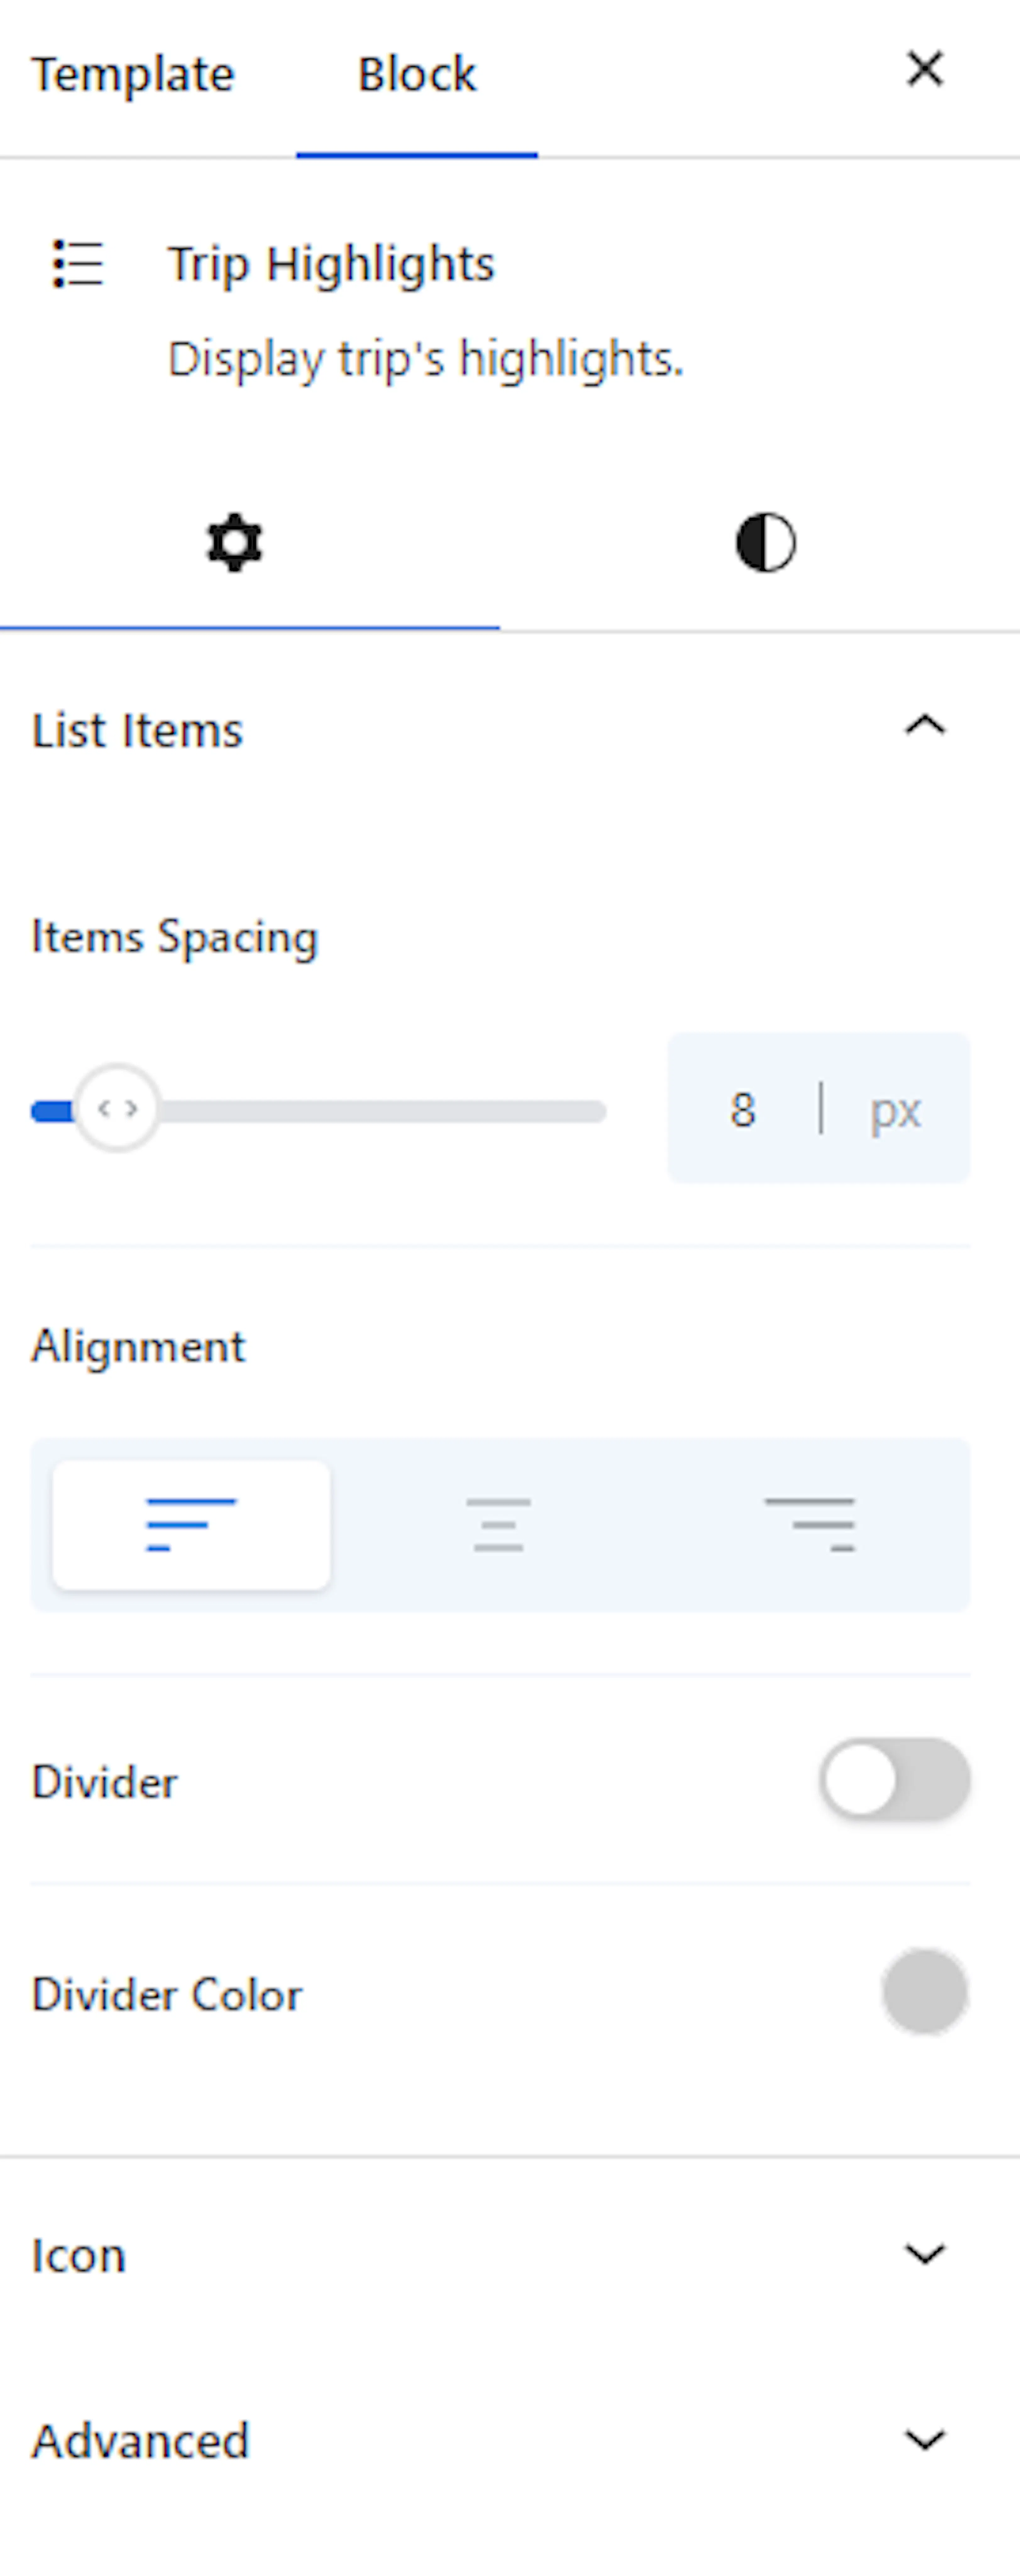
Turns your trip highlights into a bulleted list with icons. For a Kathmandu Valley tour, highlights might include "Visit 7 UNESCO World Heritage Sites" or "English-speaking guide included." You can customize the icon size, color, and spacing.
Trip Facts block
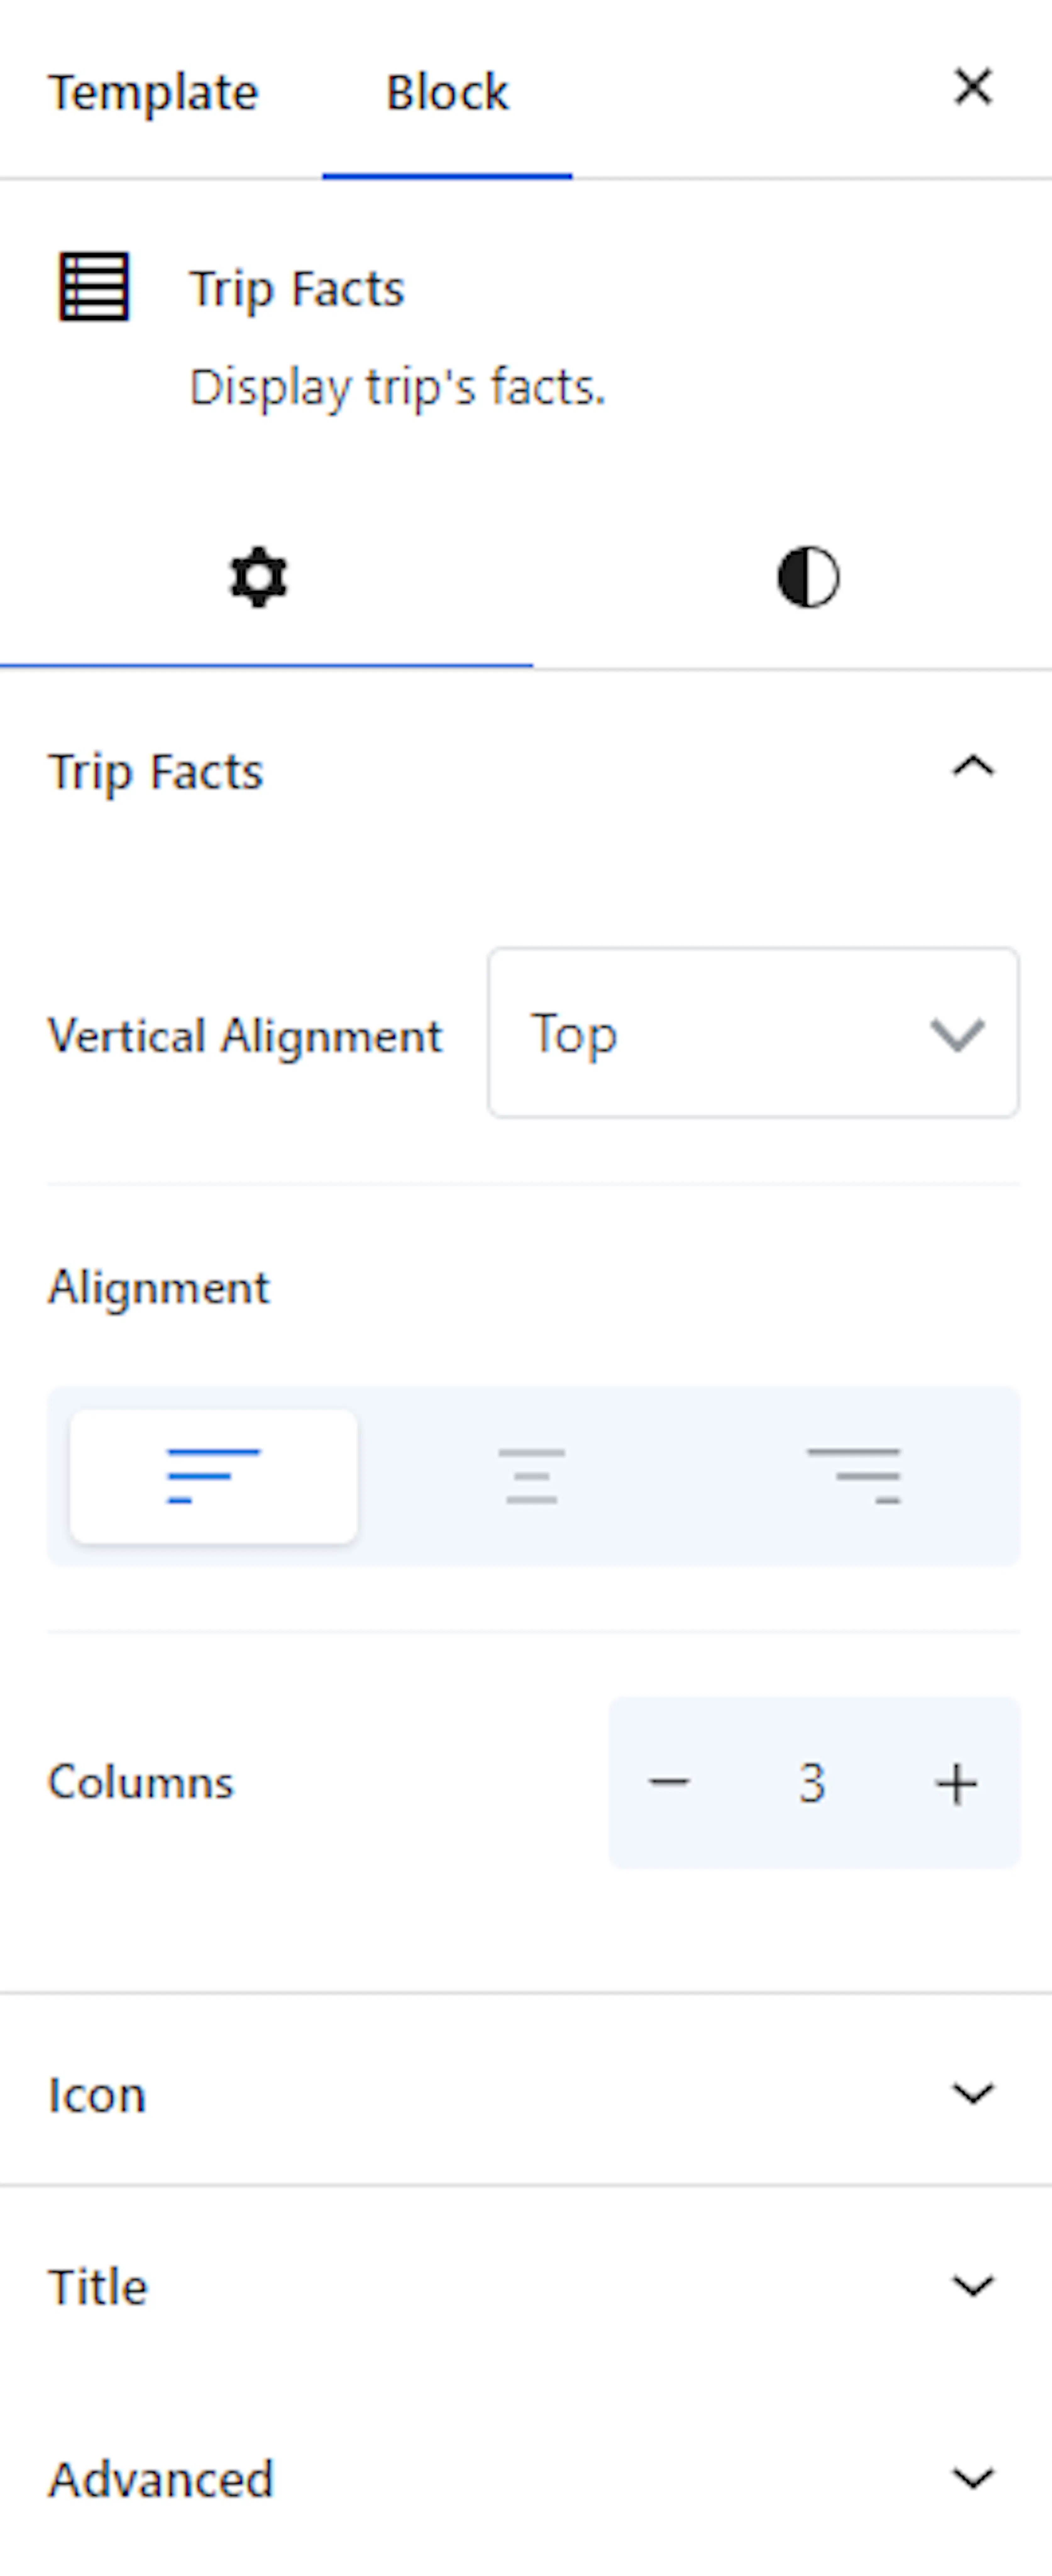
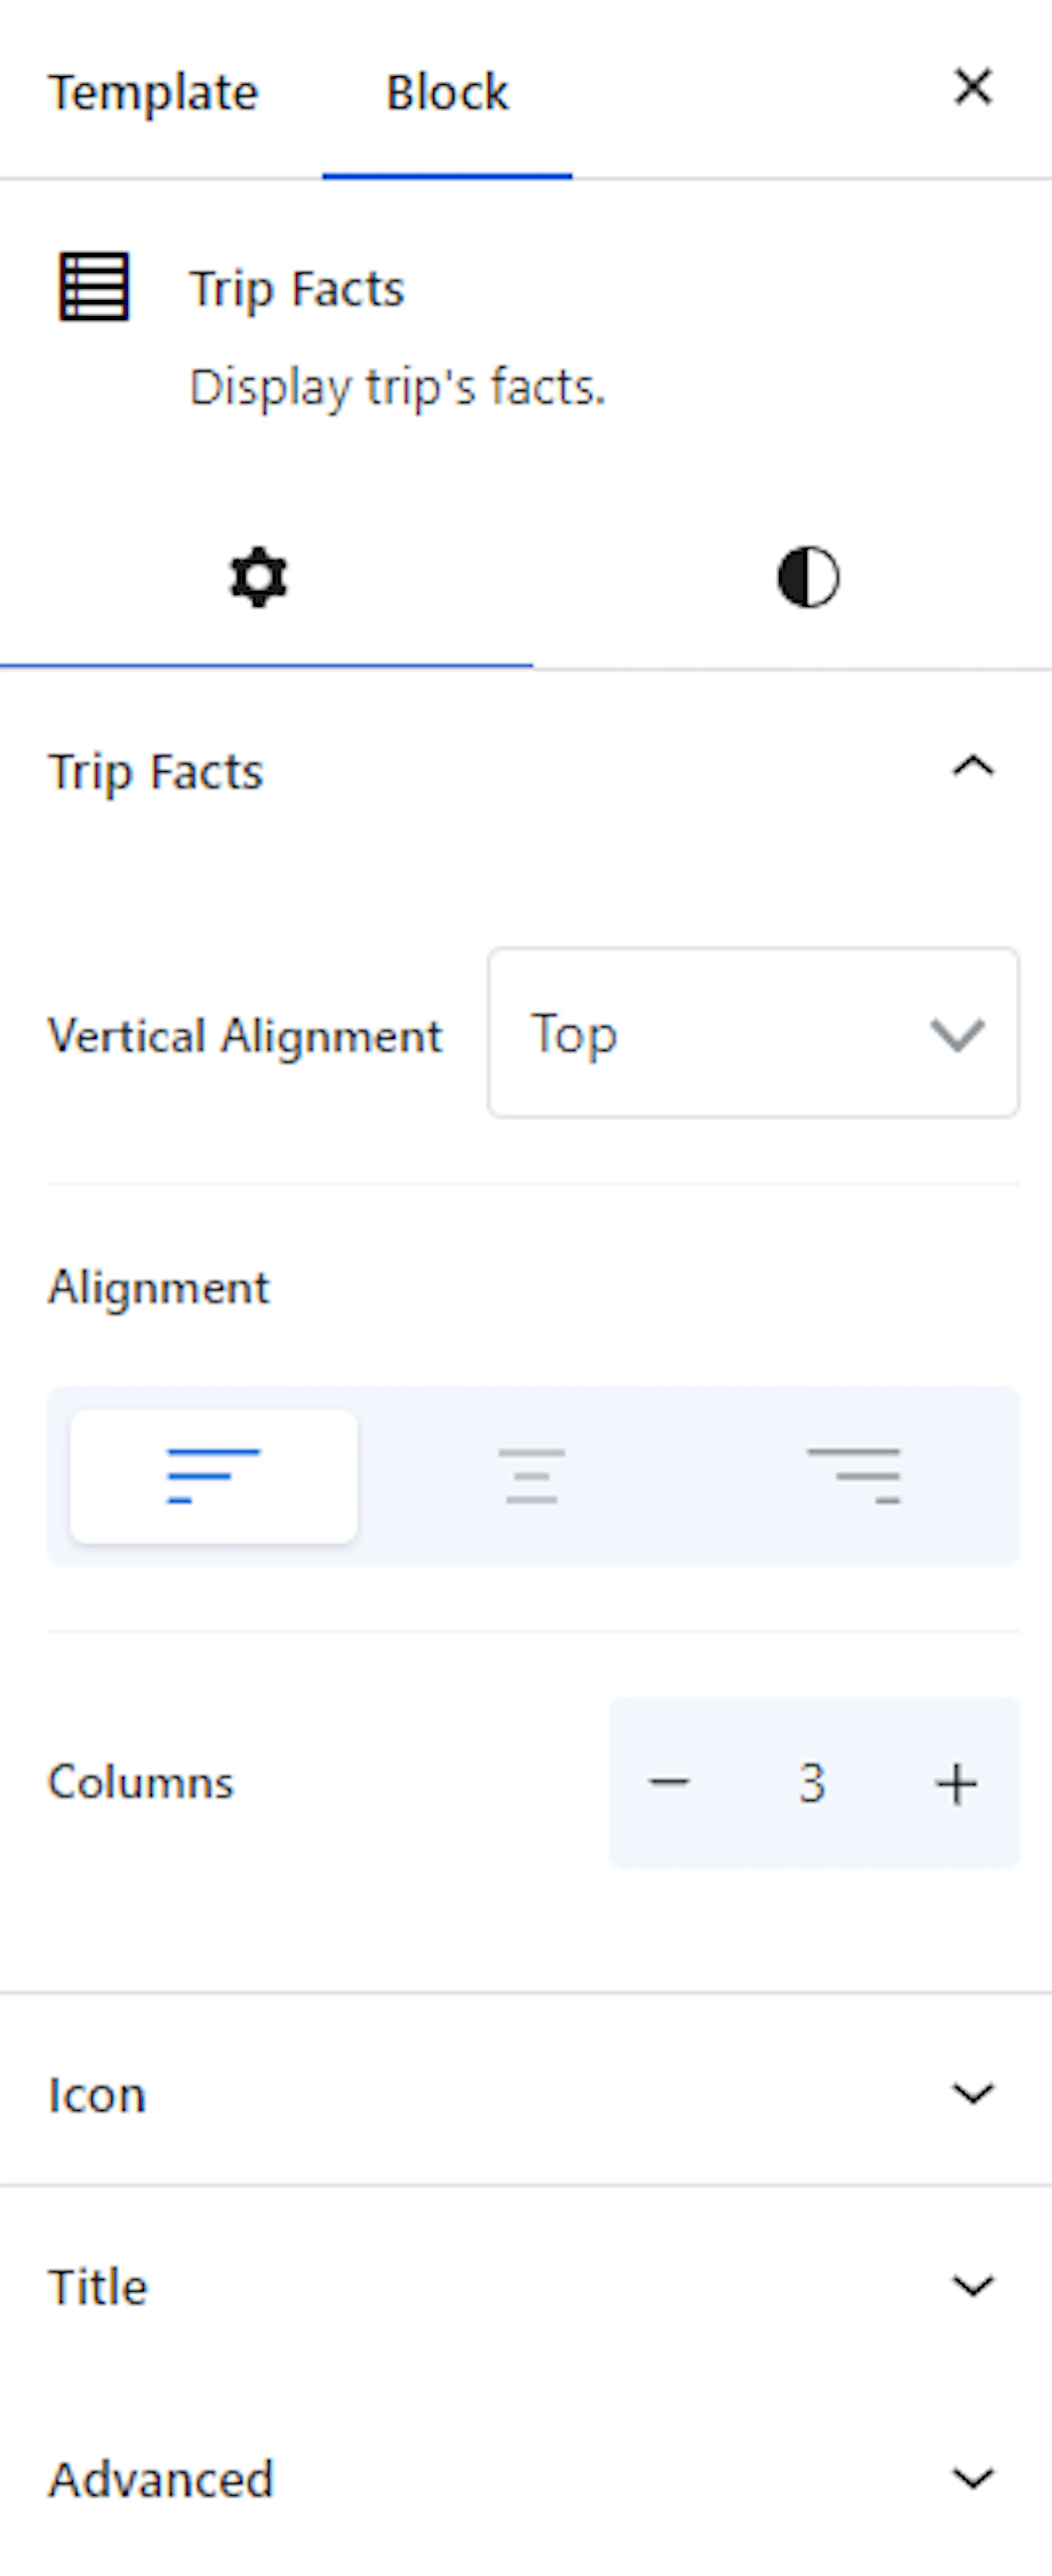
Shows key trip details as a clear, icon-led list. This is where travelers see practical info. For a trek, it might show "Trip type: Group tour," "Meals: All meals included," and "Transportation: Private vehicle." You can restyle the icons to match your branding.

Trip Gallery block
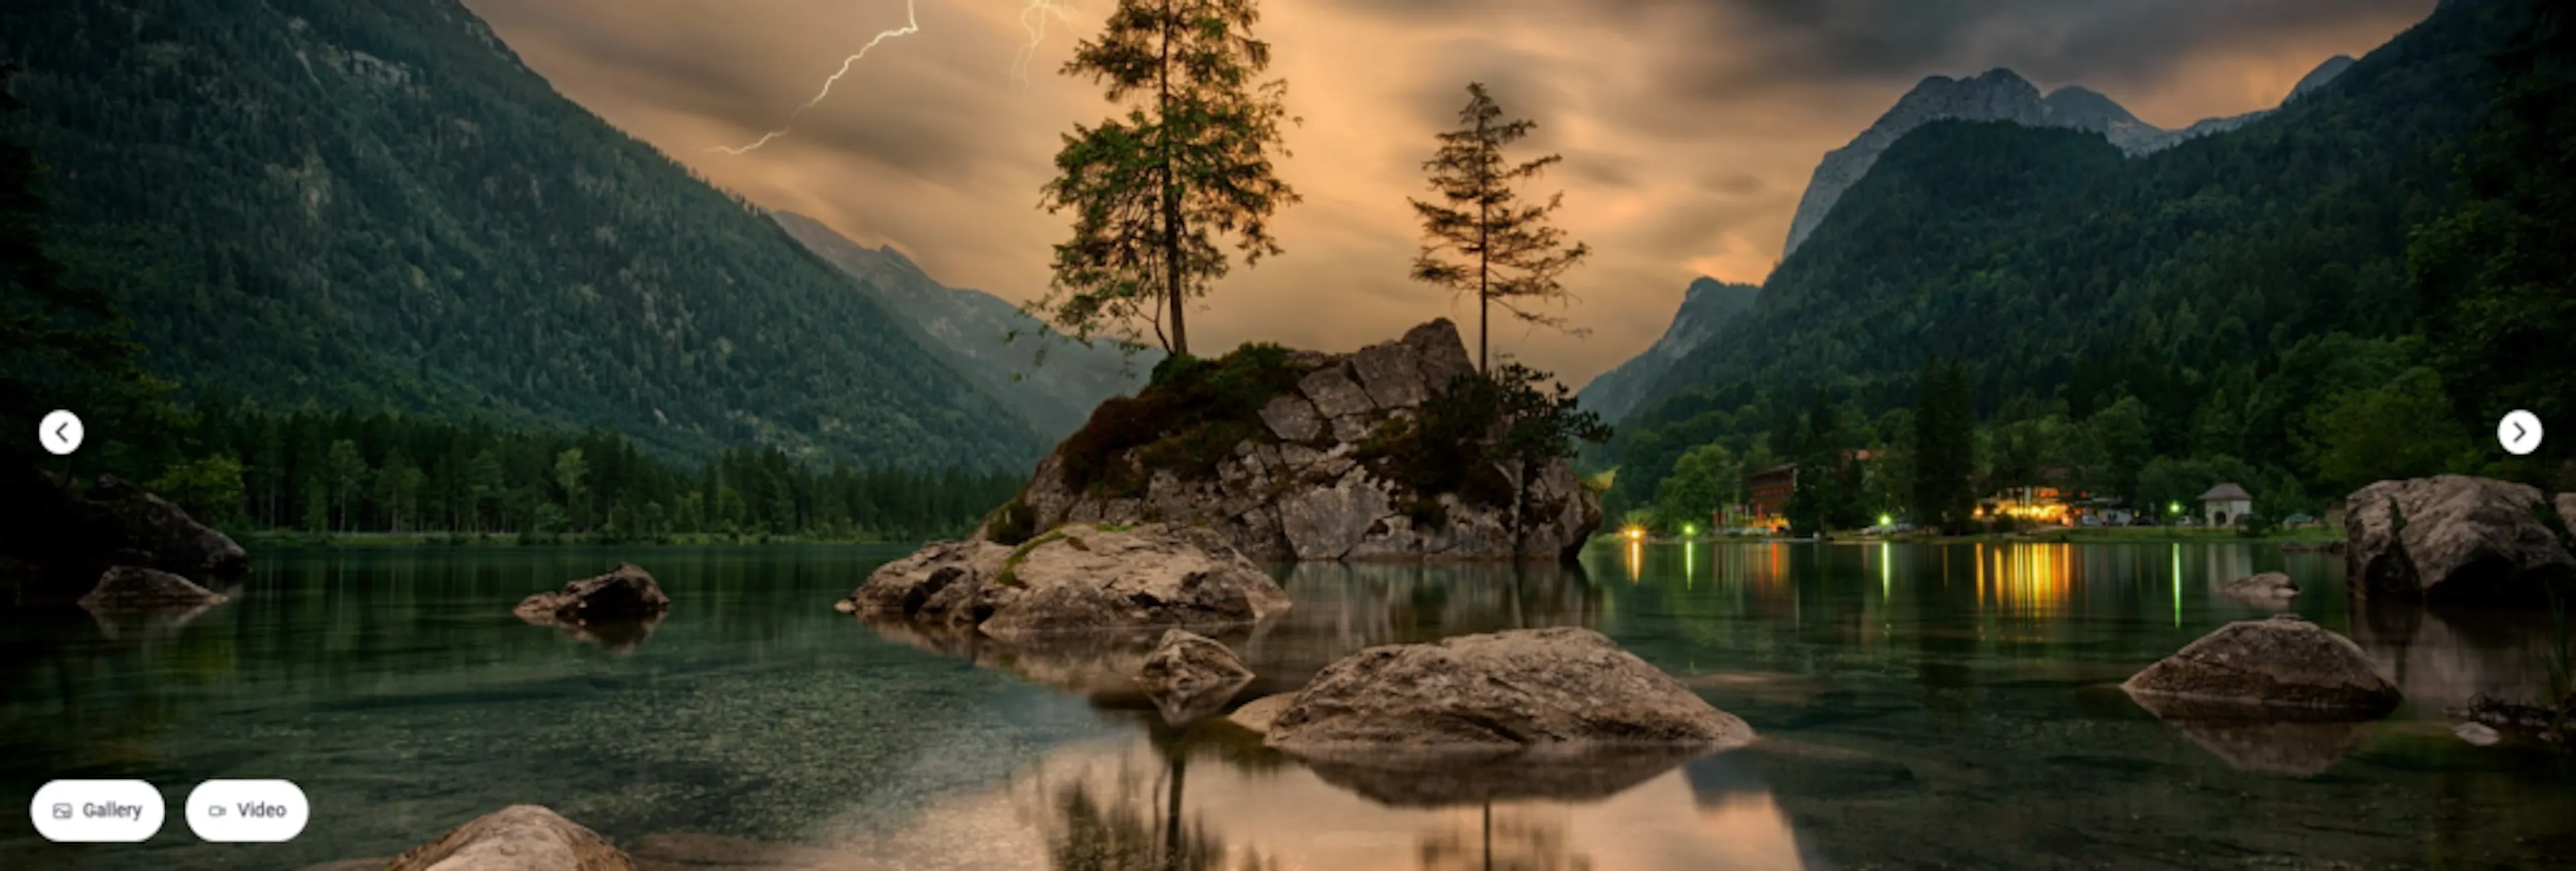
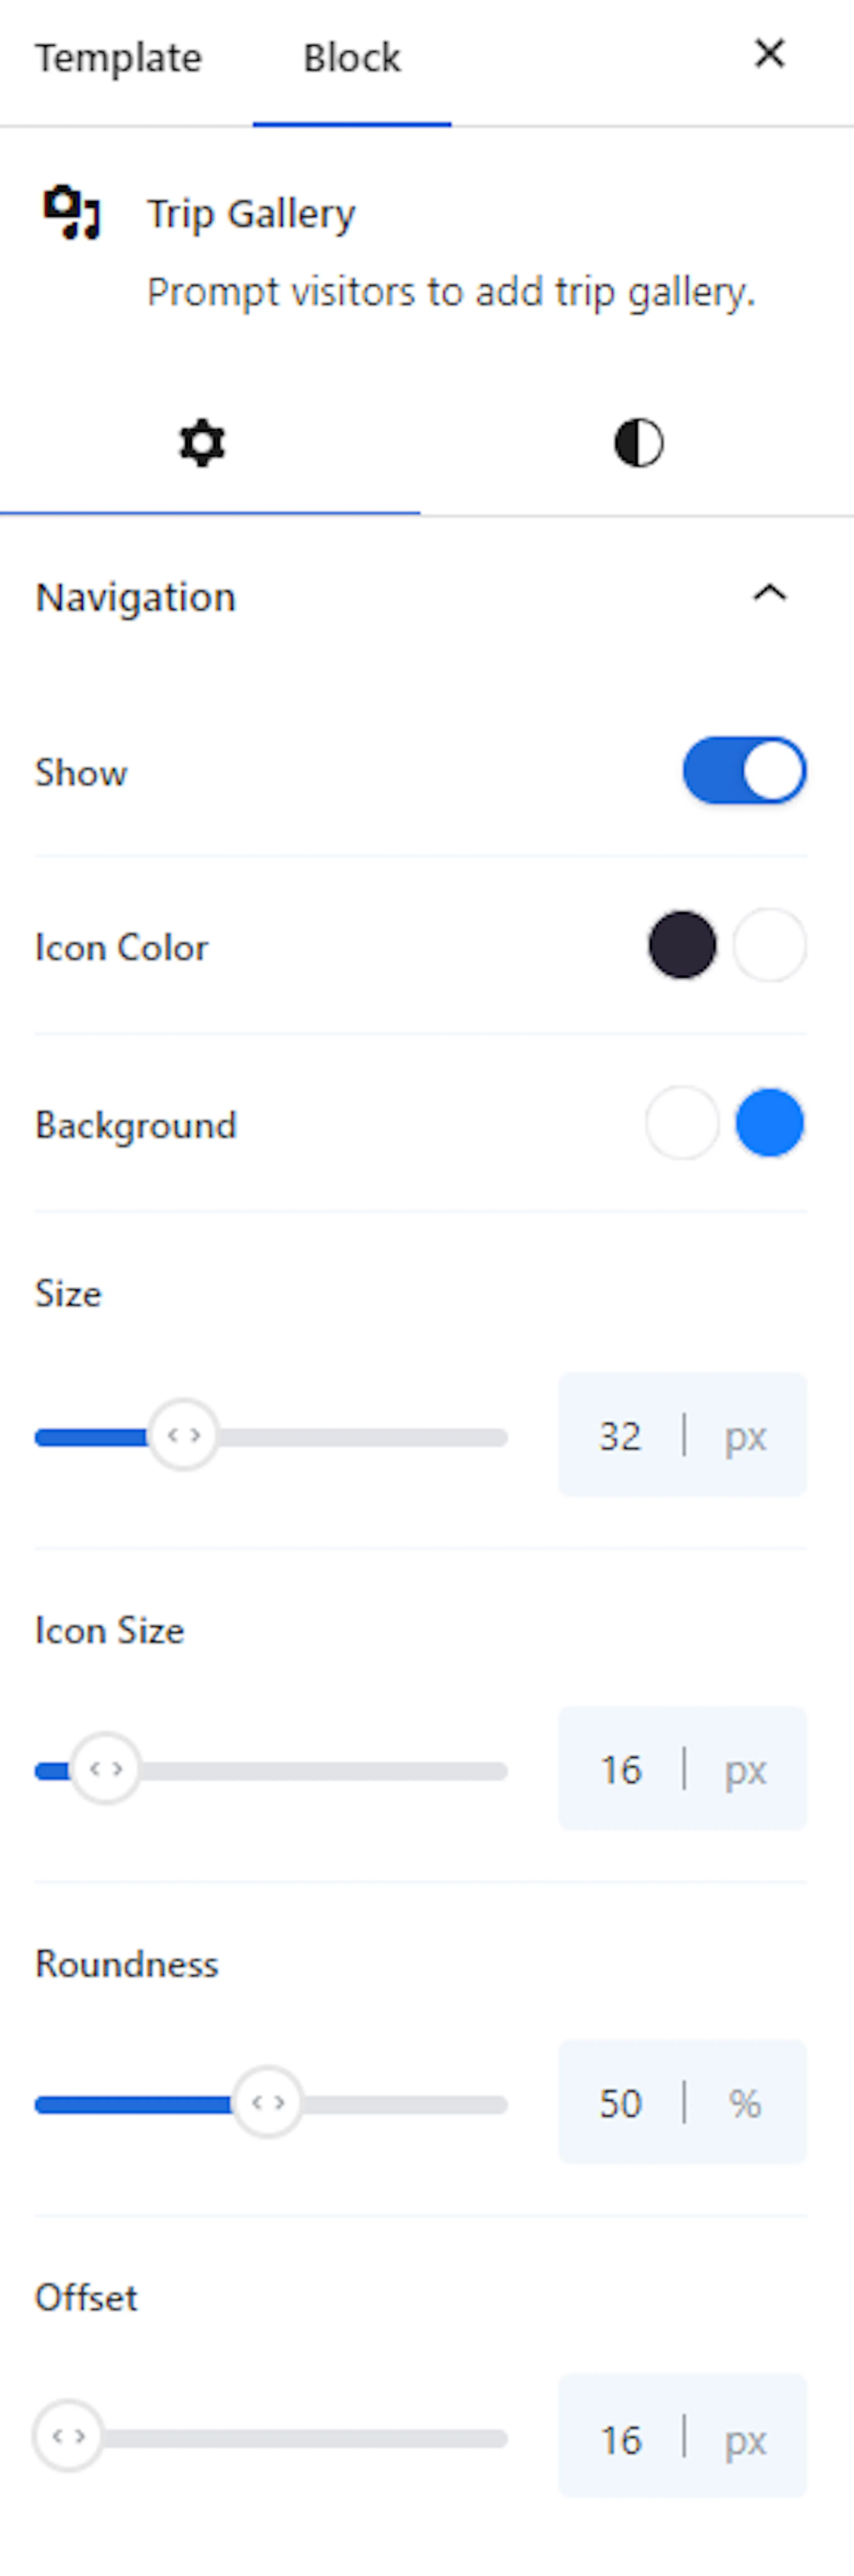
Presents your trip's best photos in a gallery layout. If you have photos from past trips, like a group at a mountain viewpoint or travelers enjoying a local meal, this block displays them in a clean, organized way.
Cost Includes block
Lists what's included in the trip price, each item paired with an icon. Say your trek price covers guides, meals, and accommodation. This block lists those items clearly. You can customize the icon size, color, and spacing.
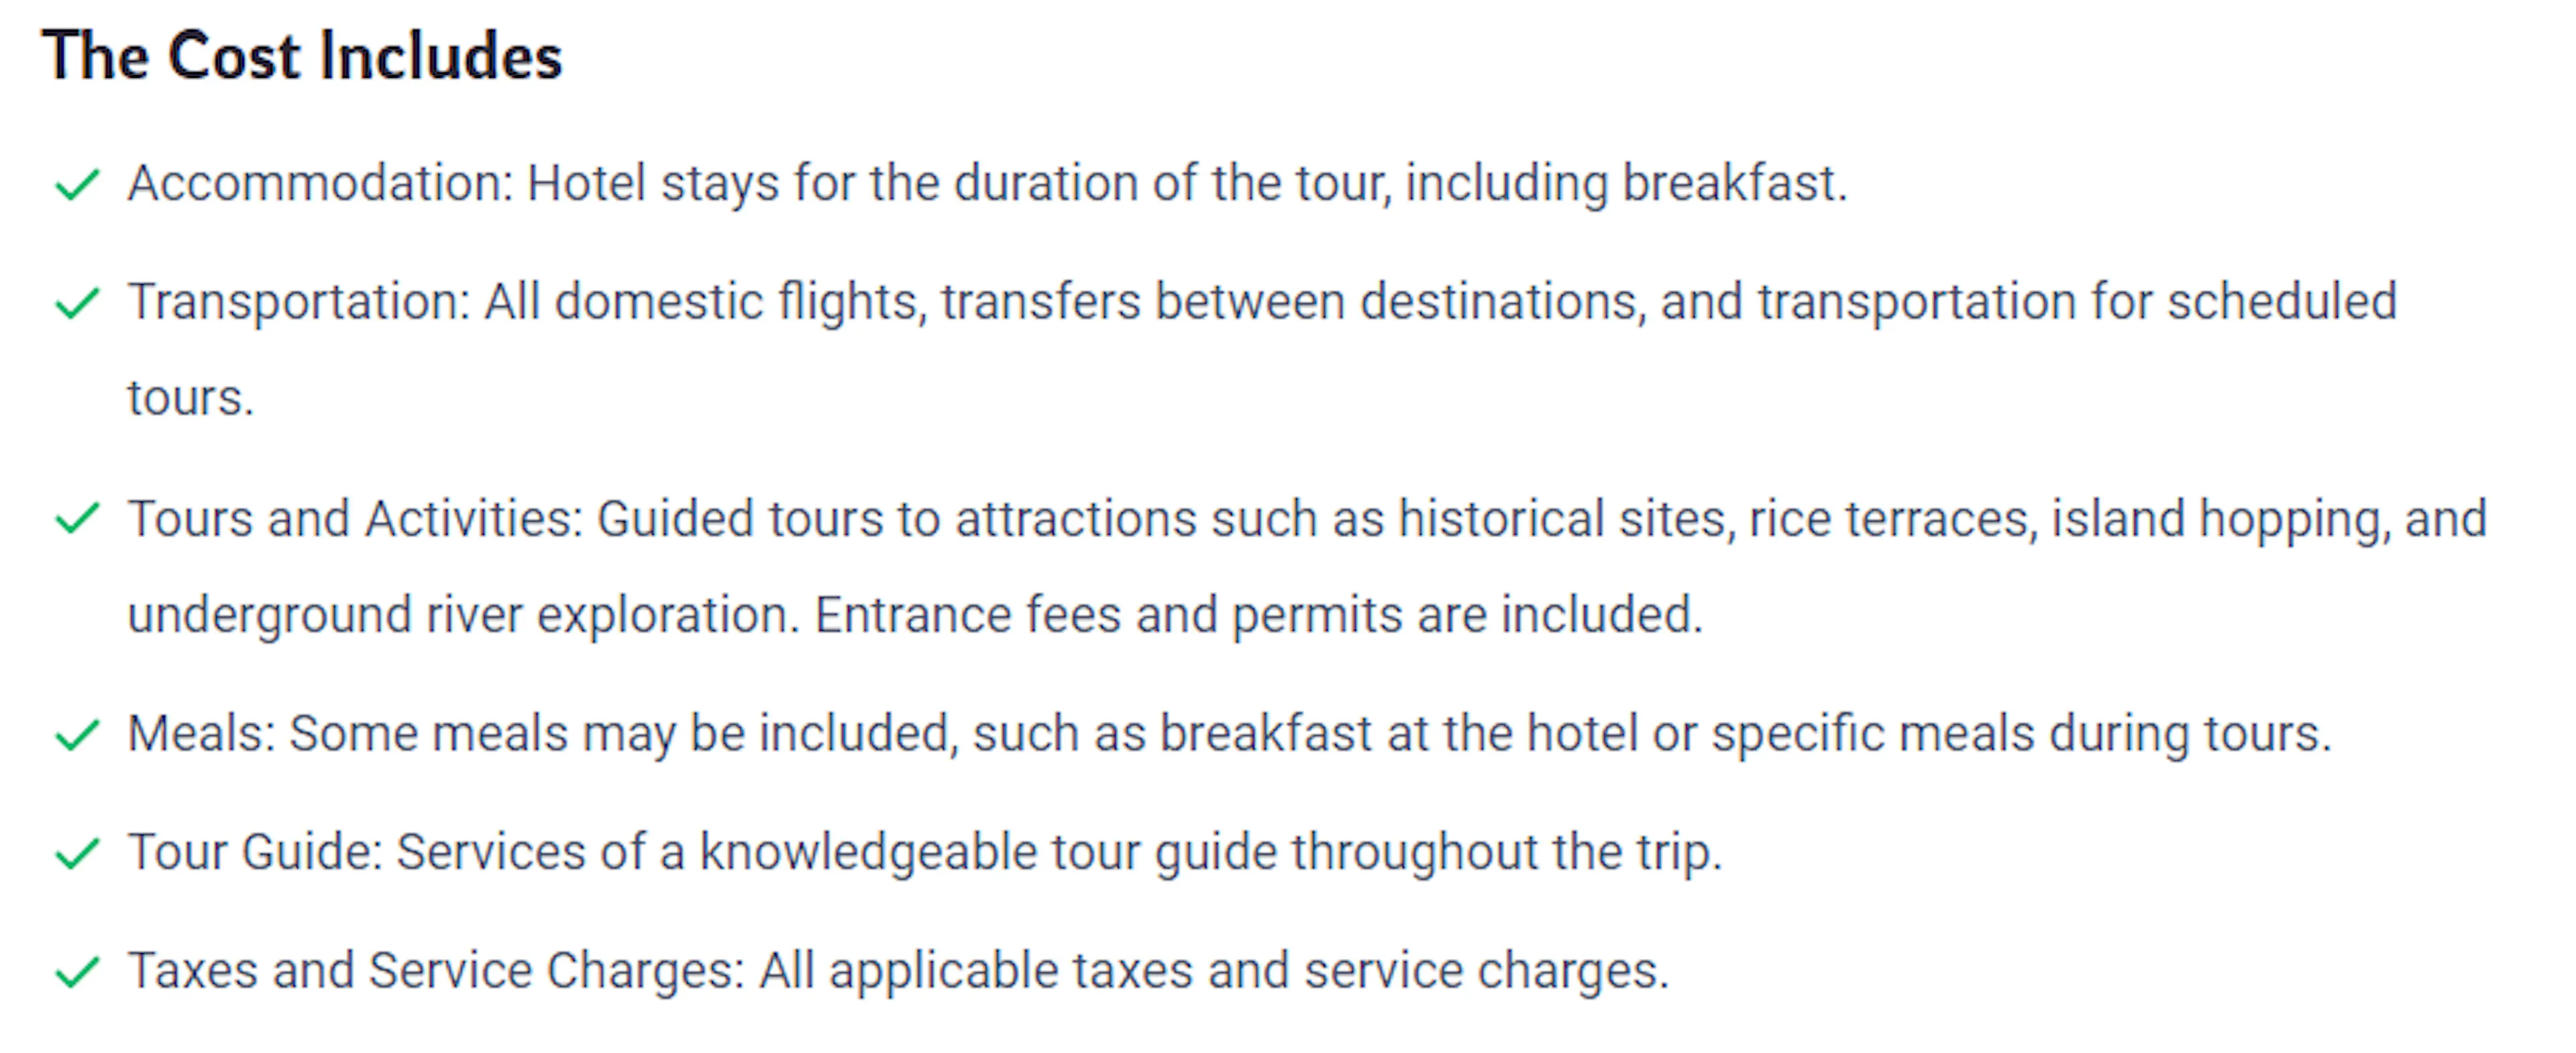
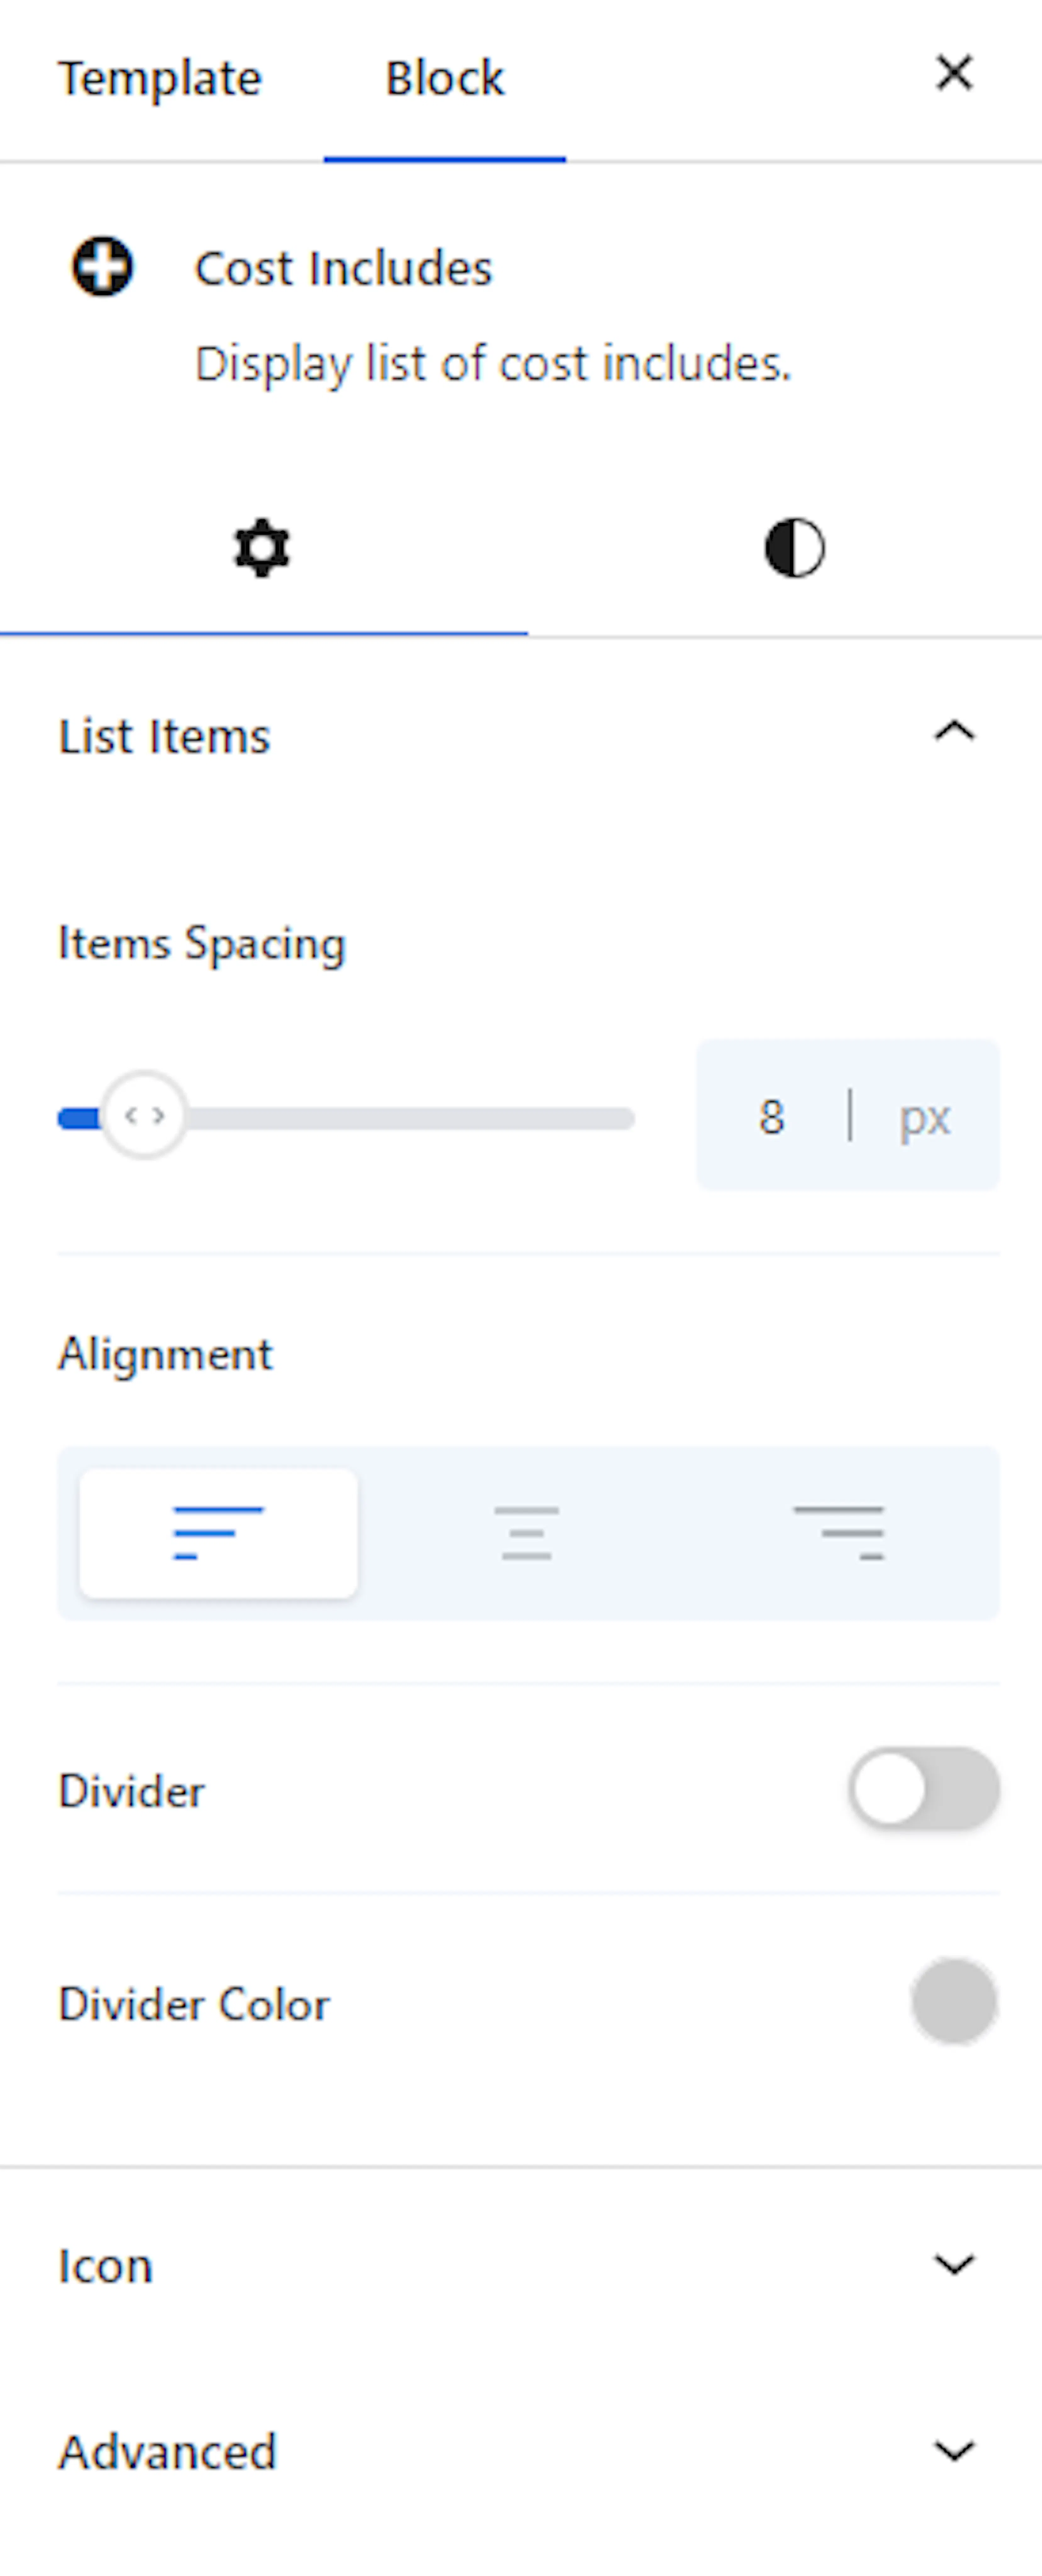
Cost Excludes block
Lists what's not included in the trip price, each item paired with an icon. If your trek price doesn't cover flights, travel insurance, or personal gear, this is where you list those. Same customization options as the Cost Includes block.
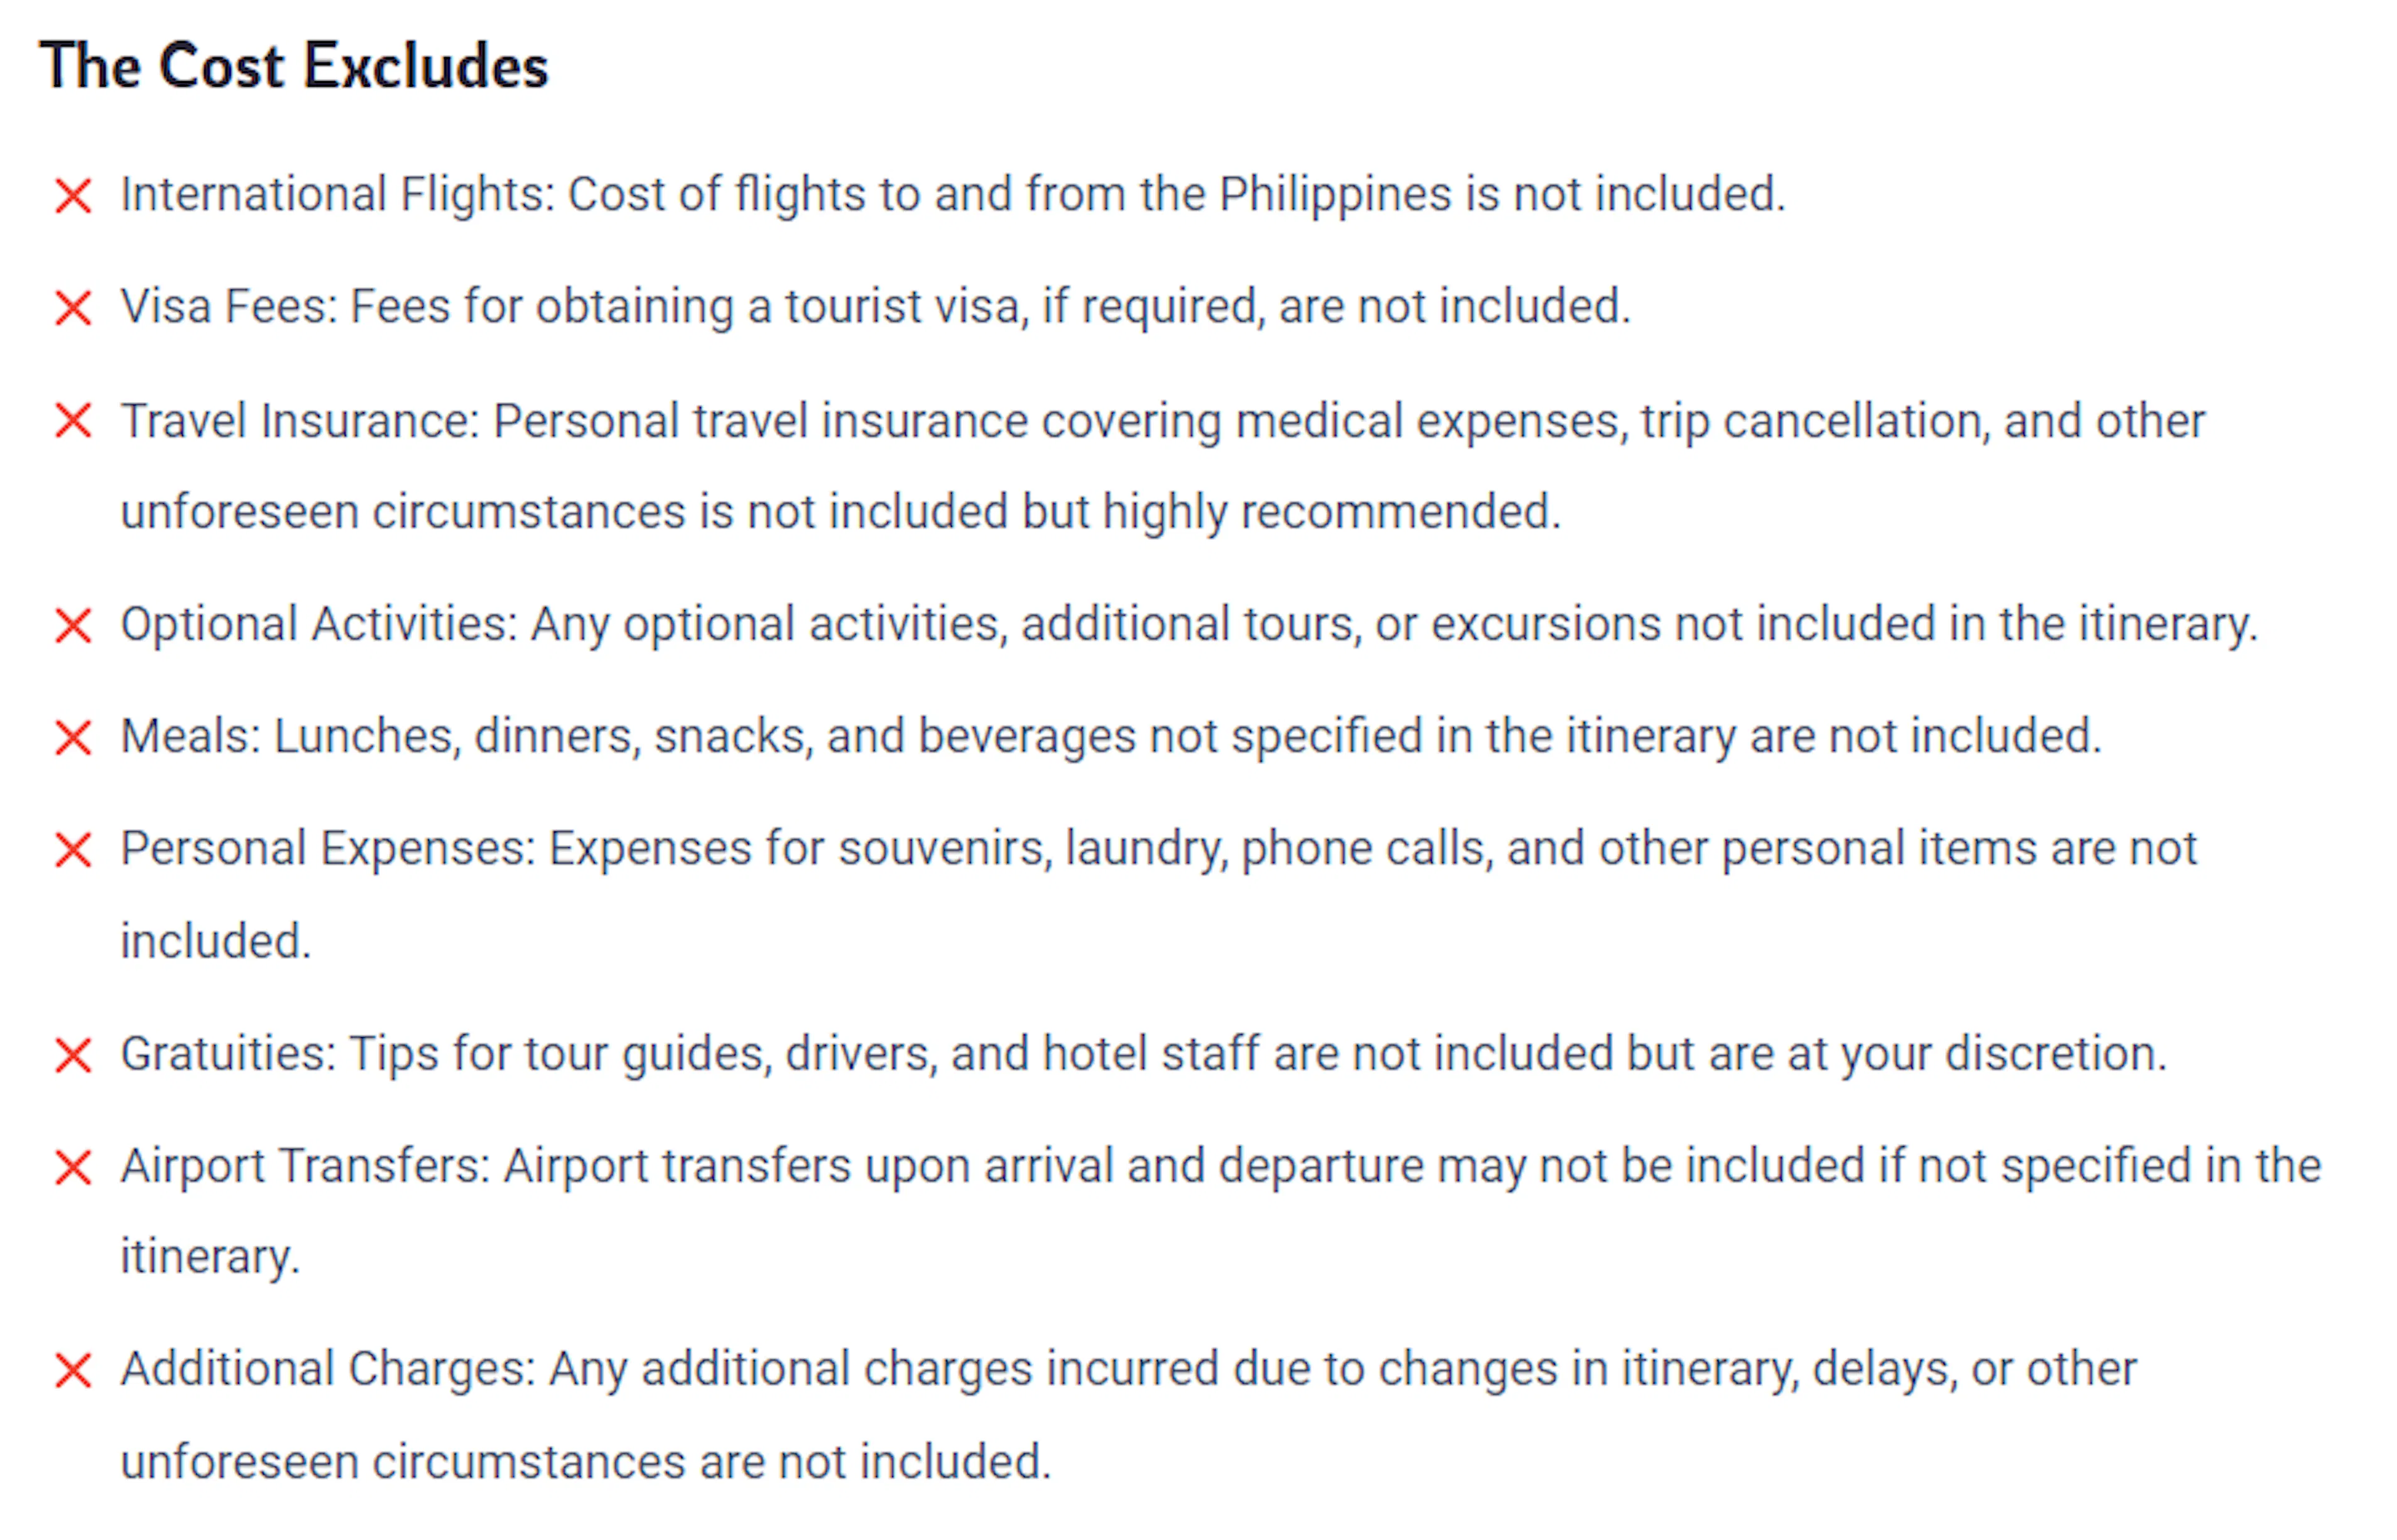
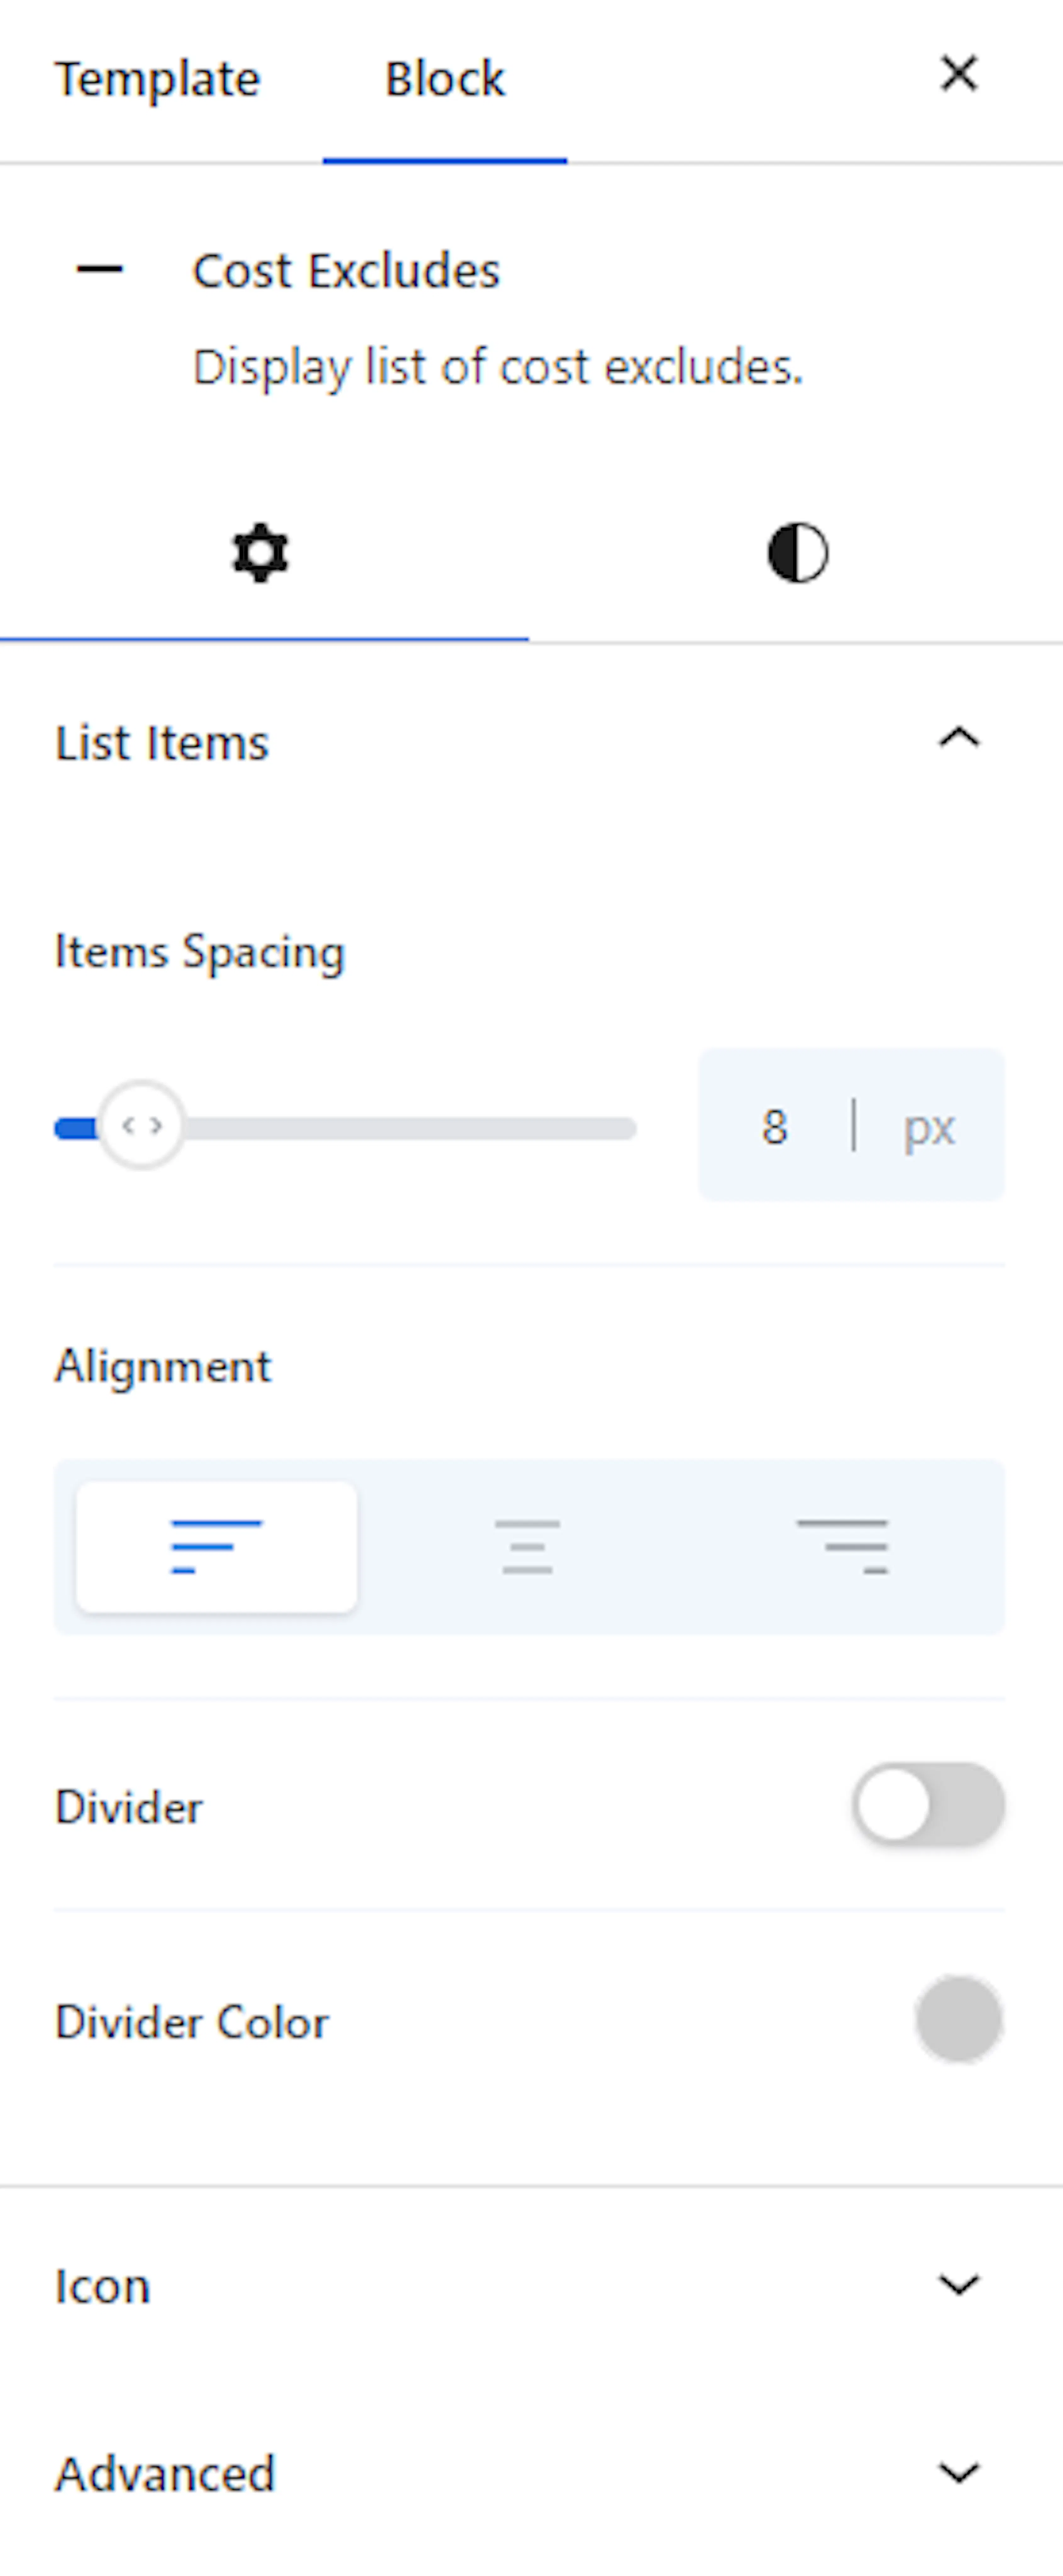
Trip FAQs block
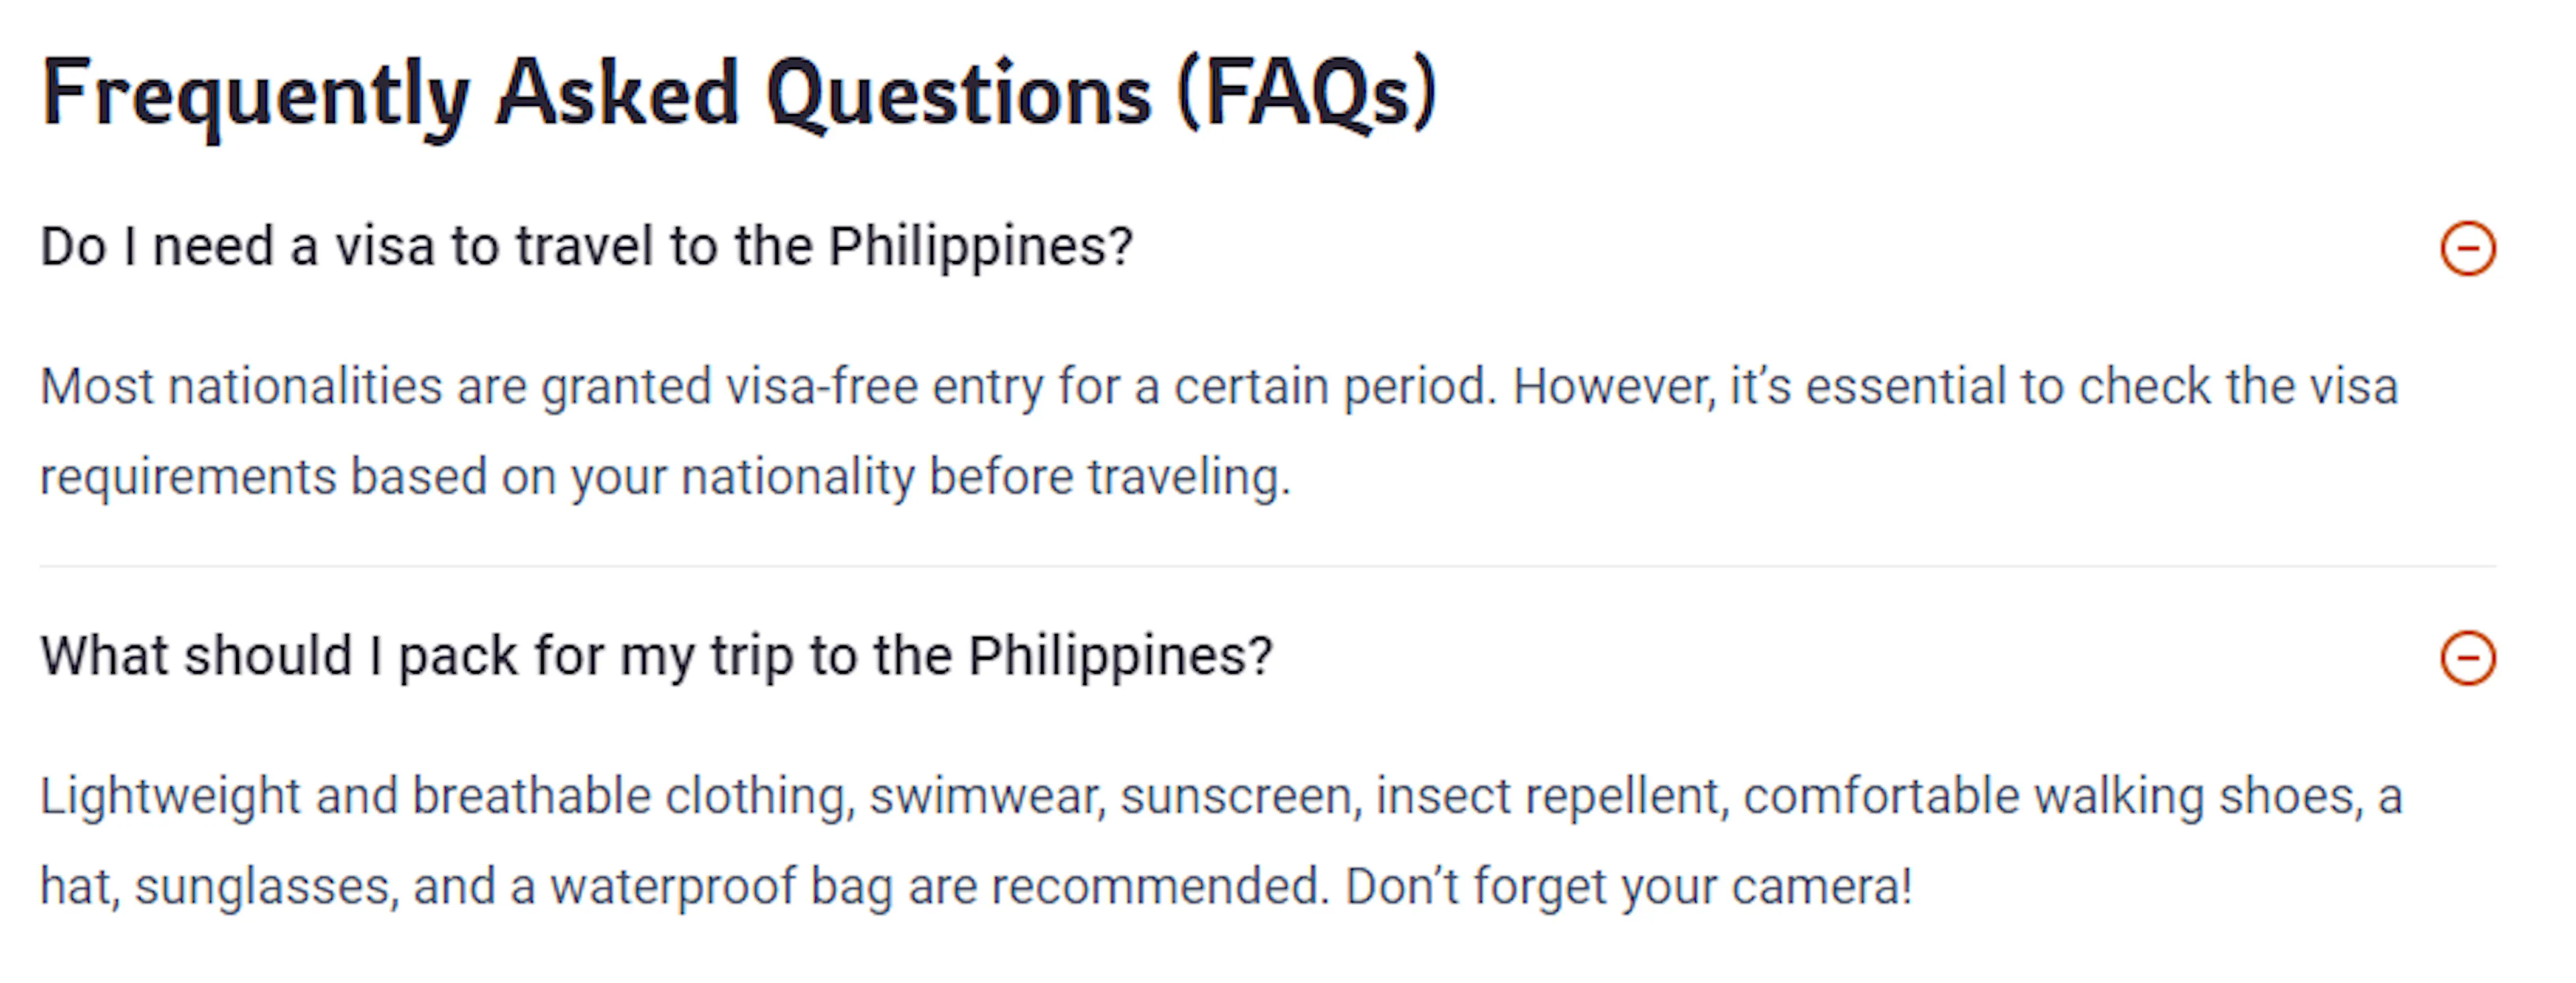
Adds a frequently asked questions section to the trip page. Travelers often ask the same things, like "Do I need a visa?" or "What should I pack?" This block lets you answer those questions right on the page, which also helps your site show up in search results.
Trip Itinerary block
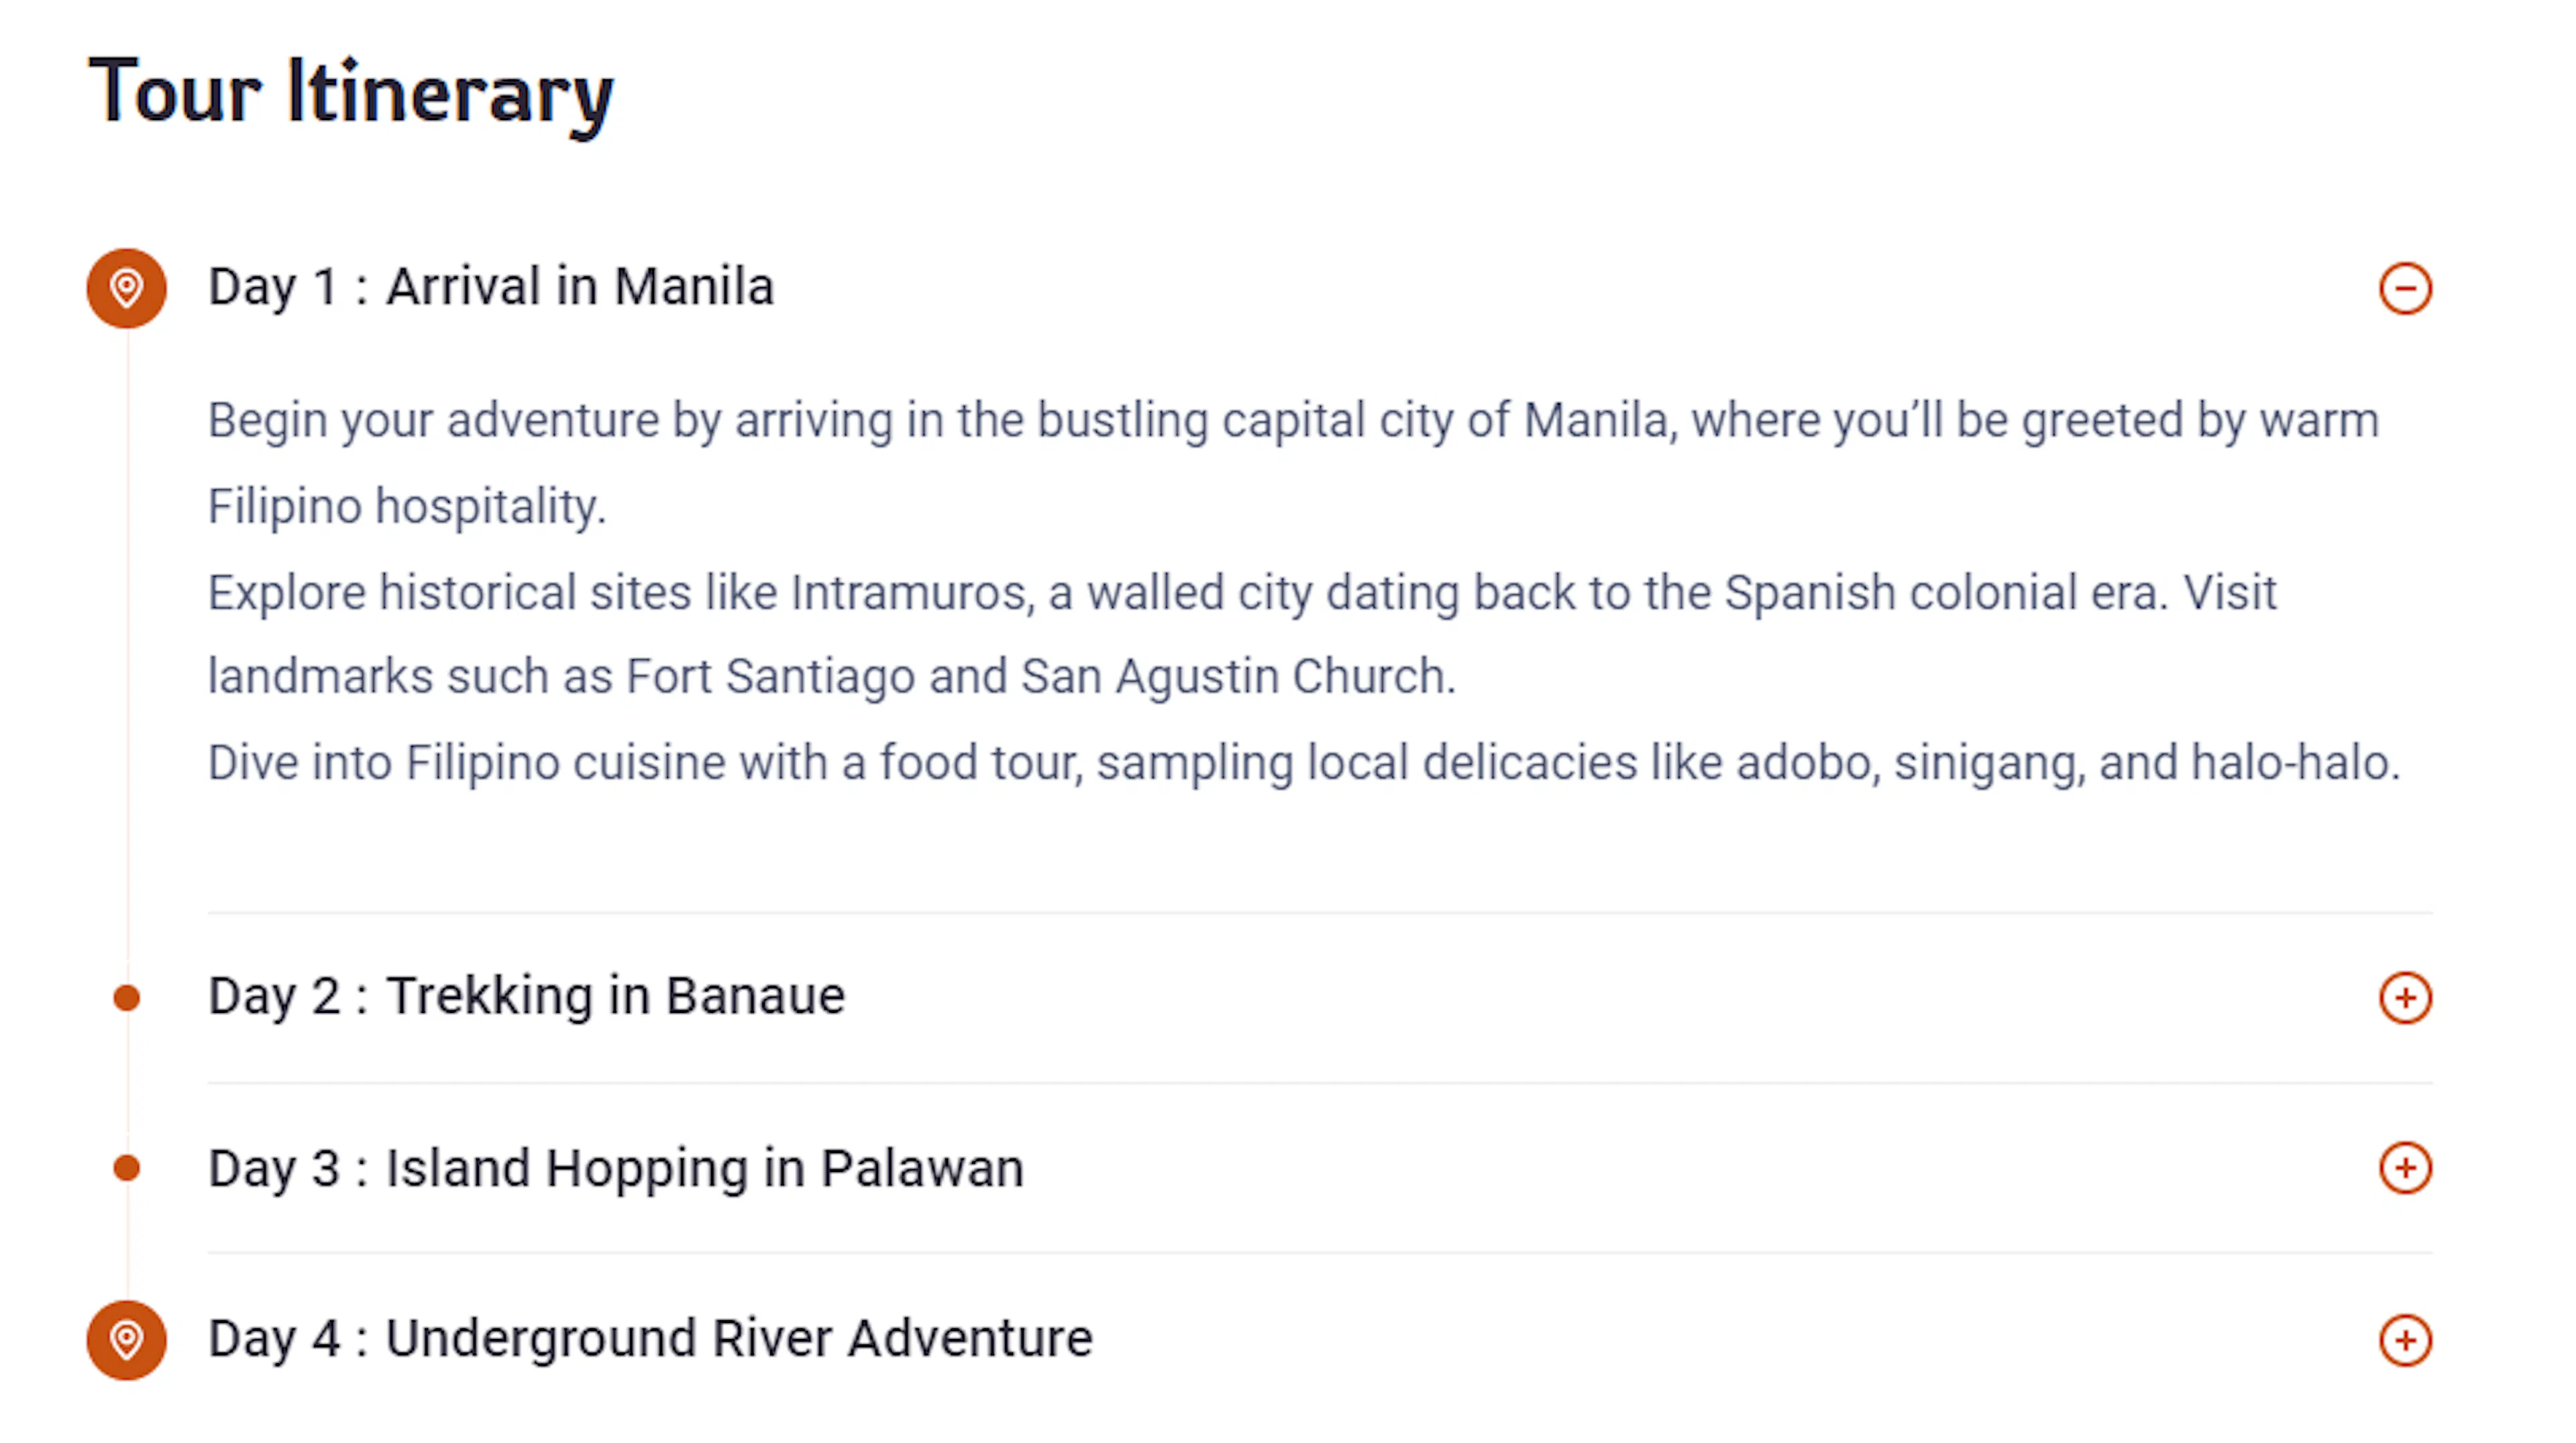
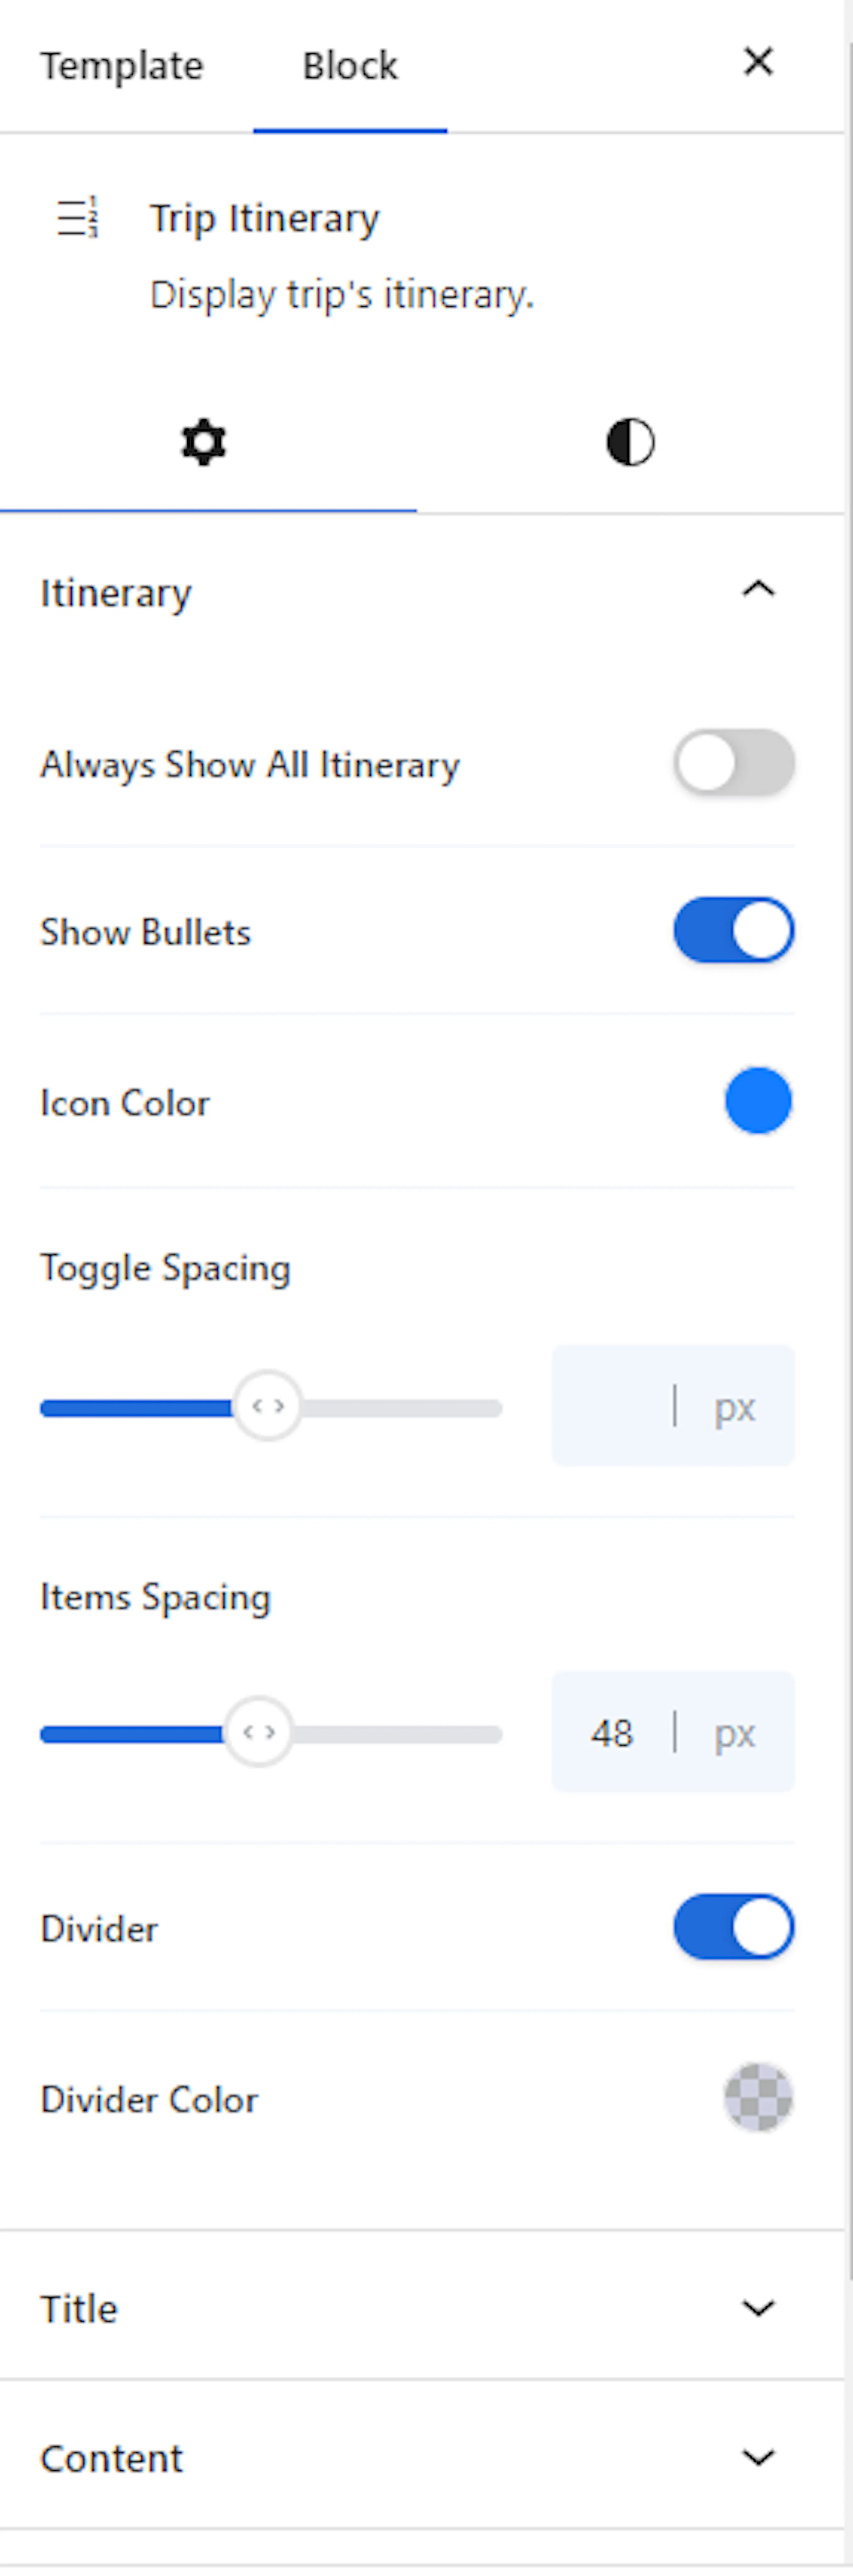
Builds a timeline-style itinerary for your trip. For a 5-day trek, you'd add Day 1 through Day 5, each with a title like "Fly to Lukla and trek to Phakding" and a short description of what happens that day. You can edit titles, descriptions, icons, and dates for each day.
Trip Itinerary Altitude Chart block
Turns your trip's altitude changes into a visual chart. If your trek goes from 2,800m in Lukla up to 5,545m at Kala Patthar, this block plots those changes so travelers can see the climb at a glance. You can customize the chart colors, altitude unit, axis labels, and line tension.
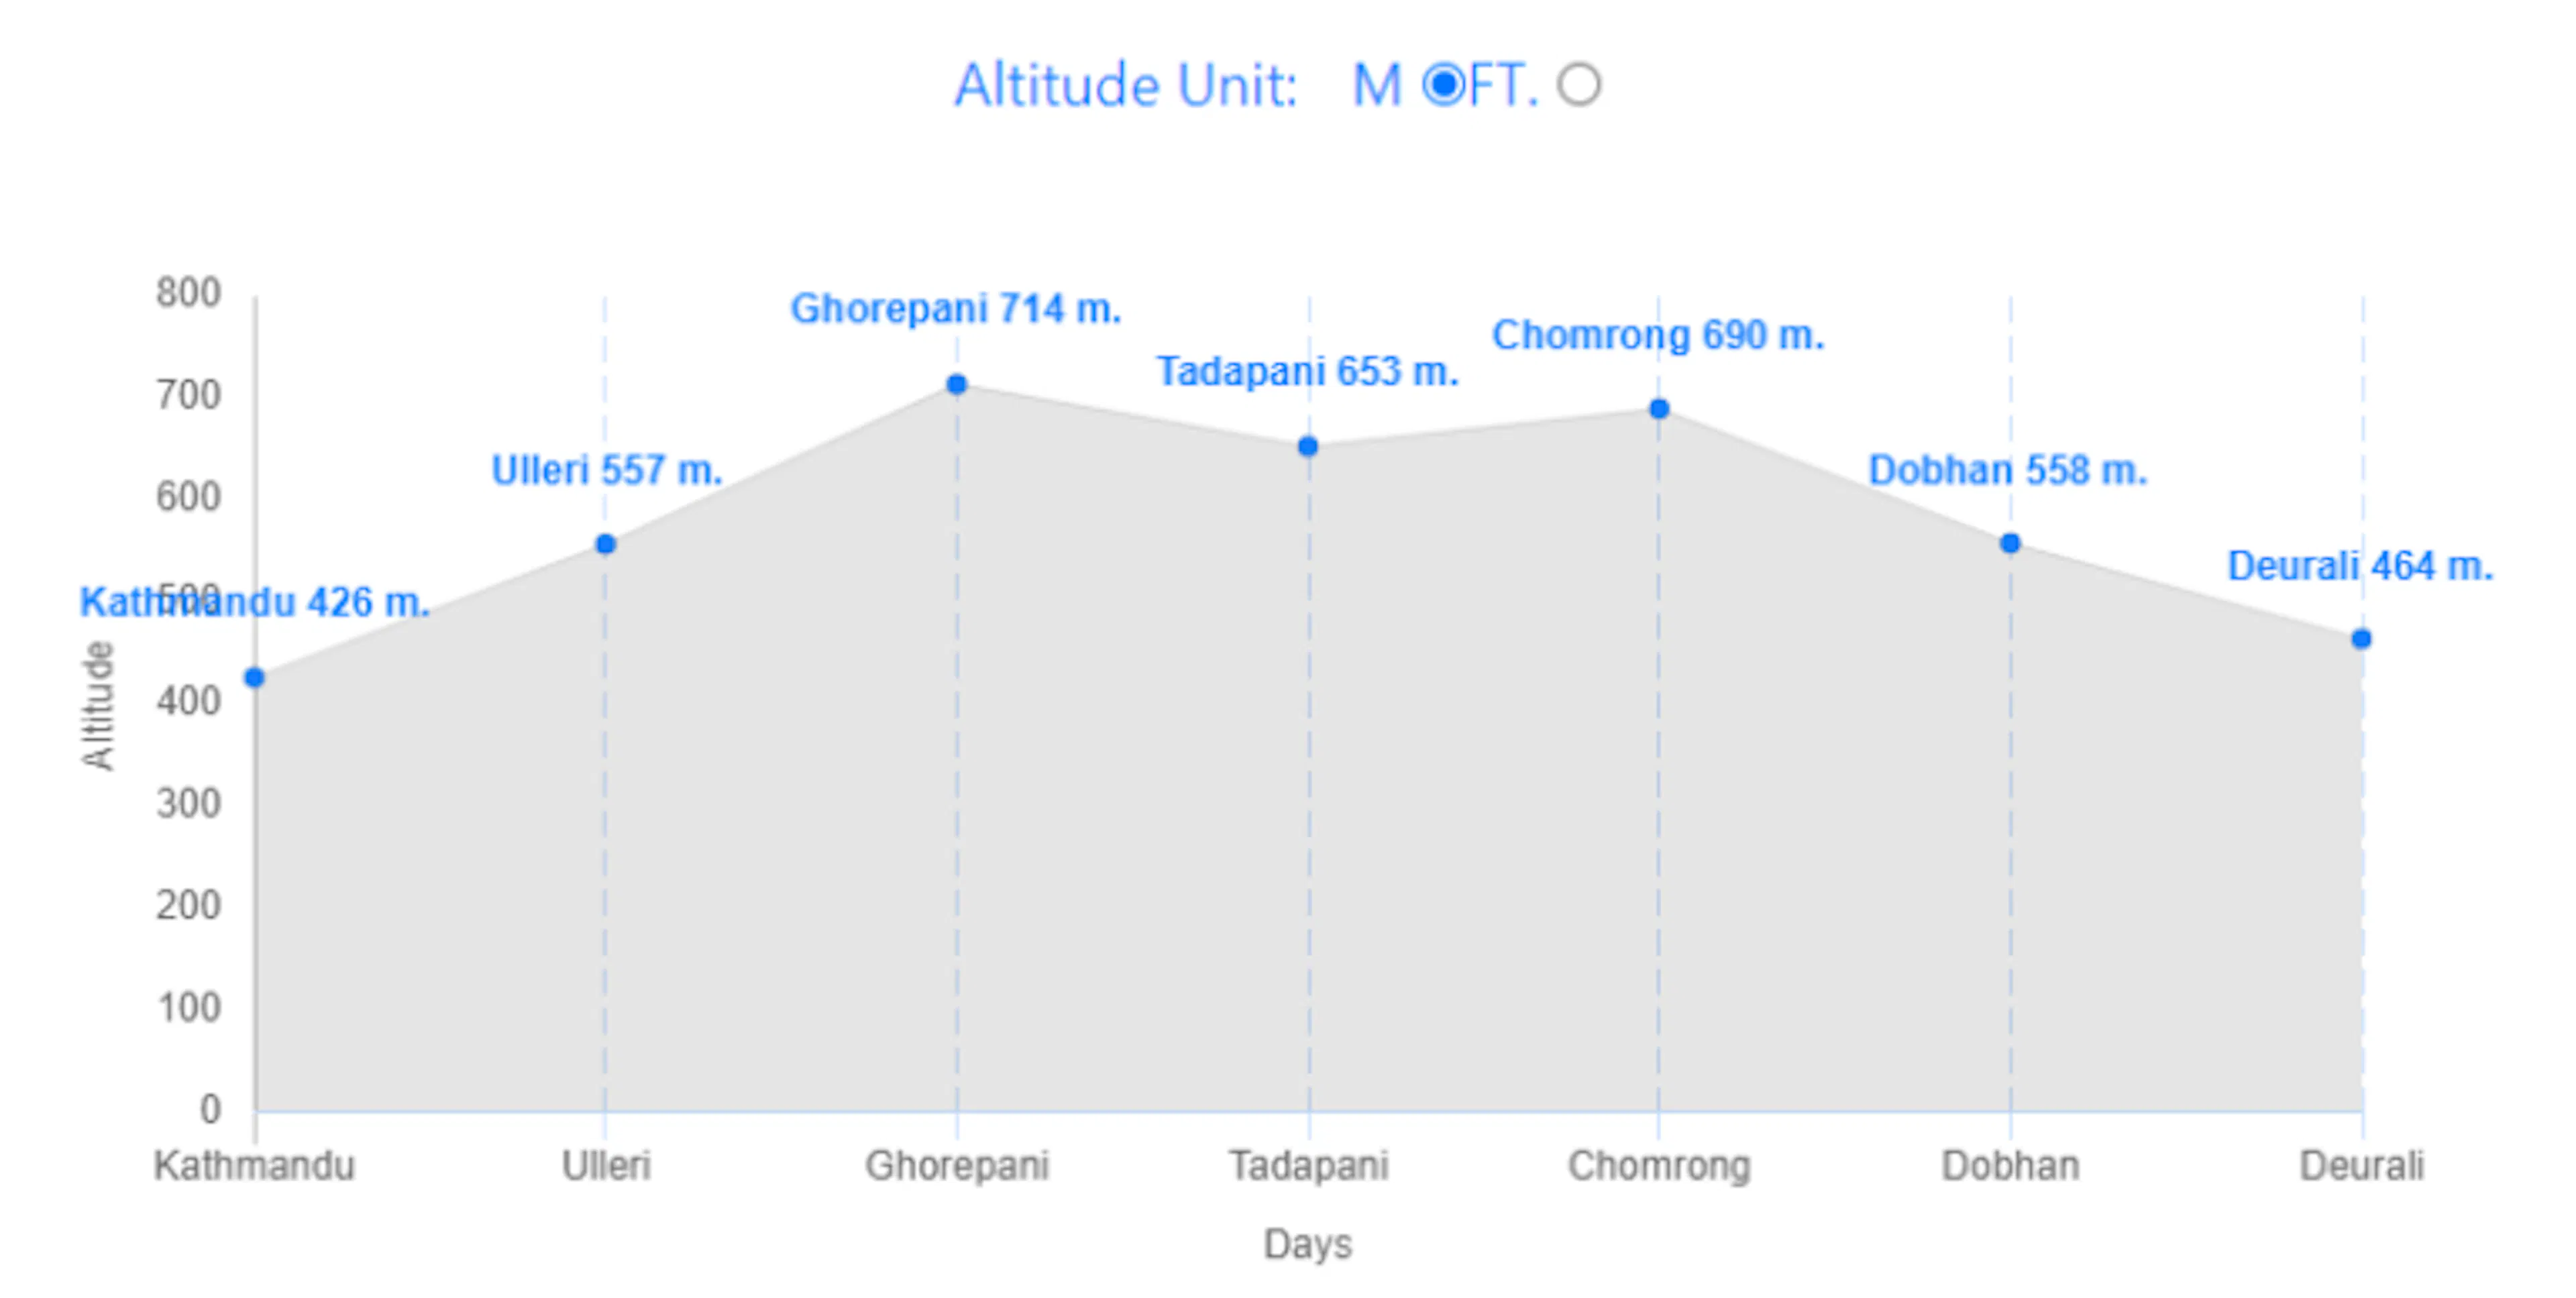
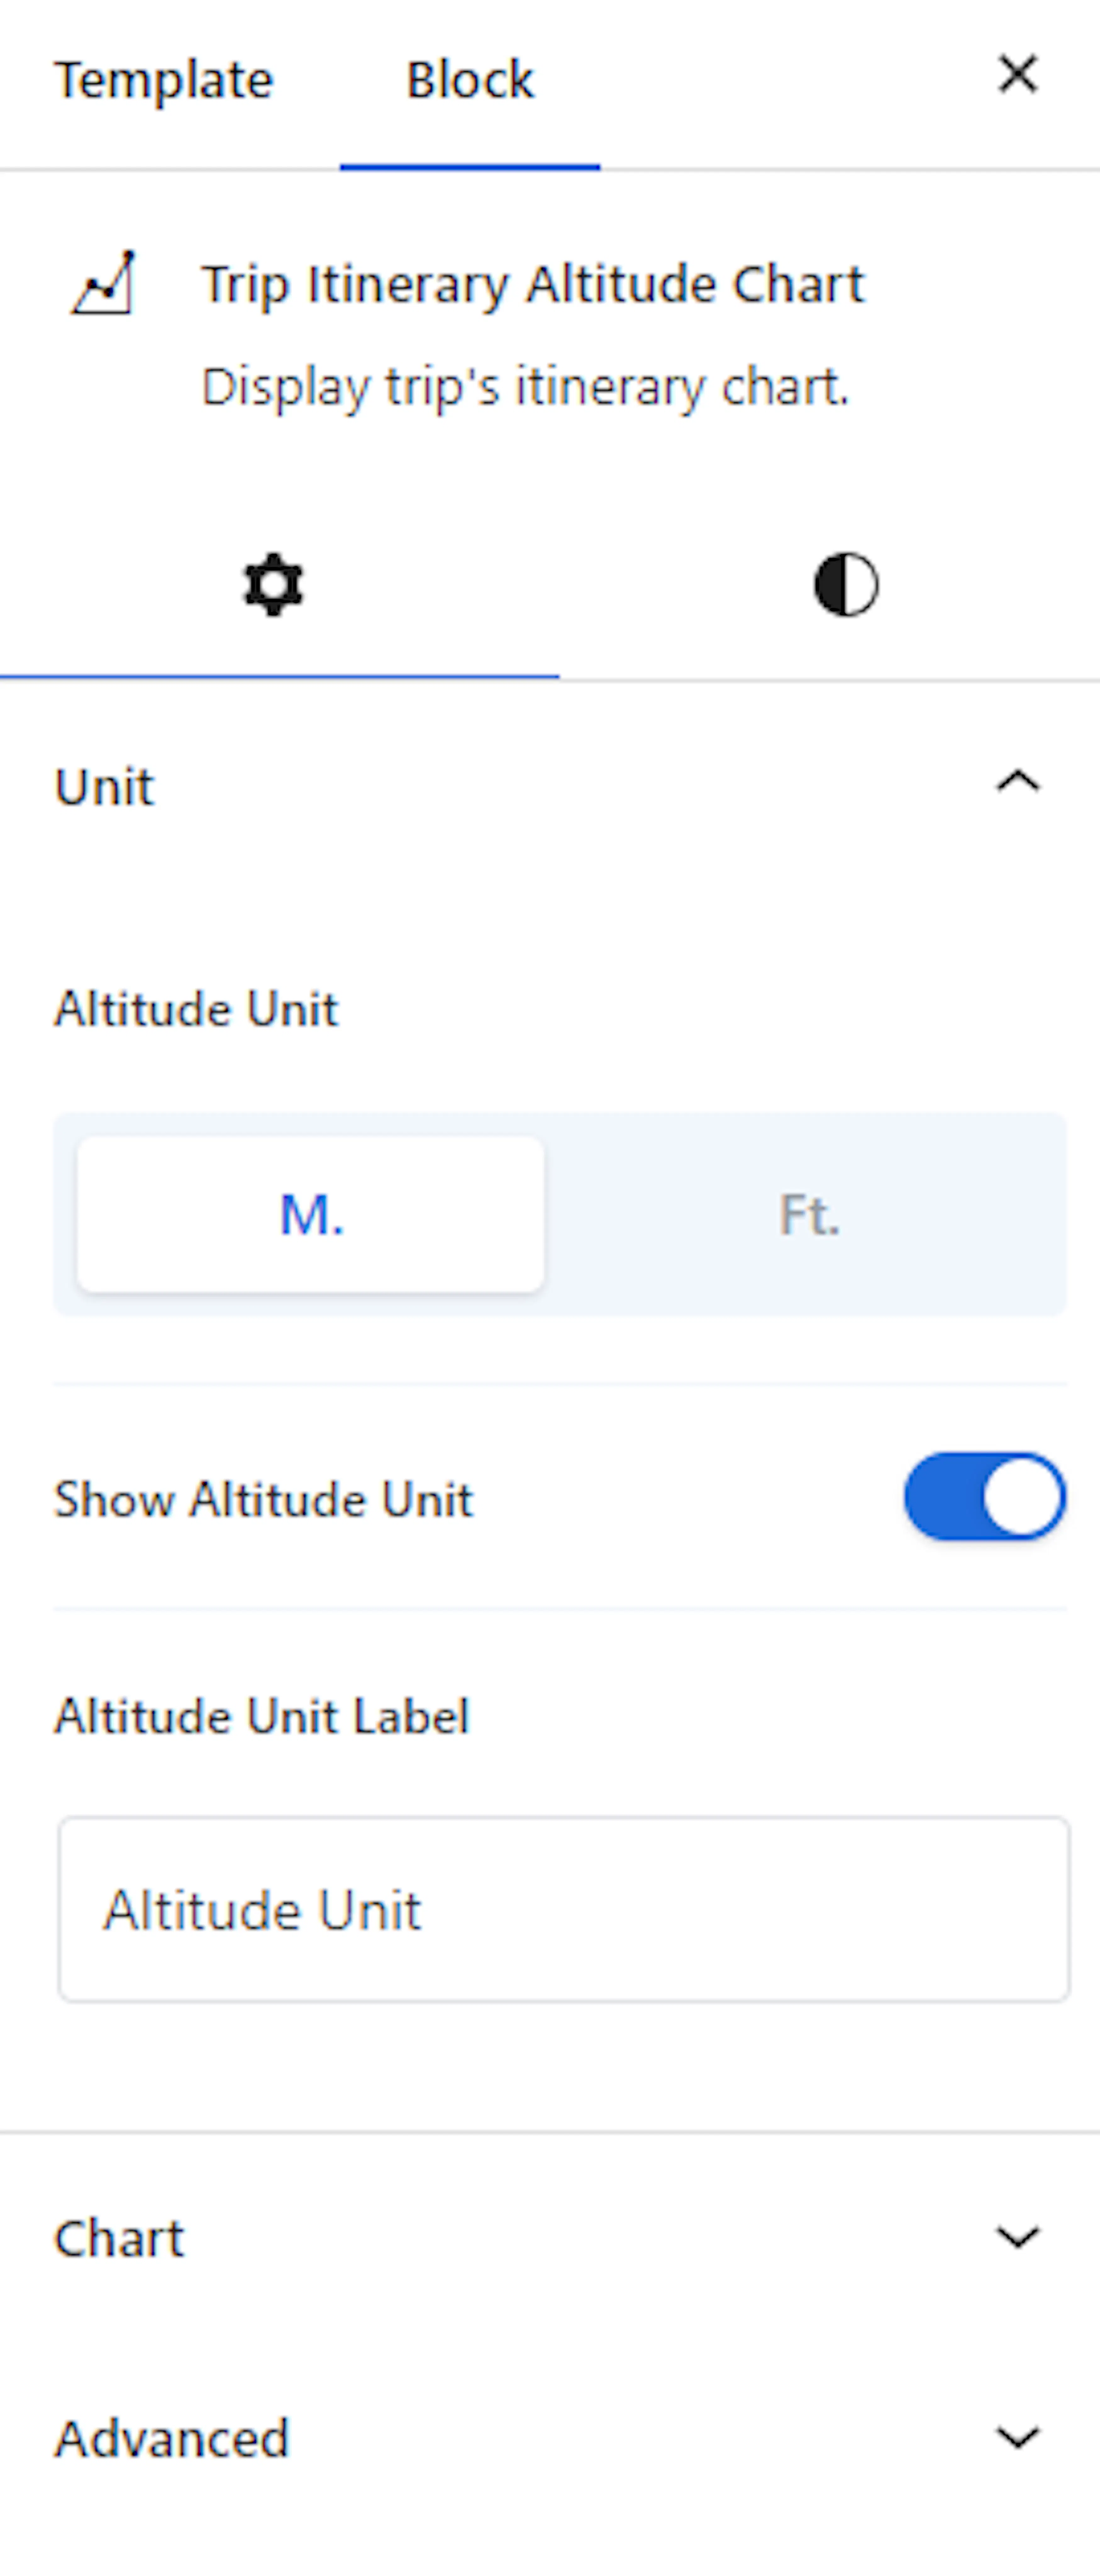
This block requires the Advanced Itinerary Builder add-on. An add-on is an optional extension you install alongside WP Travel Engine to unlock extra features.
Trip Map block
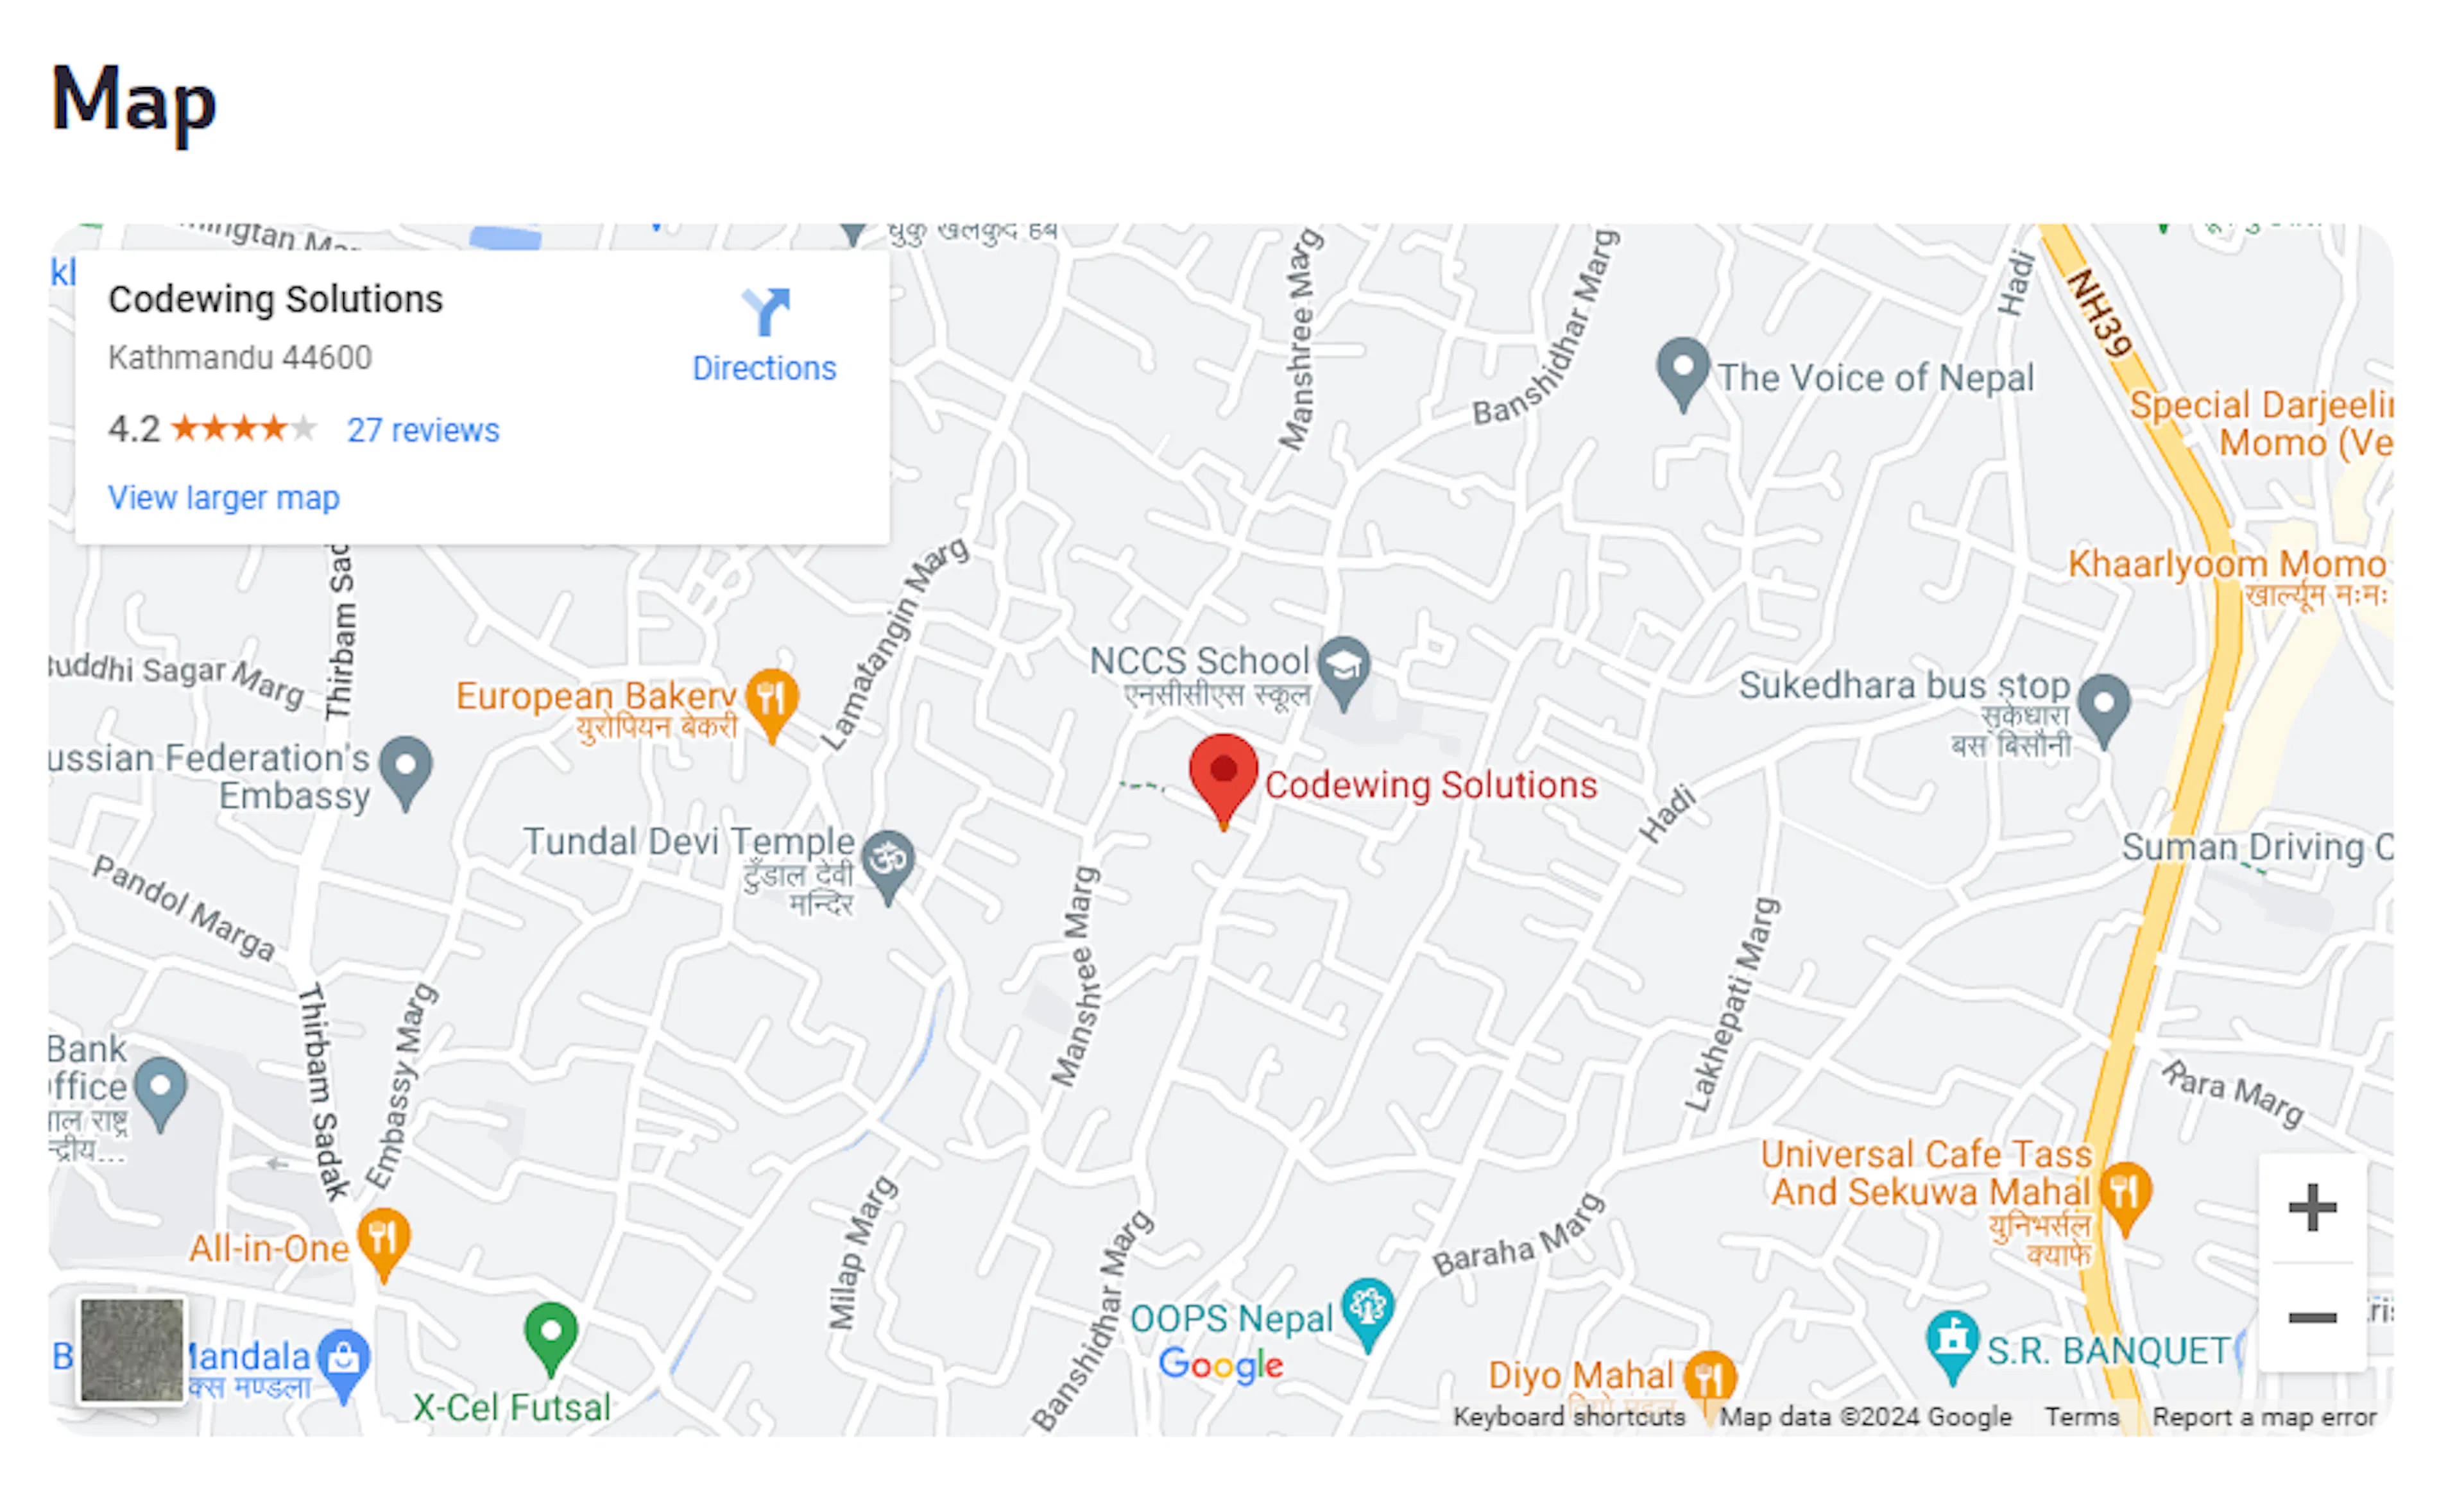
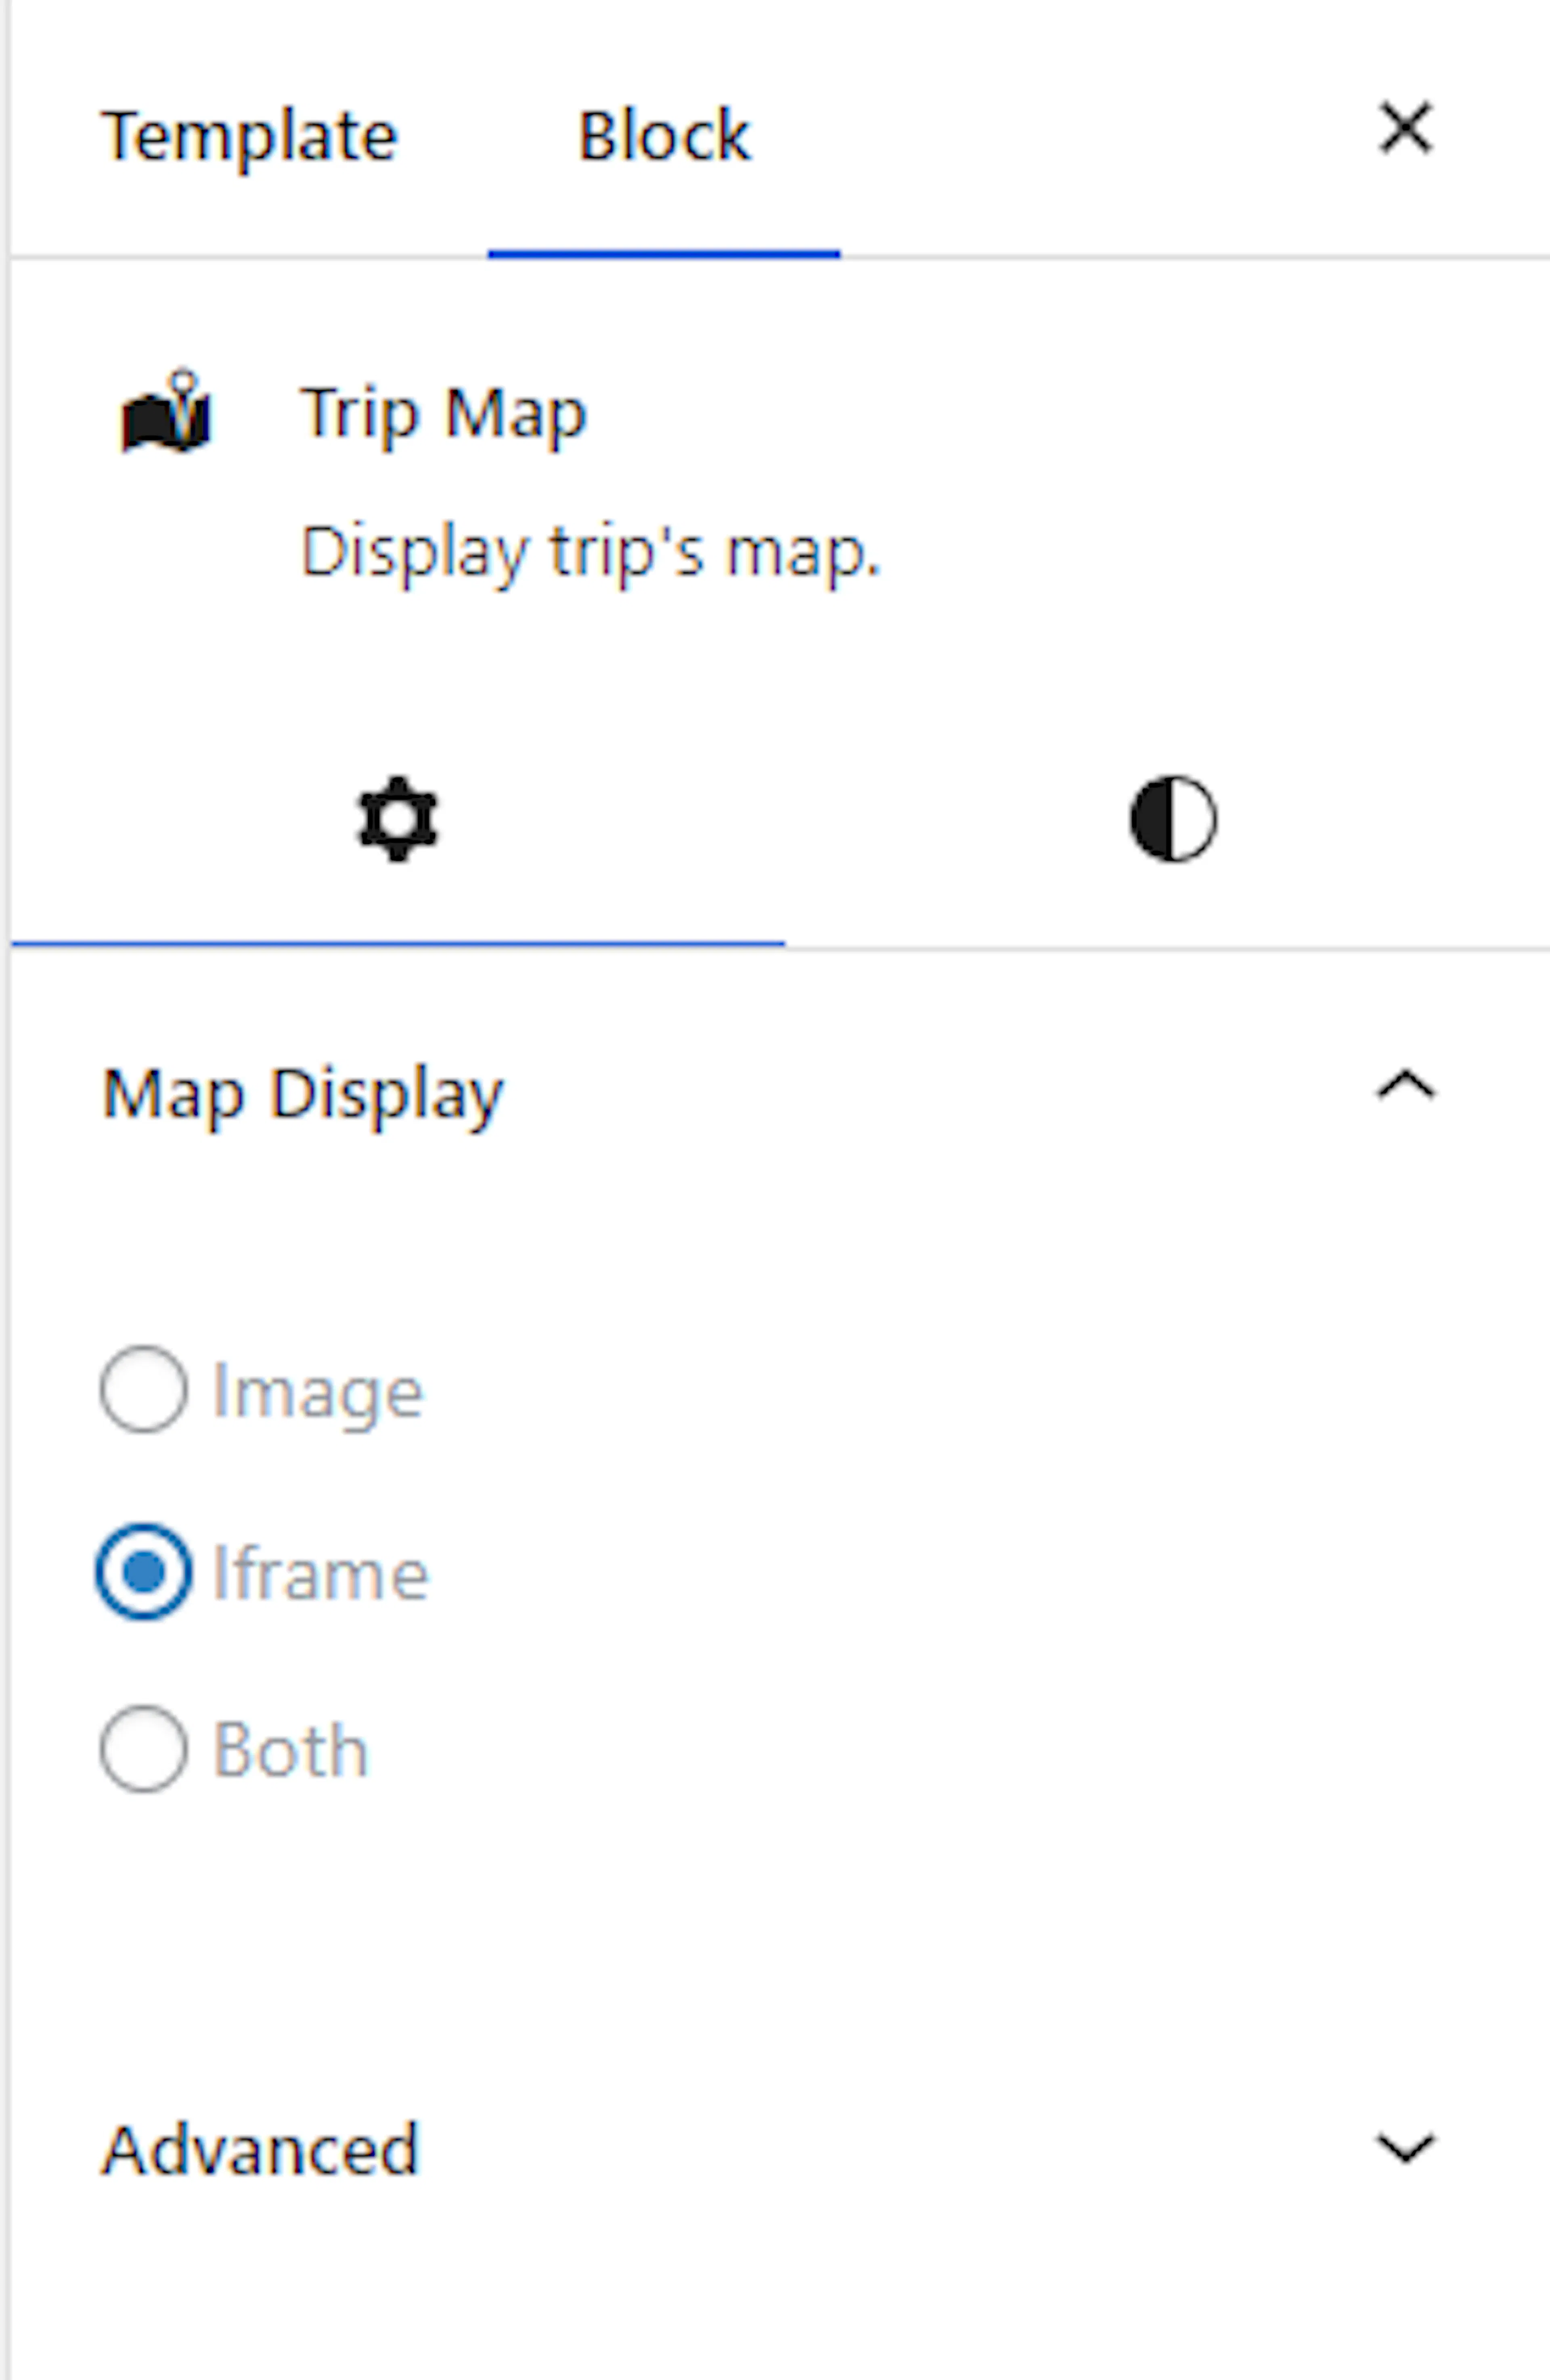
Embeds an interactive map on your trip page. If your trek starts in Kathmandu, goes through Lukla and Namche Bazaar, and ends at Everest Base Camp, this block plots each stop on the map. Visitors can zoom and pan to explore. You can adjust the map height to fit your page.
Trip Enquiry block
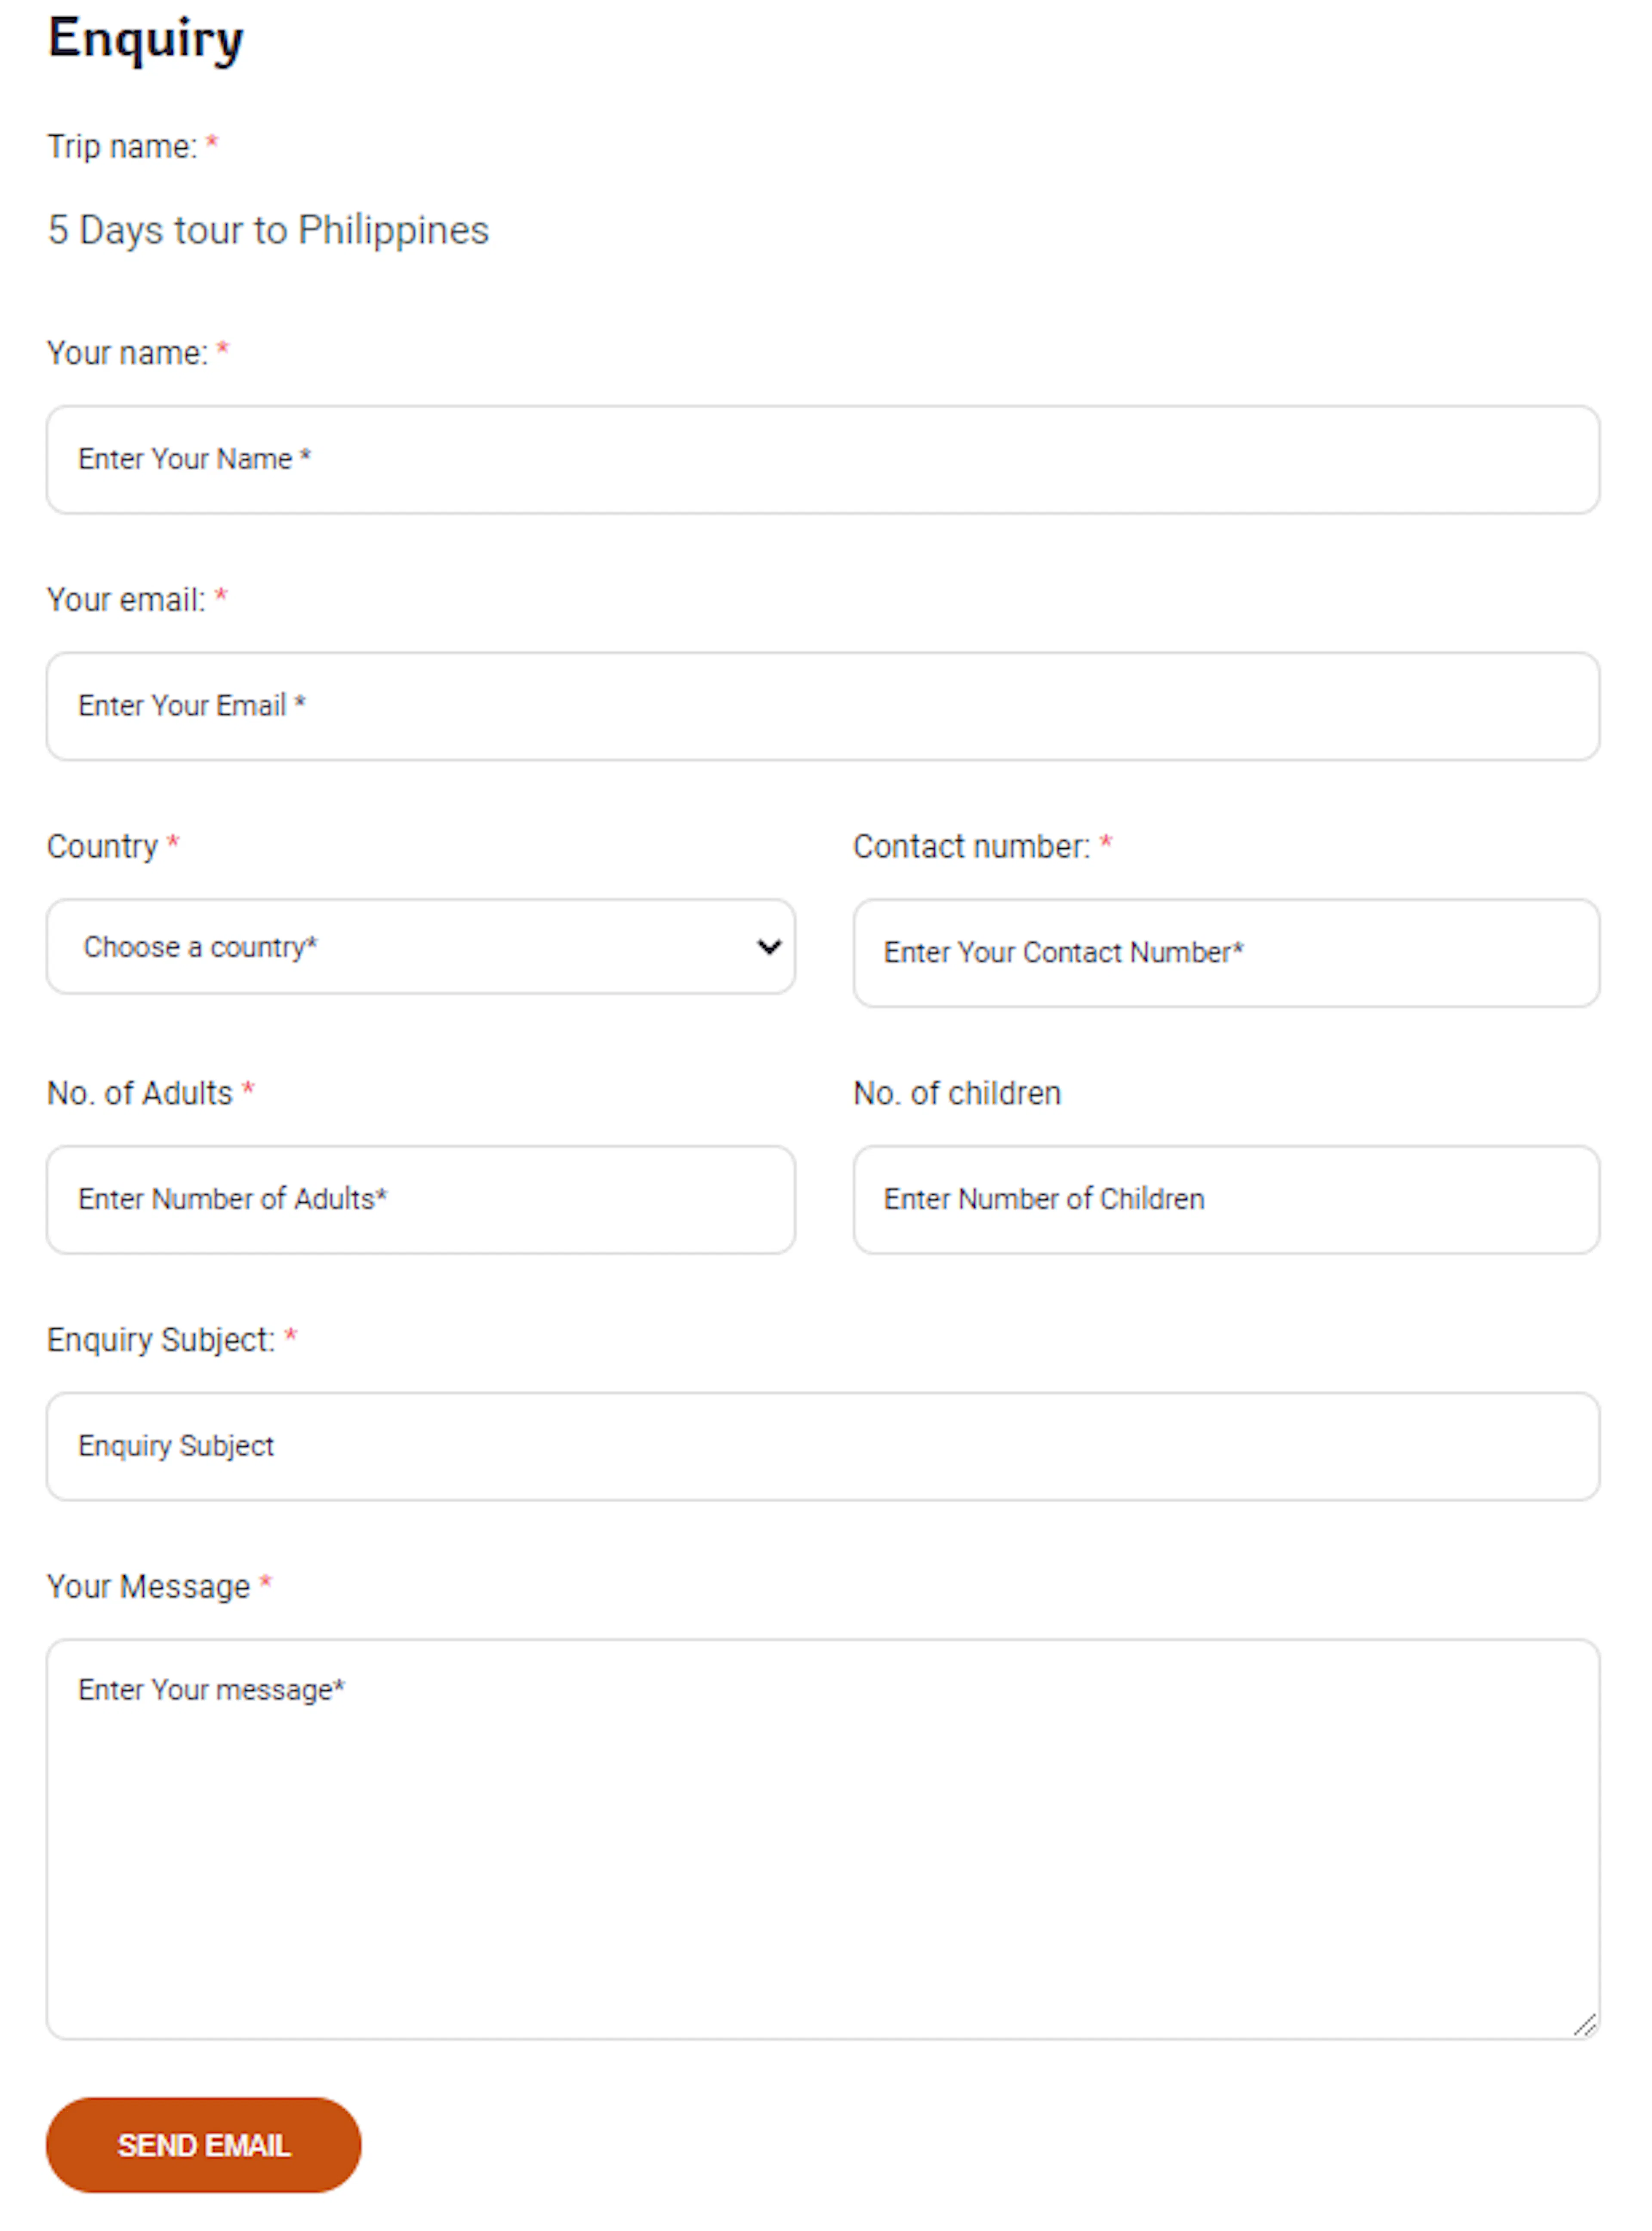
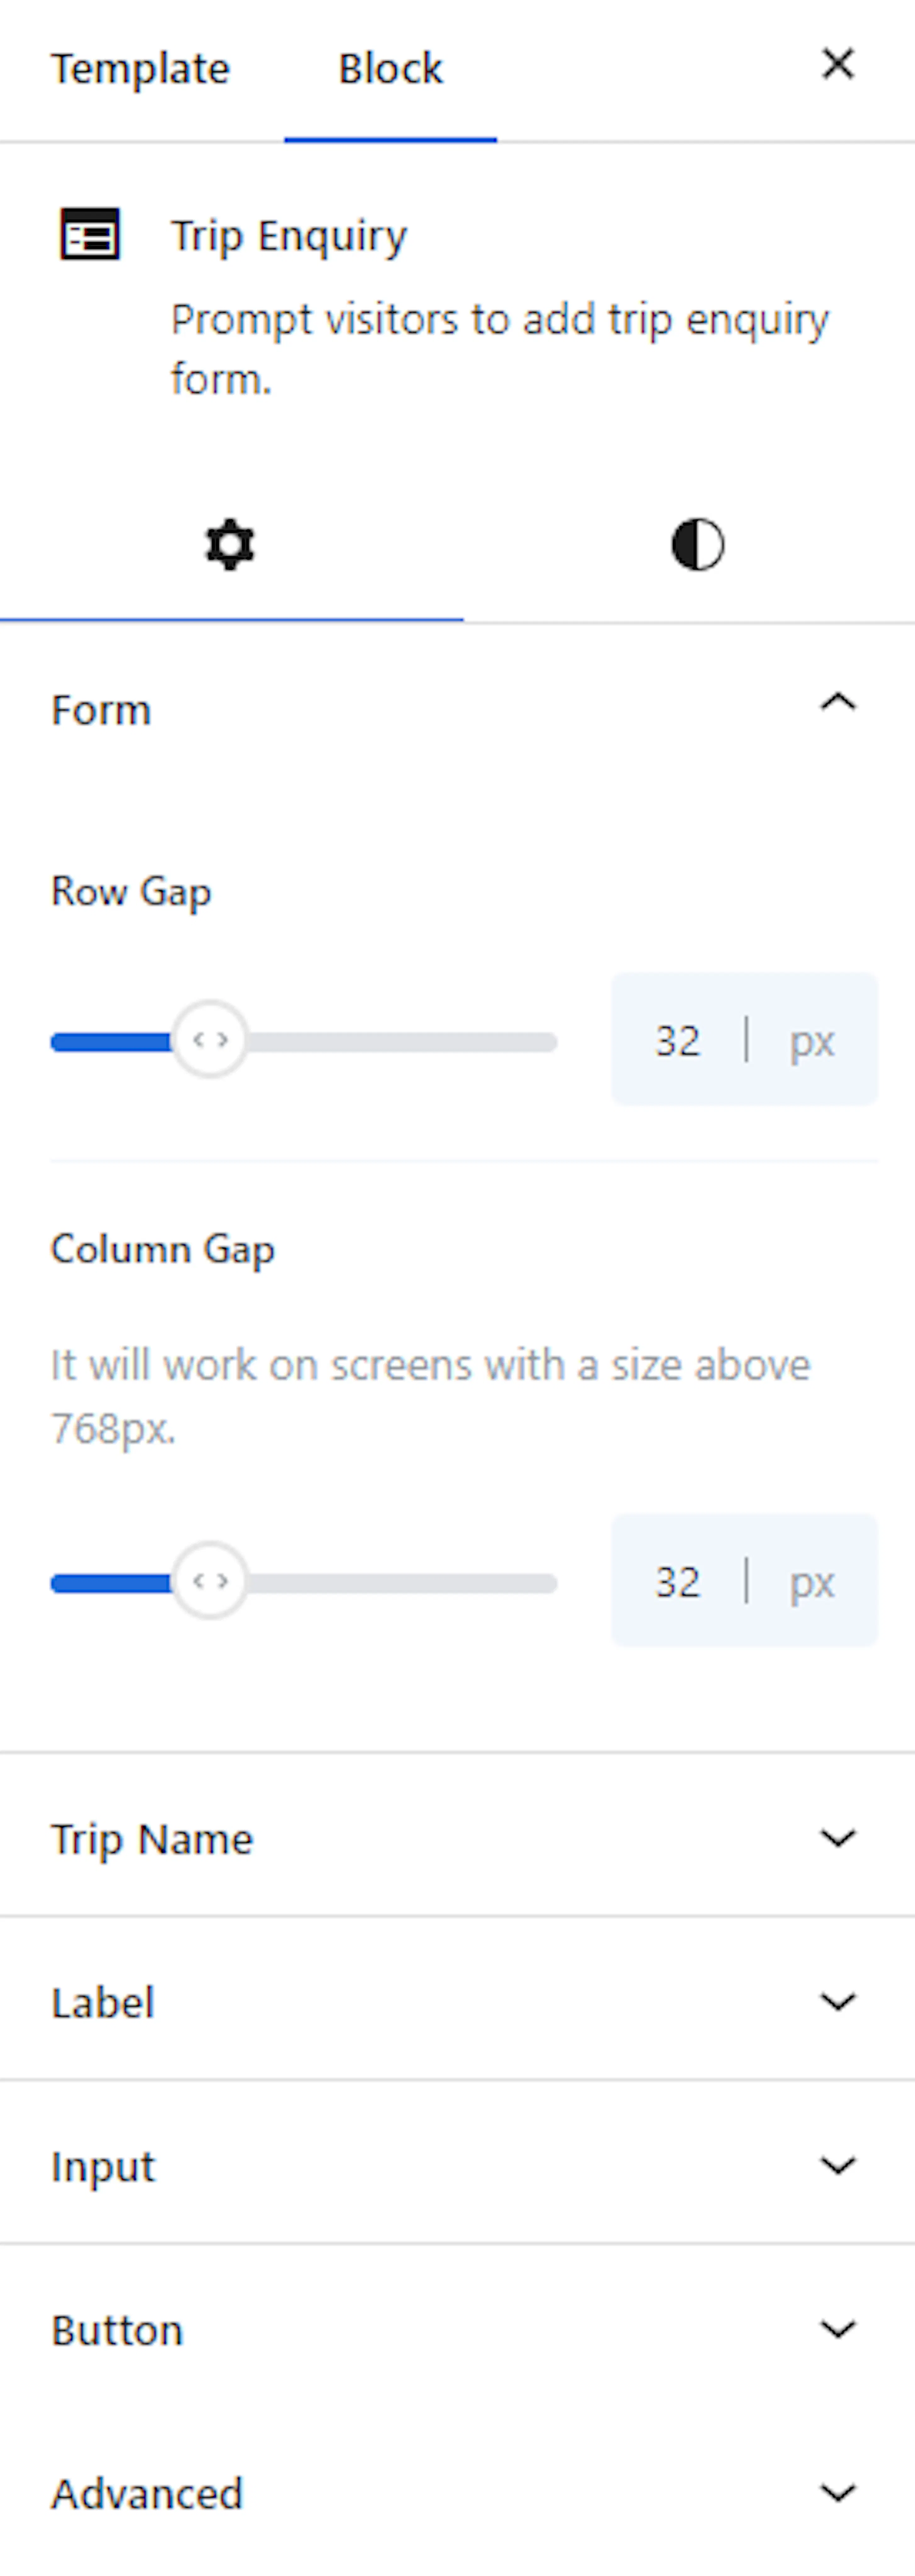
Adds a contact form so visitors can ask questions right from the trip page. Say a traveler is interested in your trek but wants to ask about available dates before booking. This block gives them a form to reach you without leaving the page. You can style the form to match your site.
WP Travel Engine Tab block
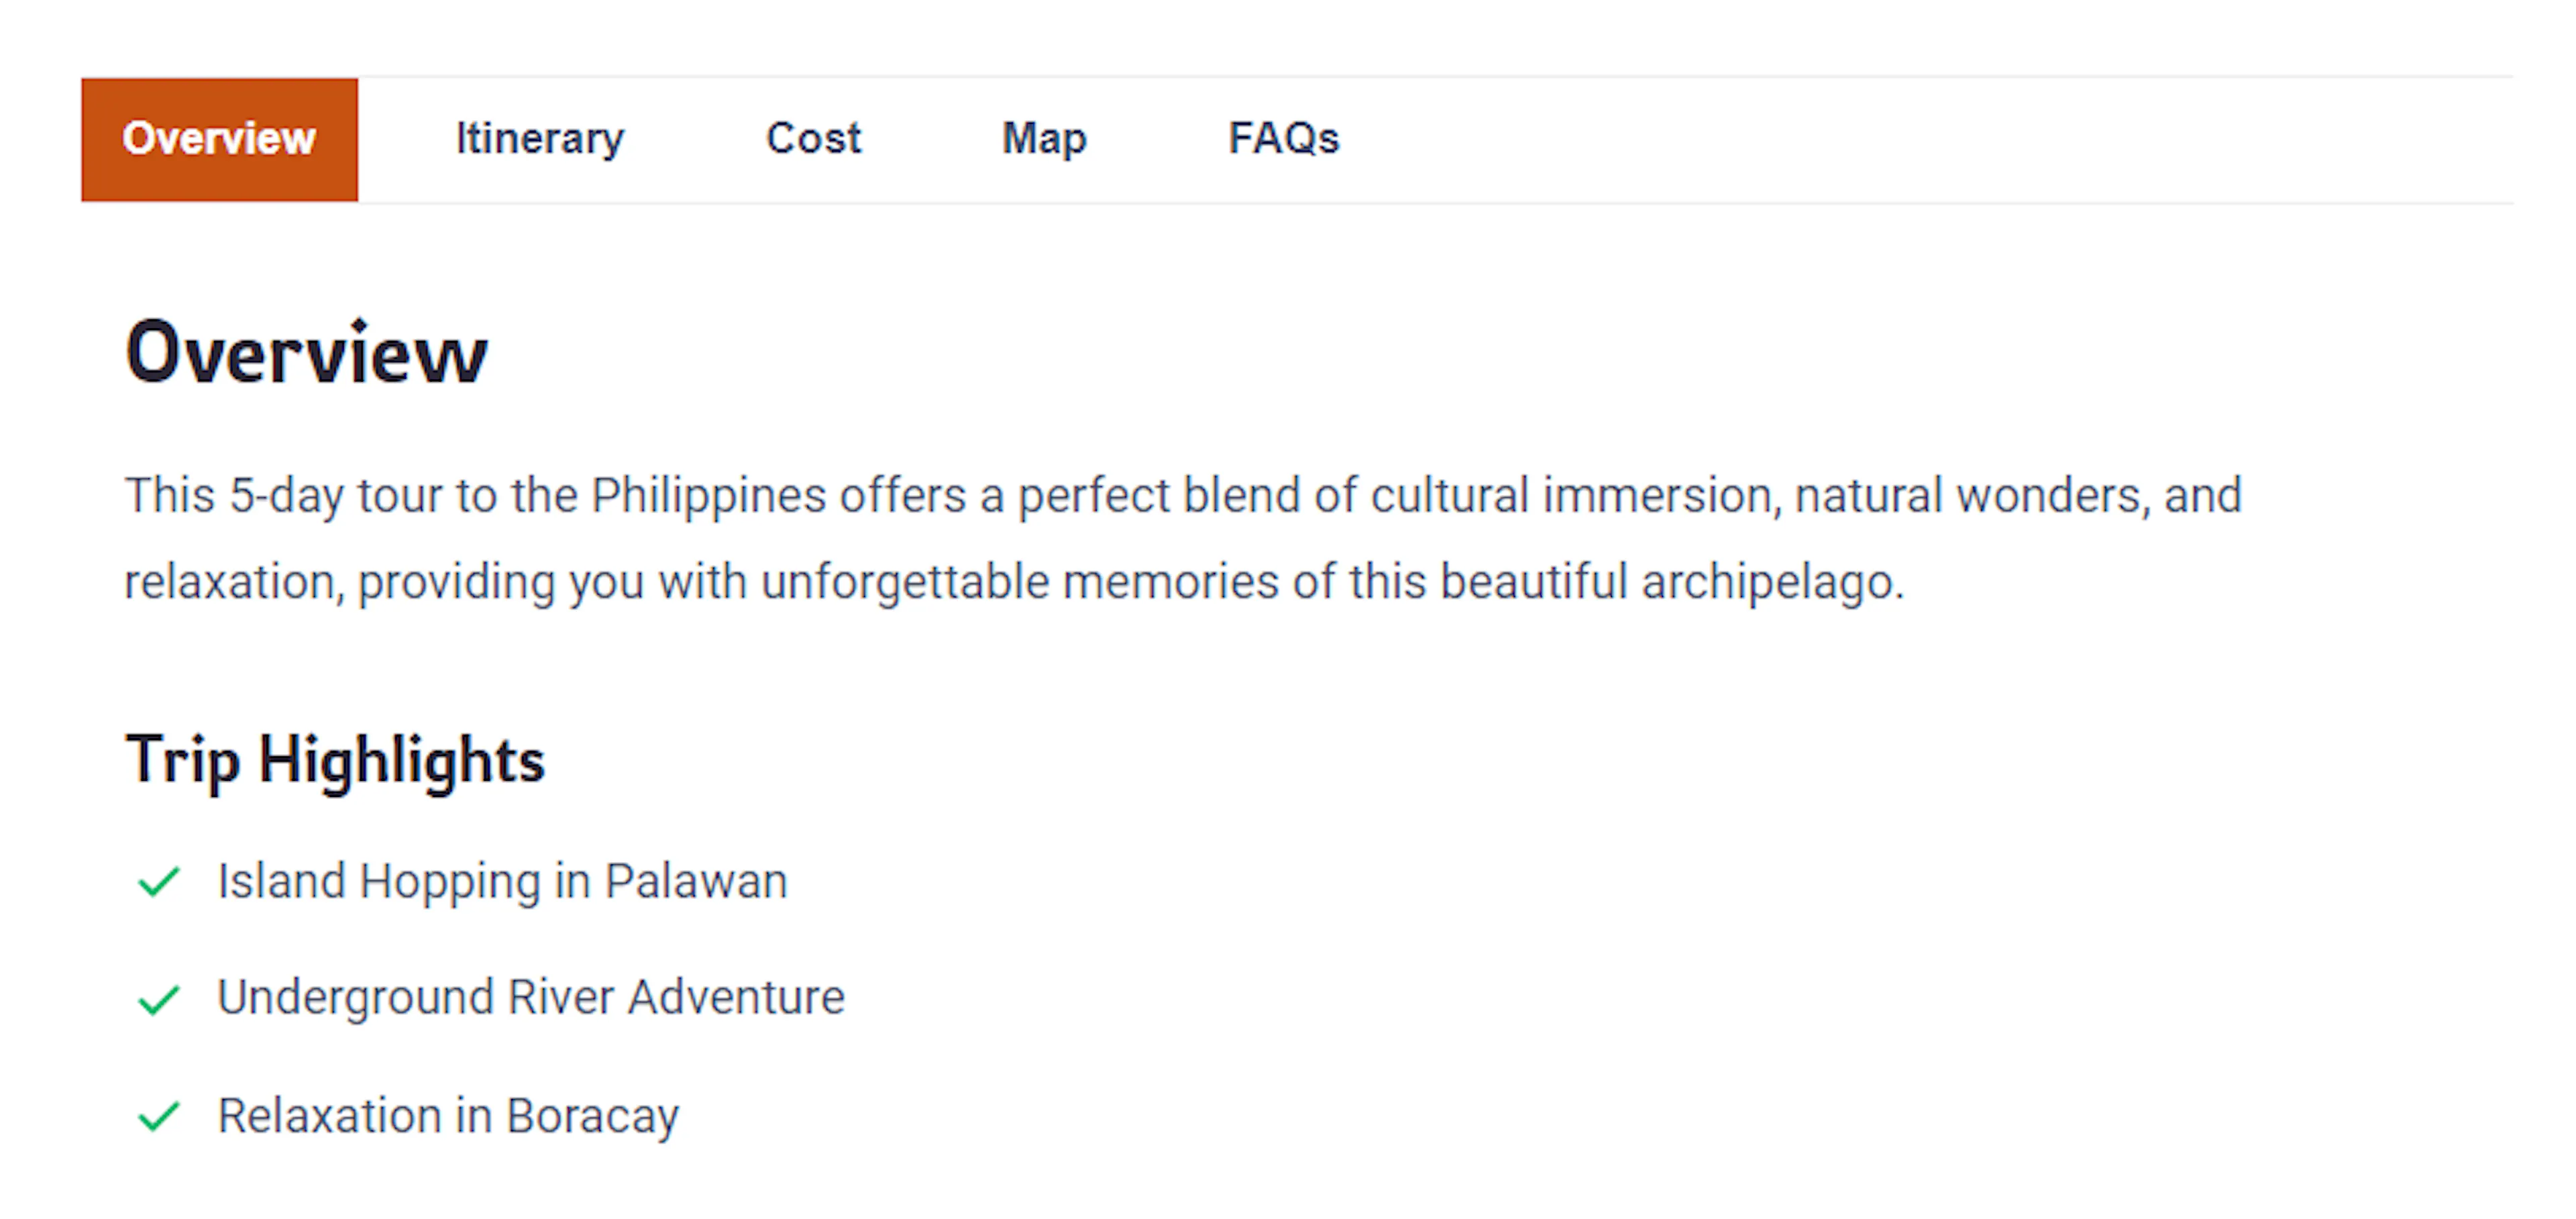
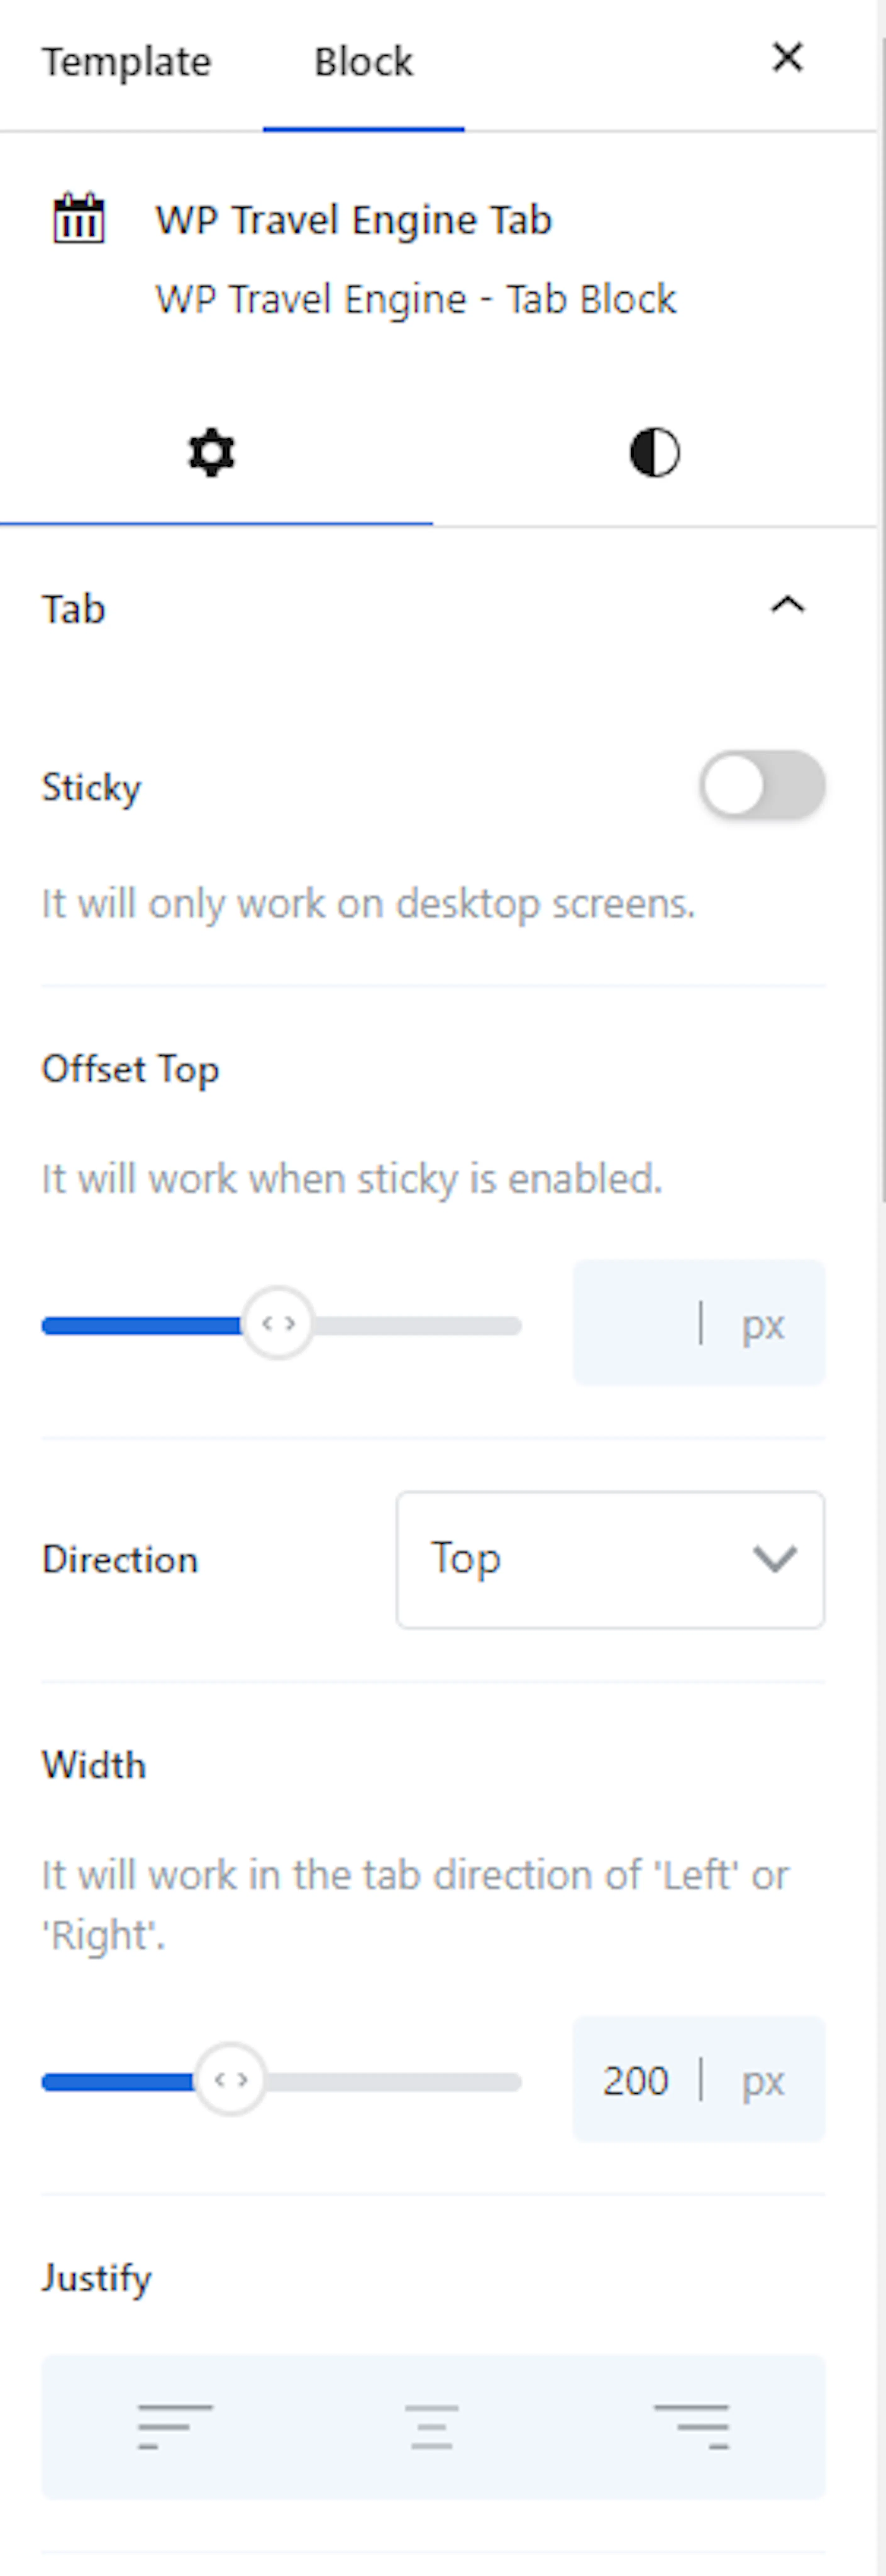
Organizes your trip information into tabs. Instead of one long page, travelers see tabs they can click through. For example, you could have tabs labeled "Overview," "Itinerary," "Cost," and "Reviews." You can configure the colors, fonts, and spacing between elements.
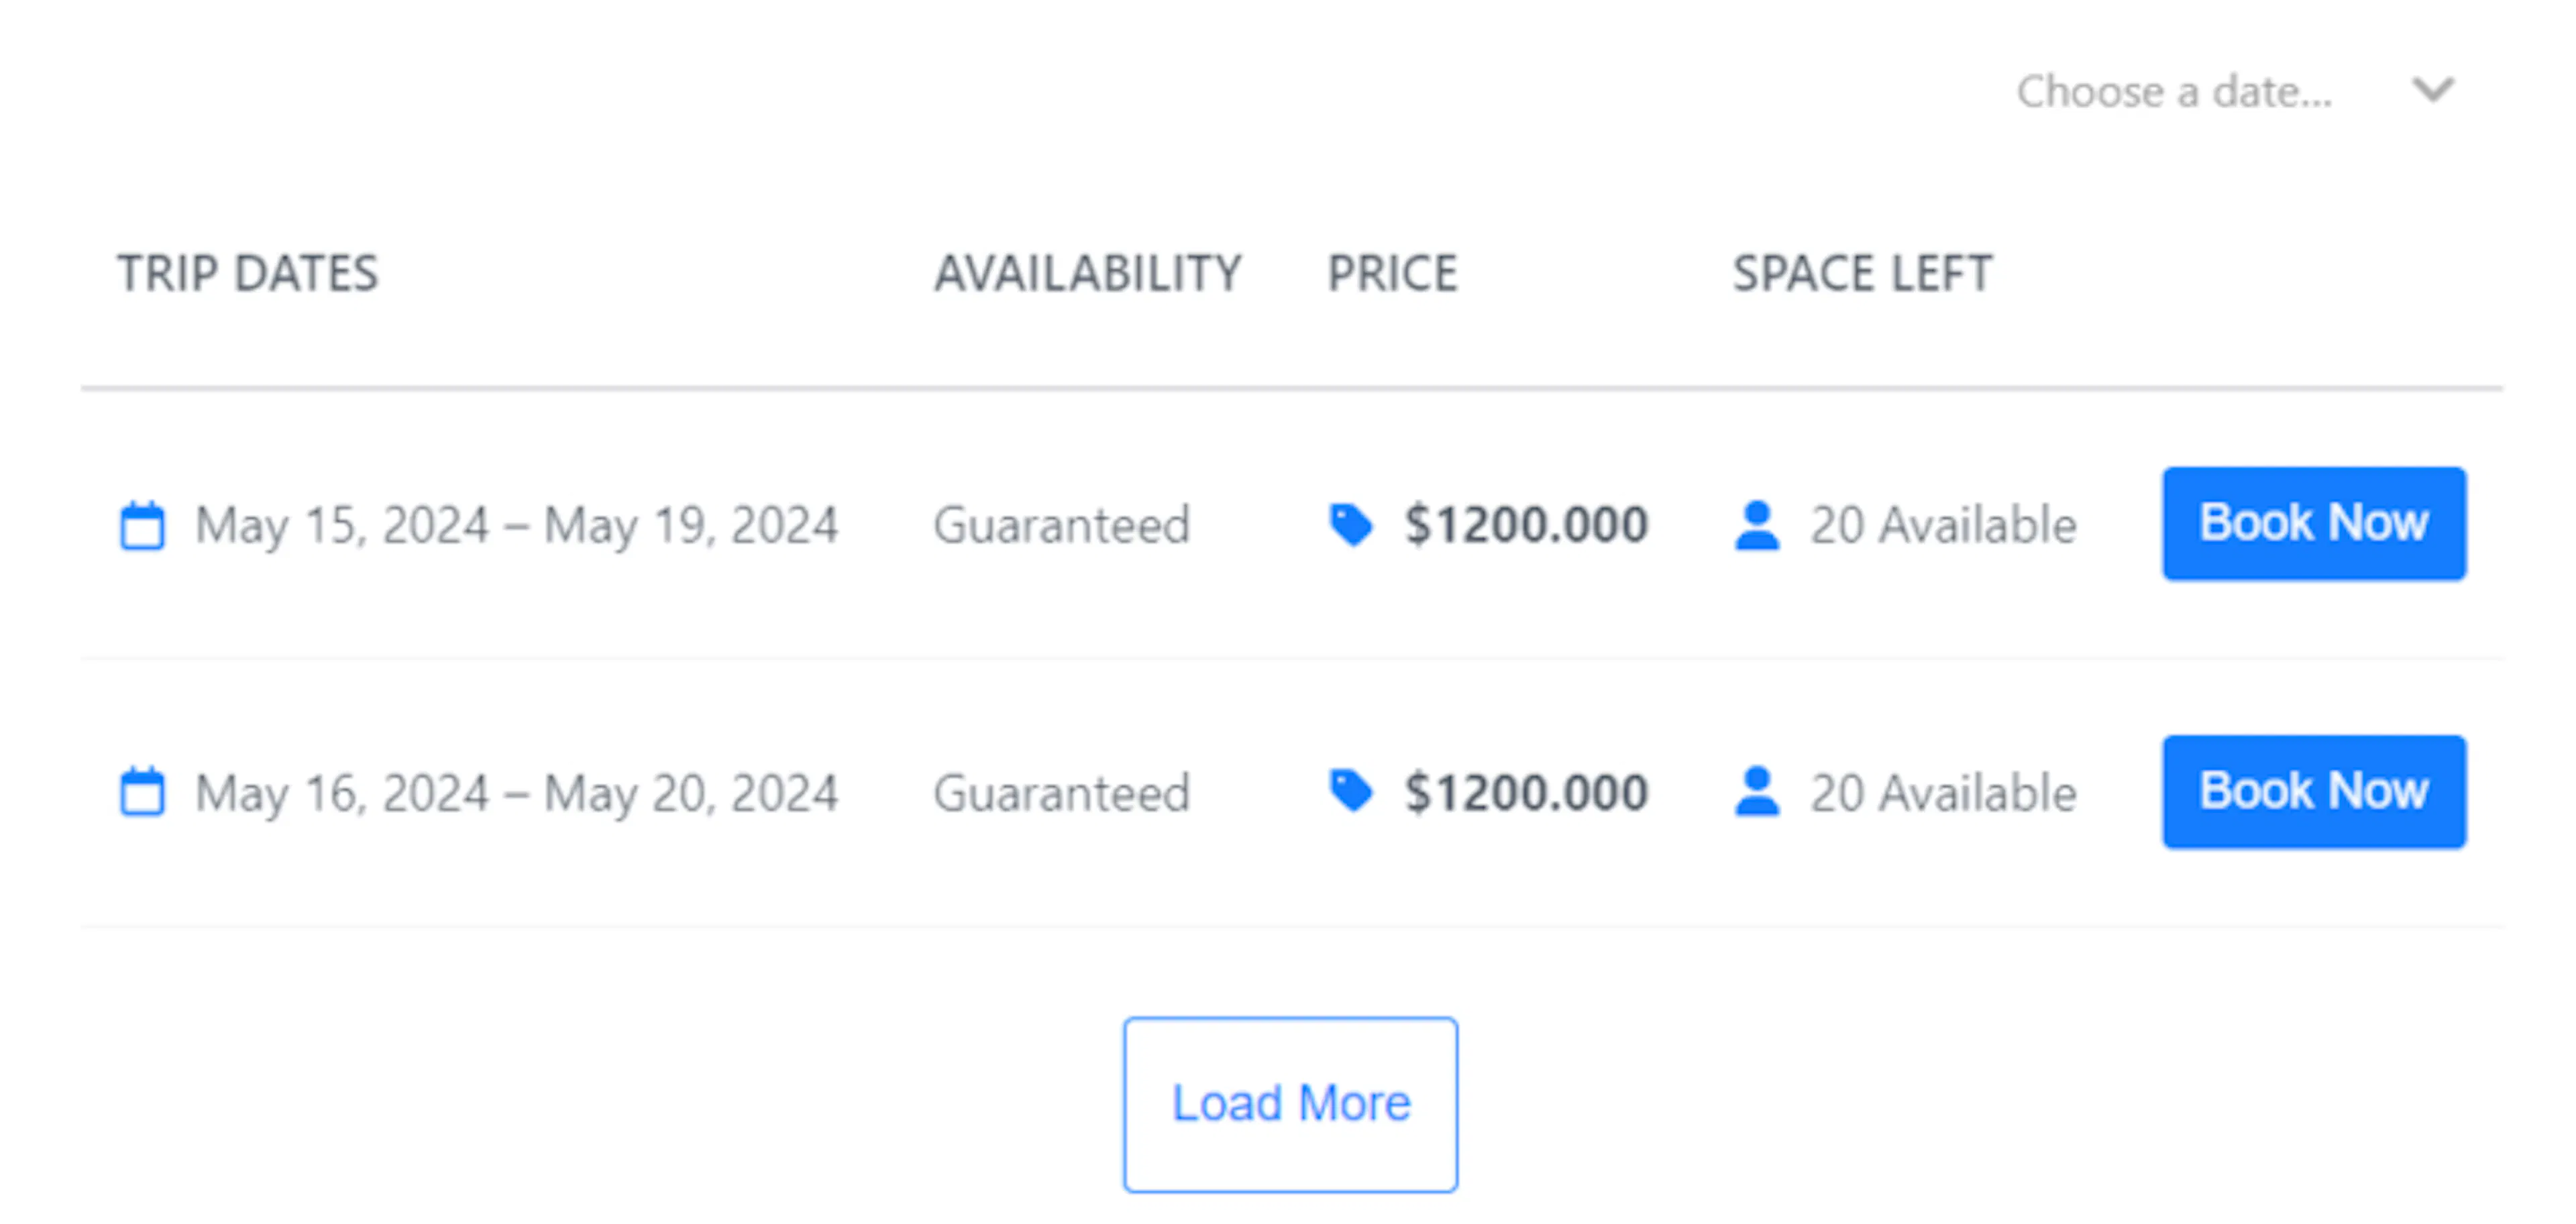
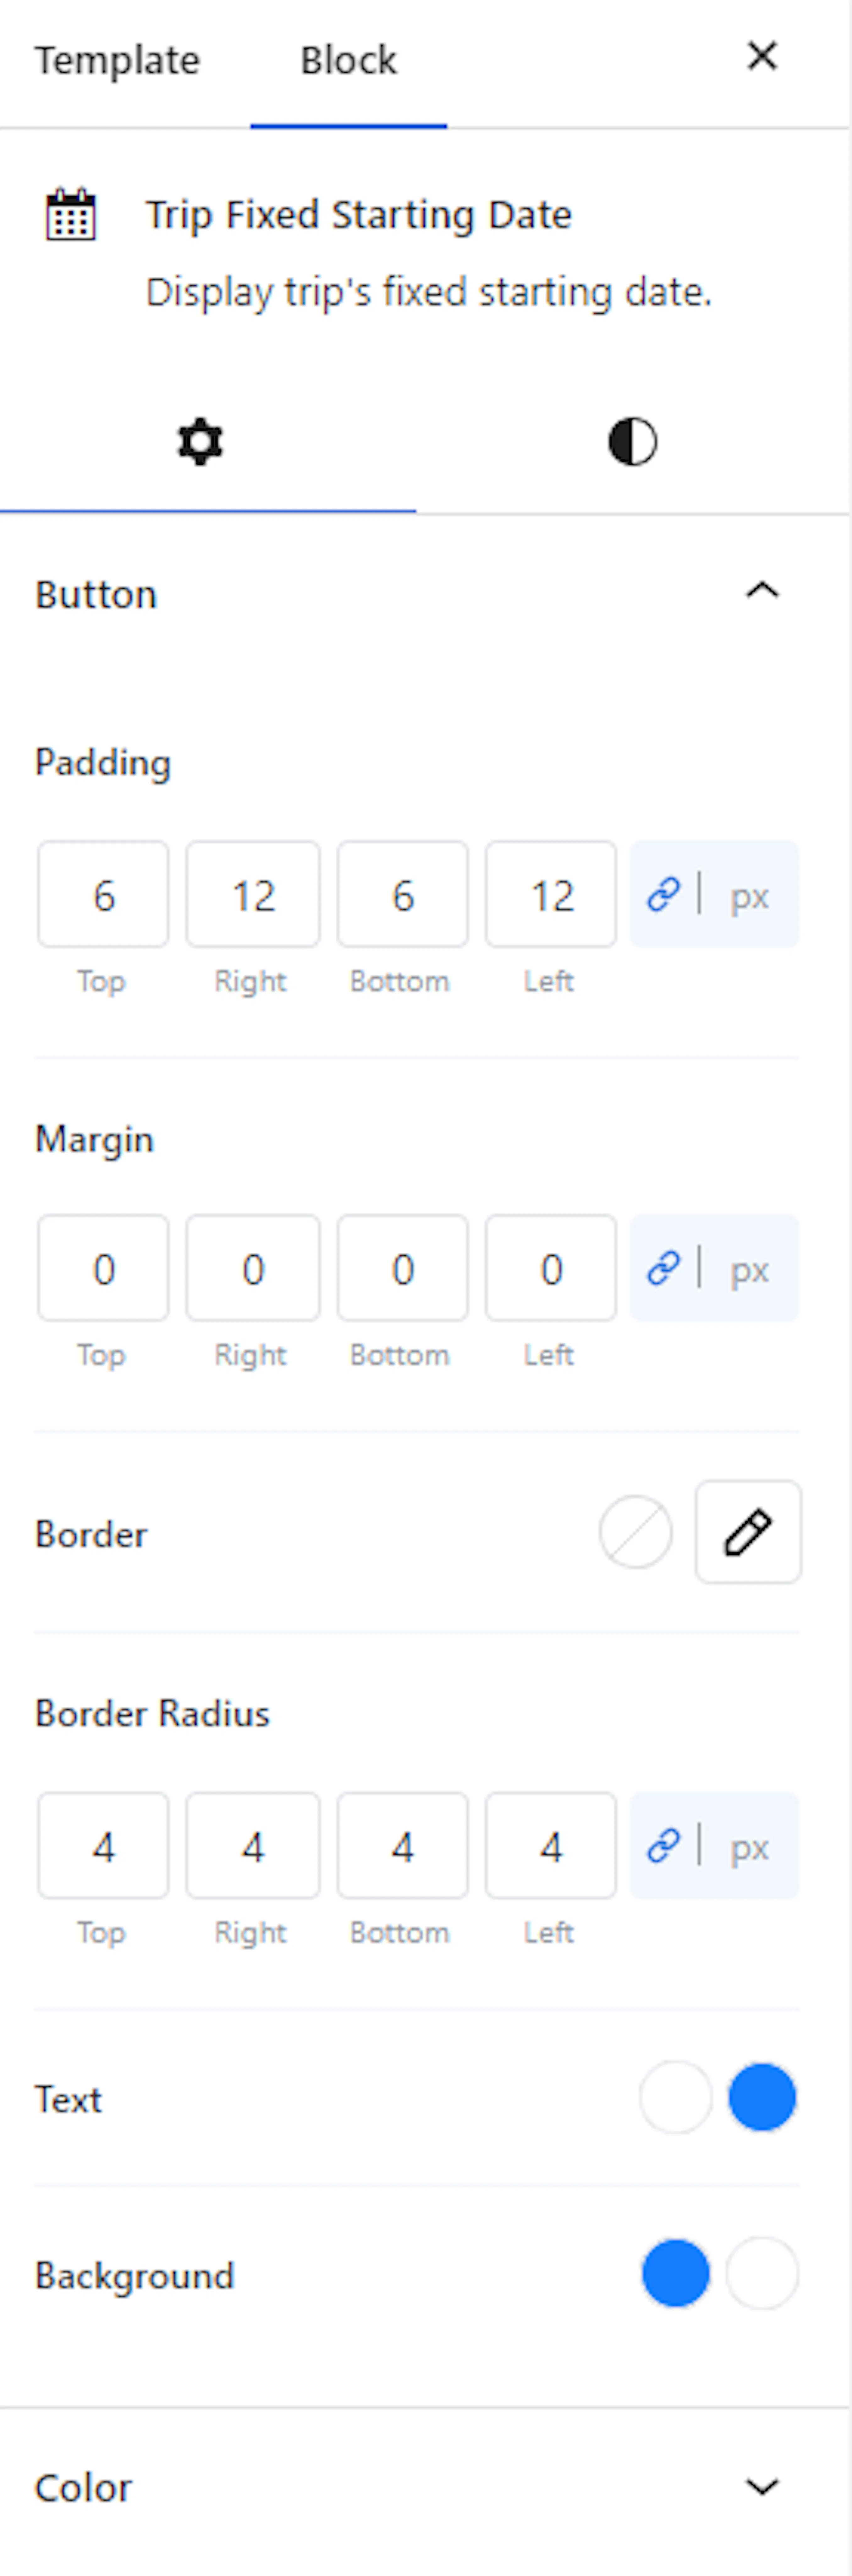
Trip Fixed Starting Dates block
Shows your trip's fixed starting dates with automatic scheduling. If you only run treks on specific dates, say the 1st and 15th of every month, this block displays those dates so travelers know exactly when they can go. You can customize the colors, fonts, and layout.
This block requires the Fixed Starting Dates add-on.
Trip Rating blocks
Three related blocks that show review data on your trip page:
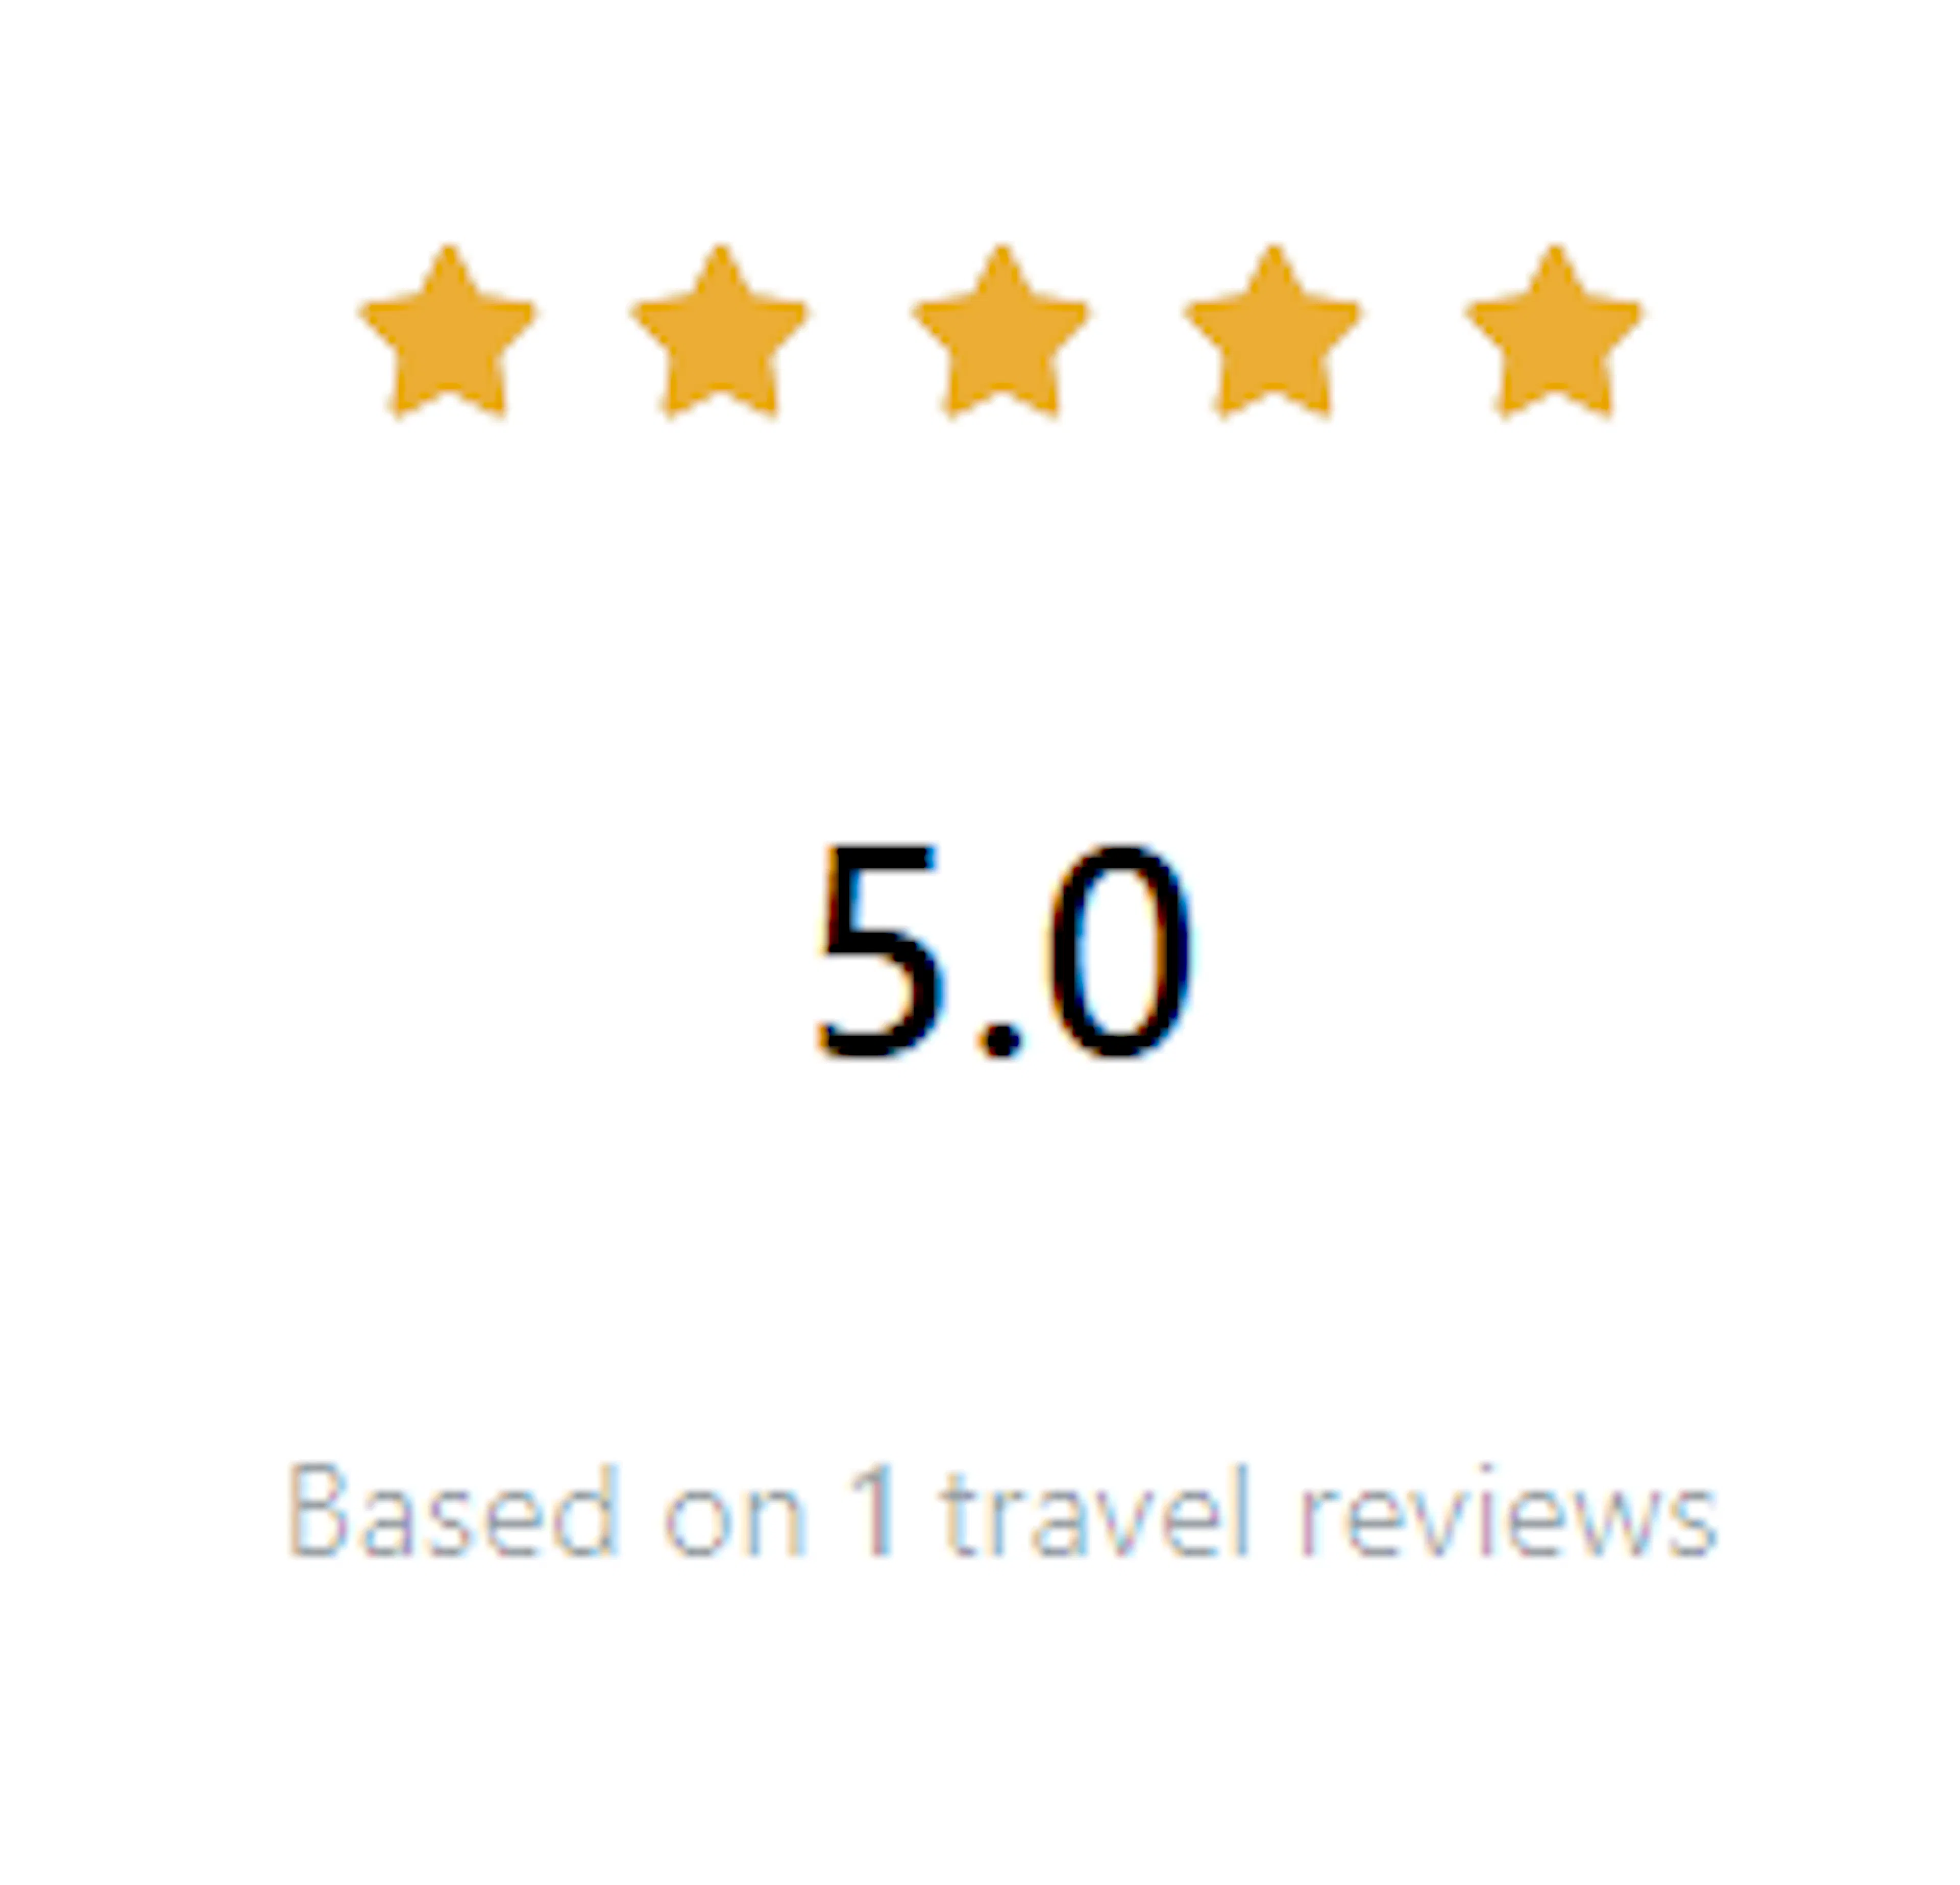
- Star Rating block: displays a star rating to build trust with new visitors.
- Trip Ratings block: shows the average customer rating. If 47 travelers rated your trek an average of 4.5 stars, this block shows "4.5."
- Reviews Count block: shows the total number of reviews. Using the same example, this block shows "47 reviews."
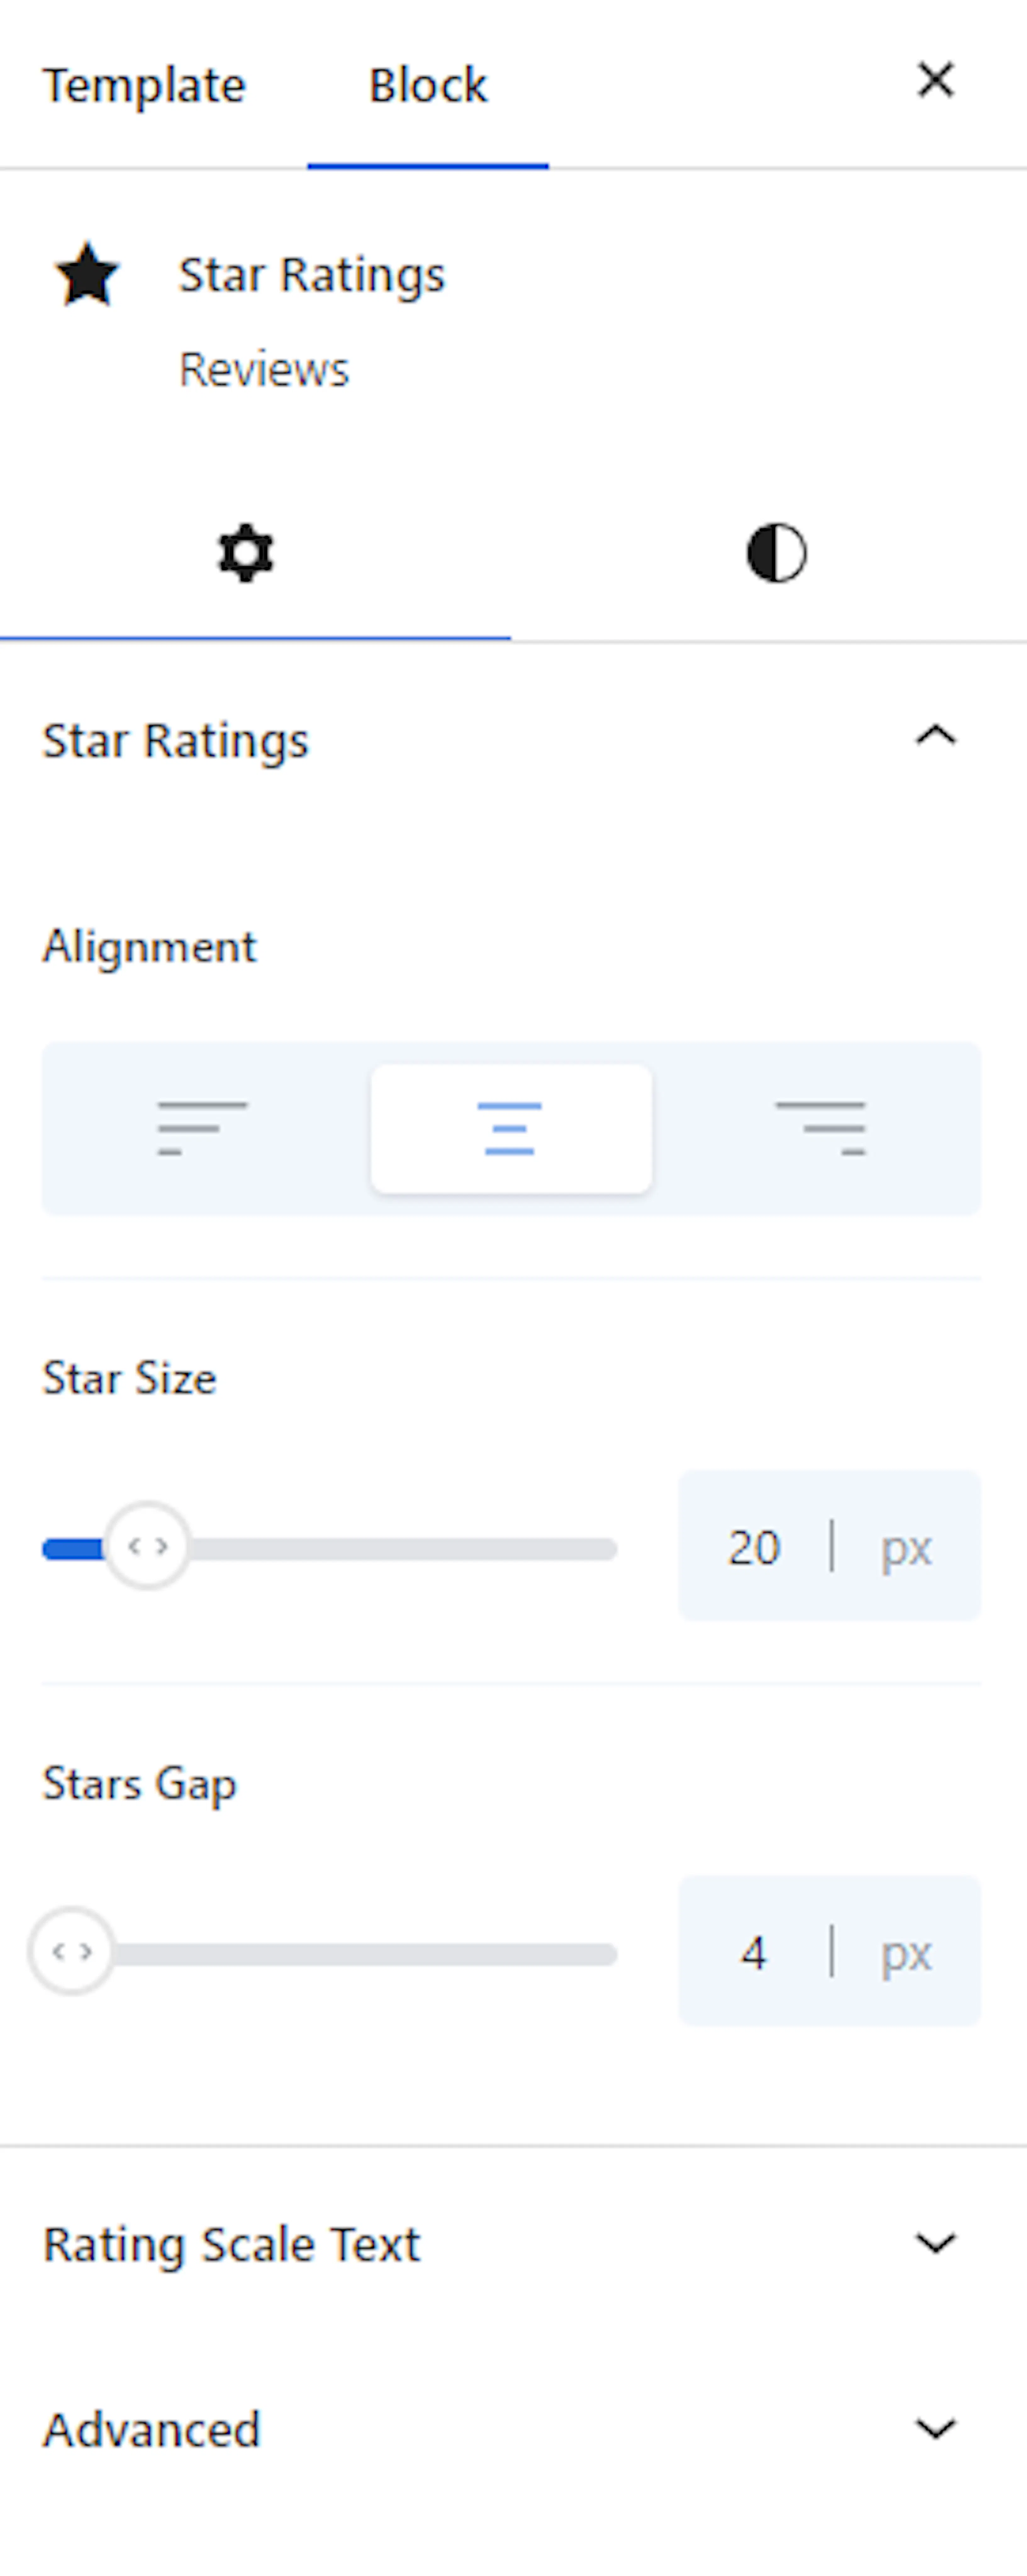
These blocks require the Trip Review add-on.
Stars Bar Graph block
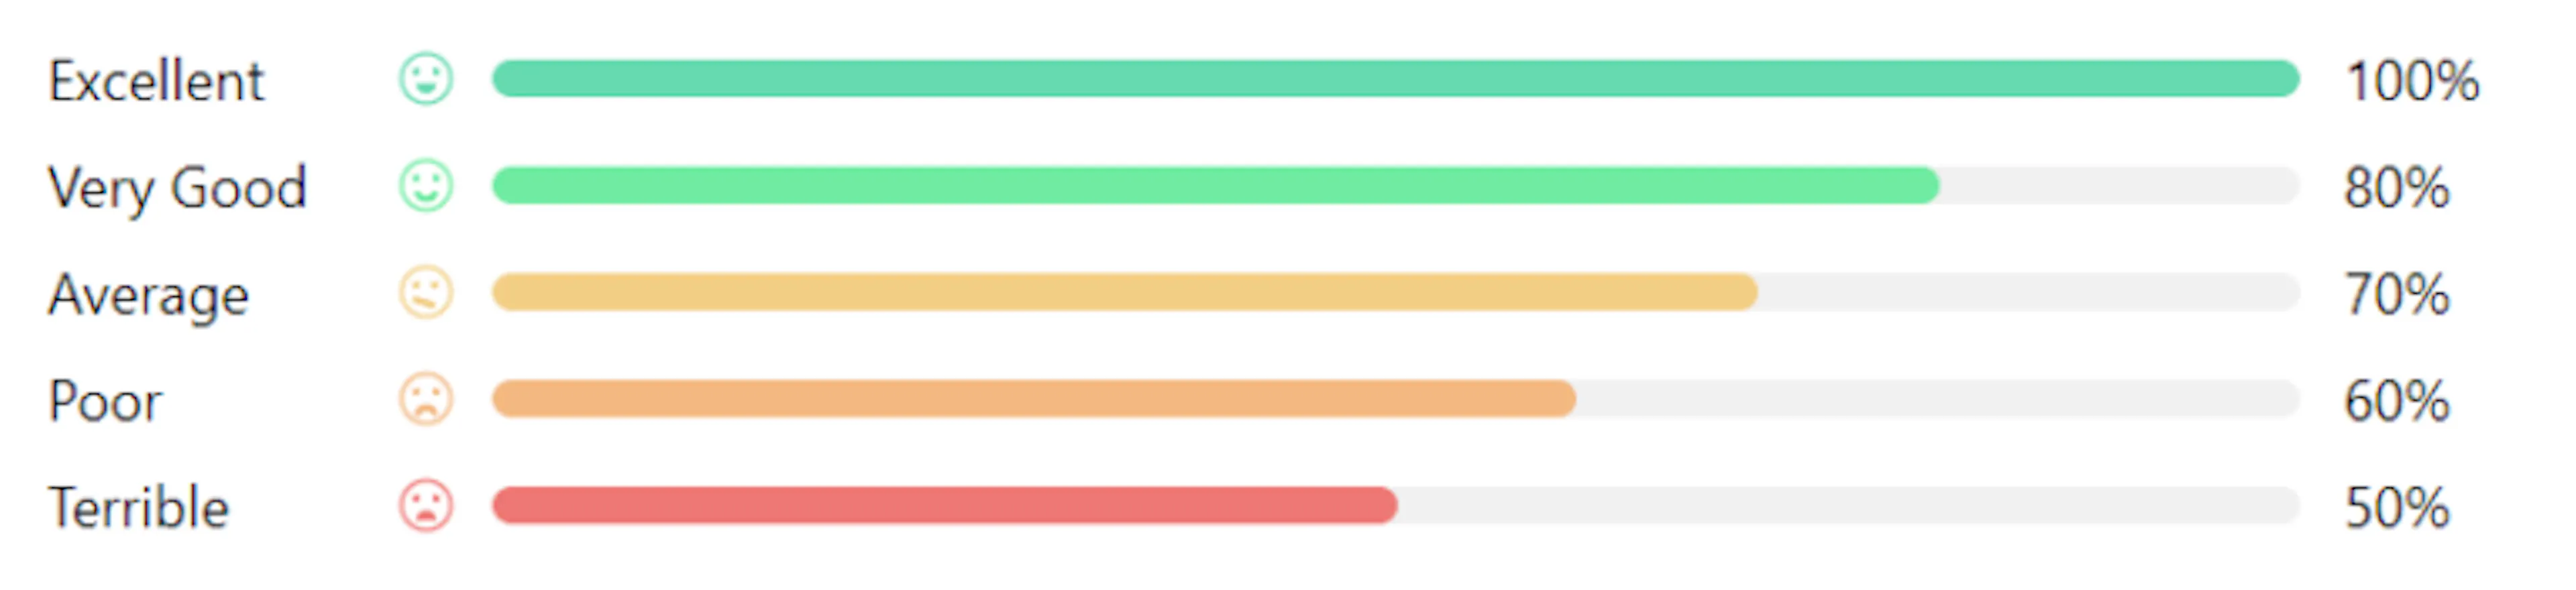
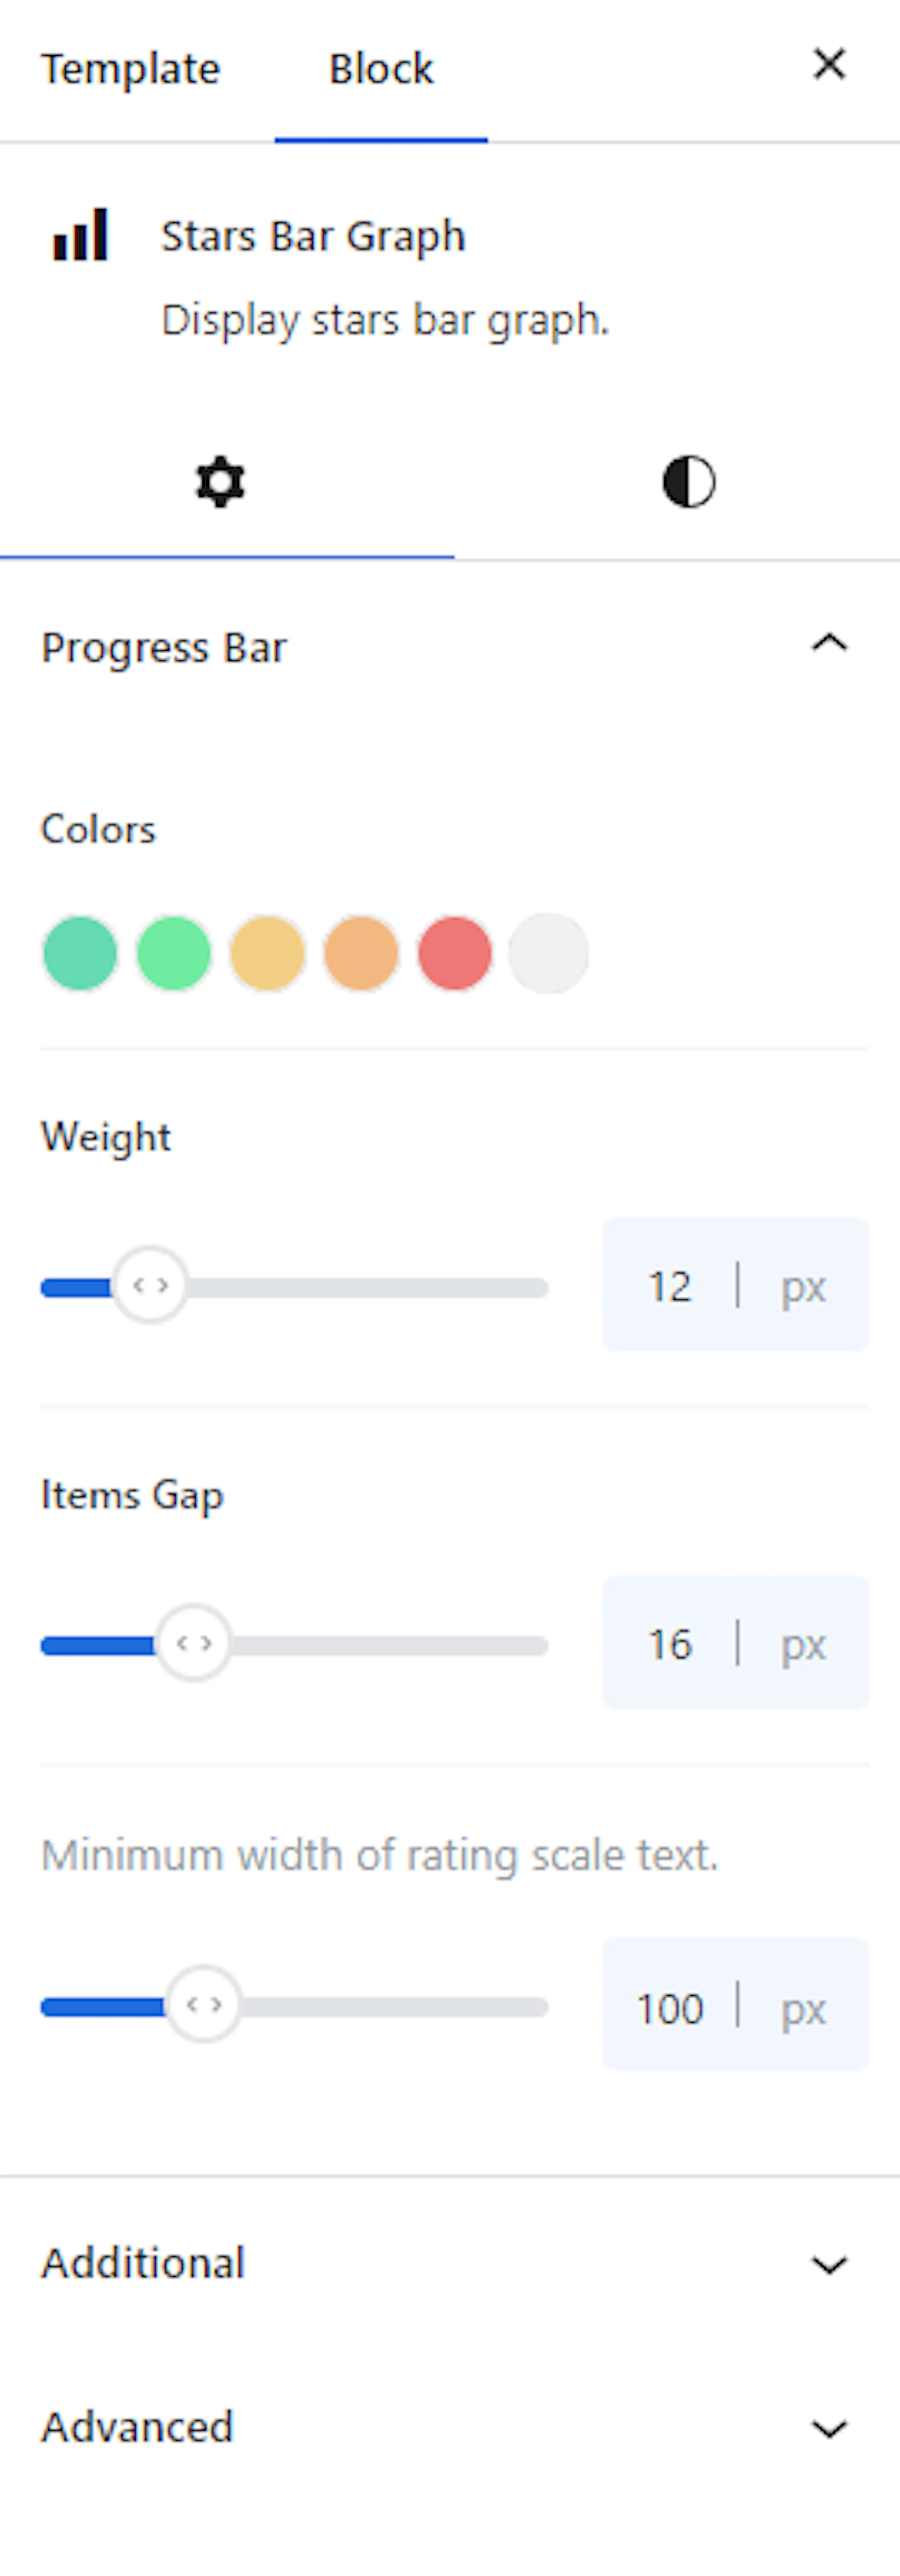
Turns customer star ratings into a bar graph. If 30 travelers gave you 5 stars, 10 gave you 4 stars, and 5 gave you 3 stars, this block turns those numbers into visual bars. You can customize the bar colors, fonts, and spacing.
This block requires the Trip Review add-on.
Trip Review Form block
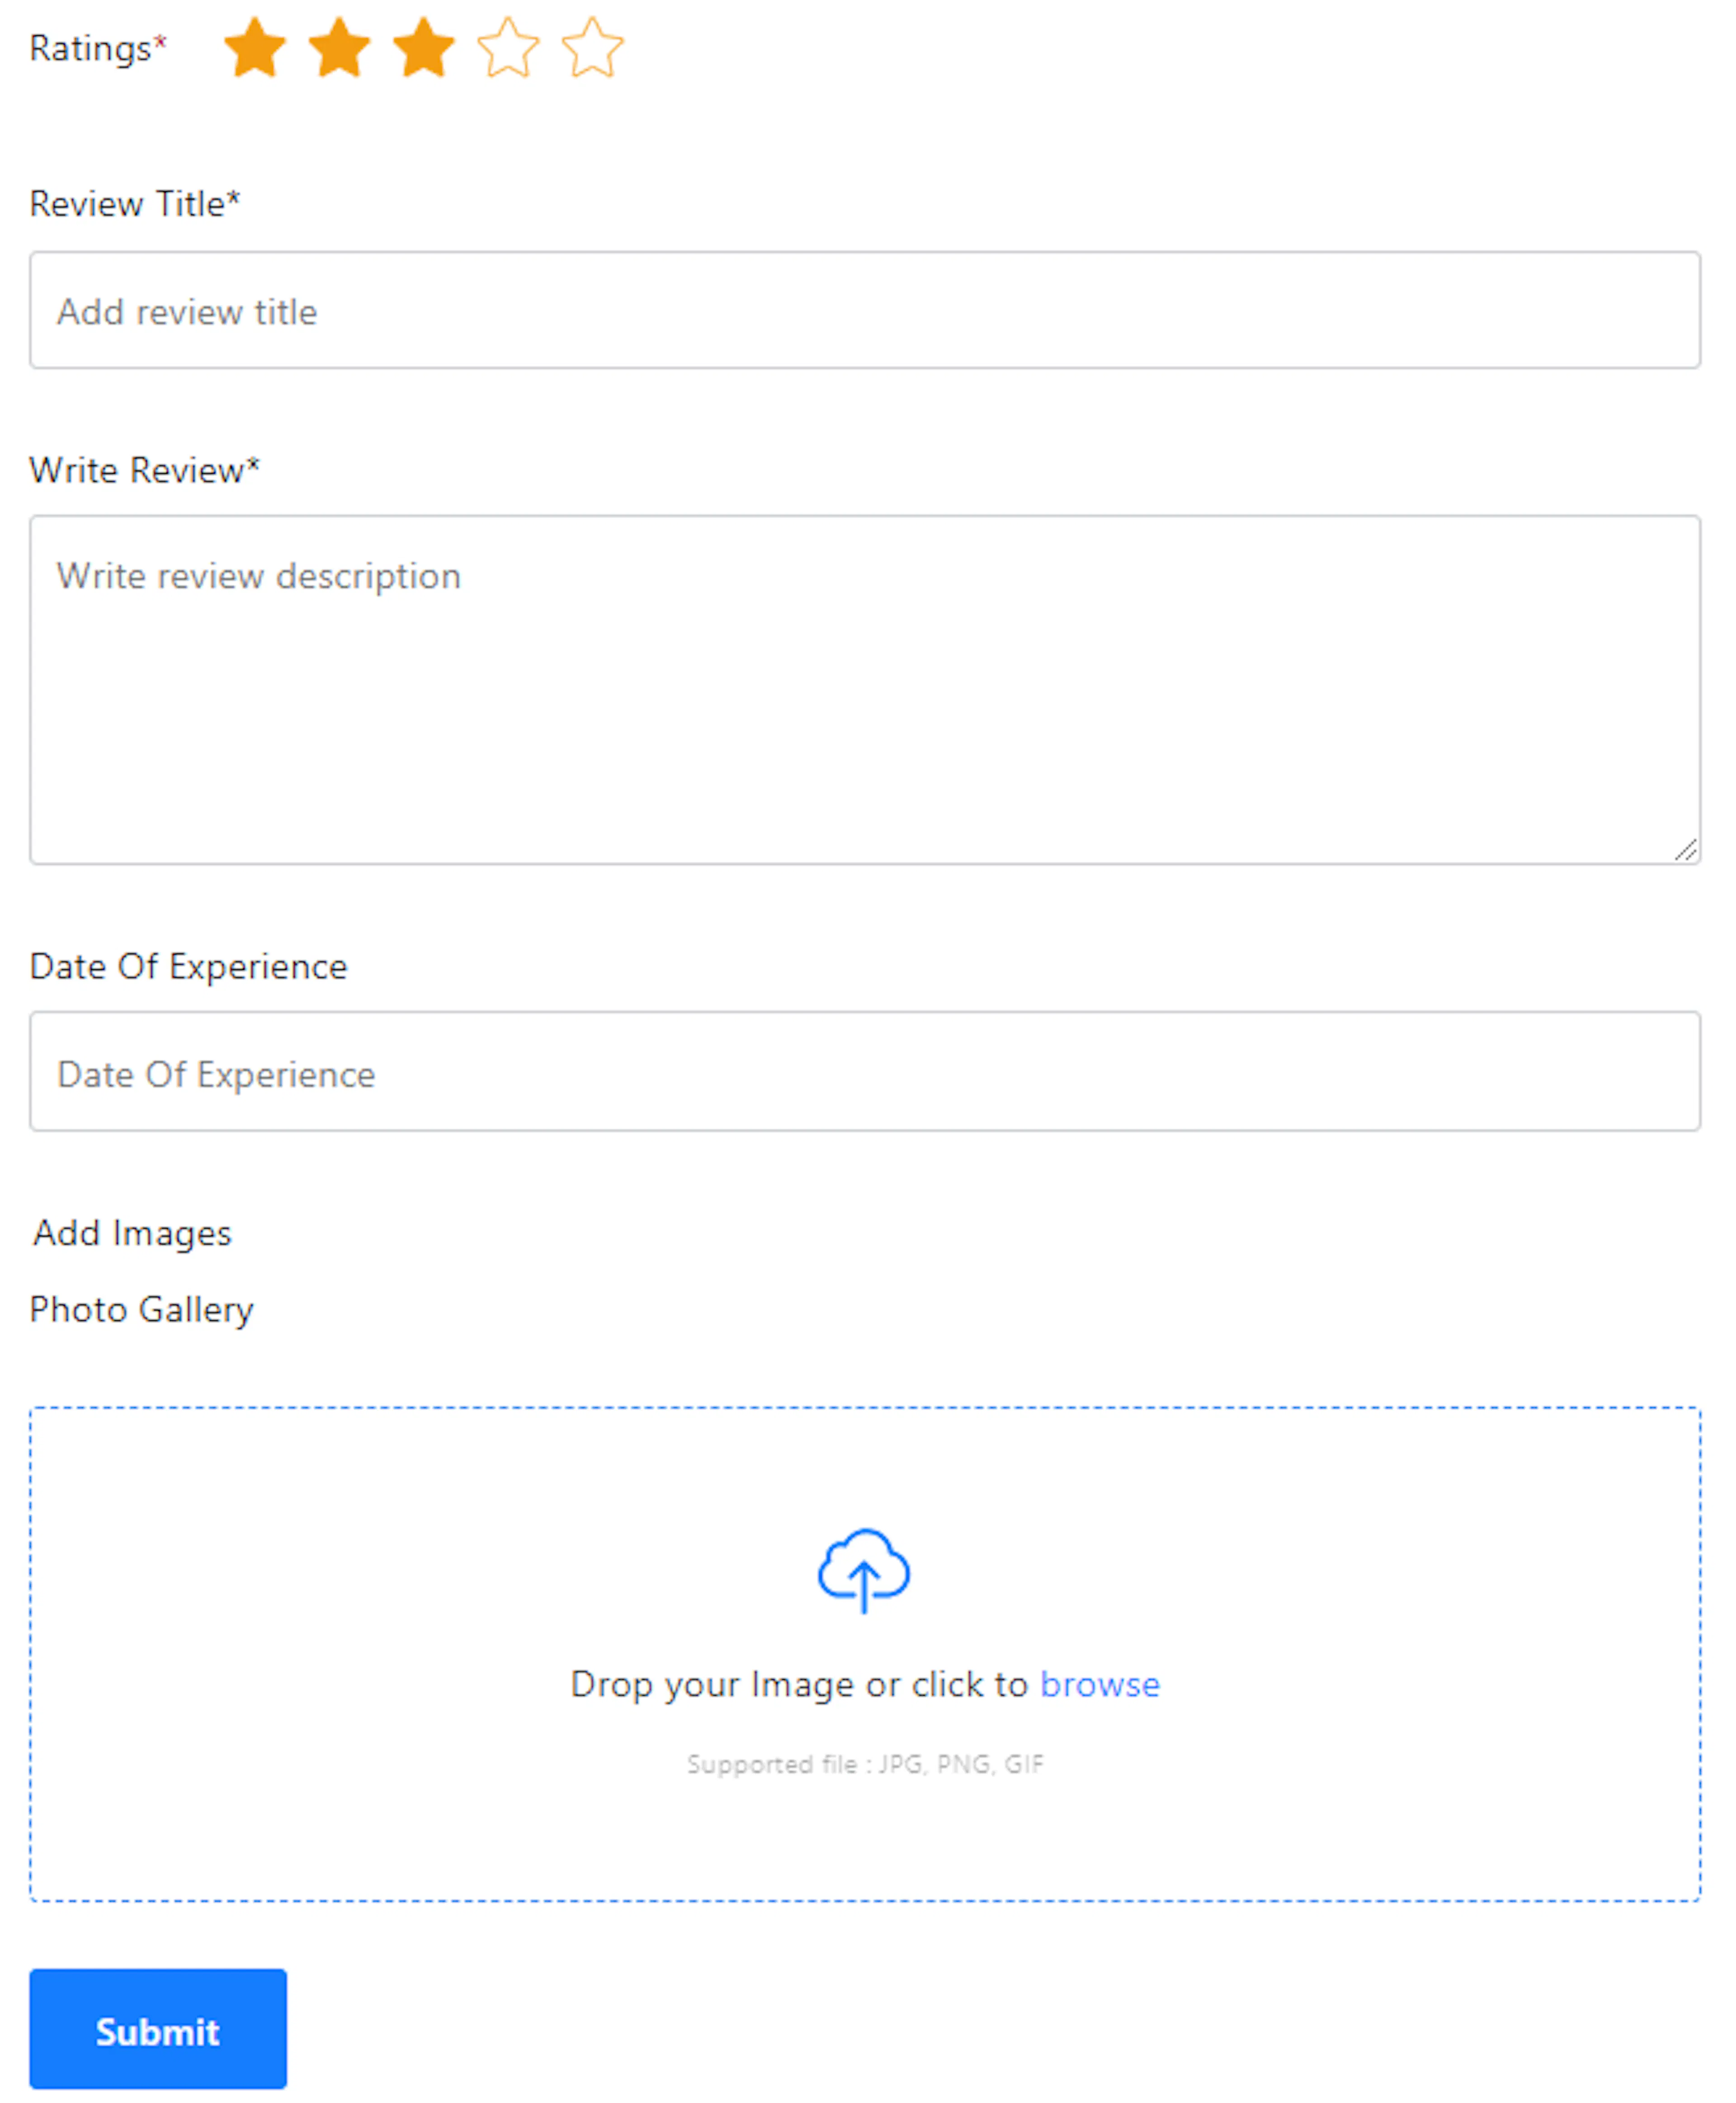
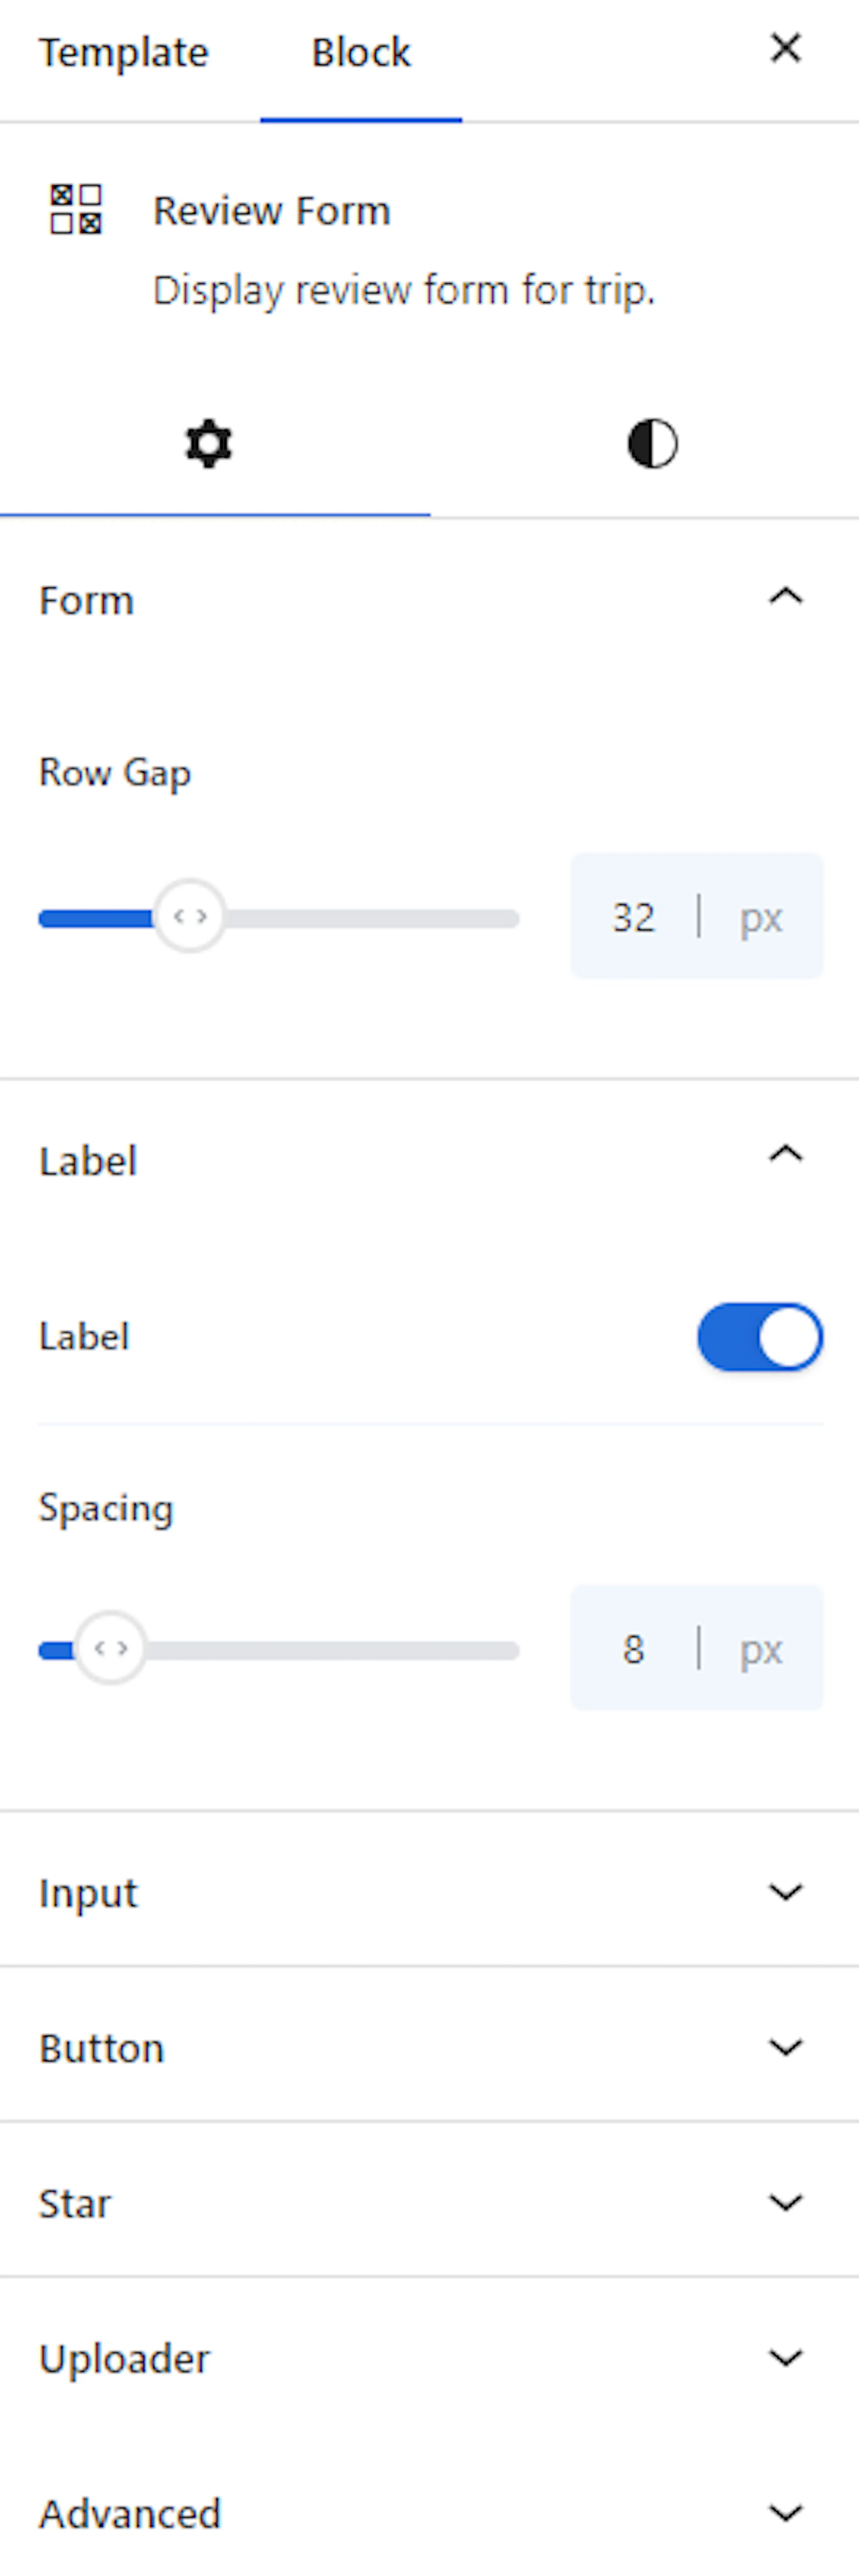
Adds a form travelers can use to submit a review after their trip. When a traveler returns from your trek and wants to share their experience, this form lets them write and submit a review right on the trip page. You can style it to match your site.
This block requires the Trip Review add-on.
Use the Trip Review patterns
Patterns are pre-designed layouts. Instead of adding blocks one at a time and arranging them yourself, you pick a pattern and all the blocks come pre-arranged and ready to go. Think of it like choosing a pre-decorated room instead of buying each piece of furniture separately.
WP Travel Engine includes four built-in patterns for displaying trip reviews. Like the review blocks above, these patterns require the Trip Review add-on.
You'll need the Trip Review add-on installed and active before you can use these patterns.
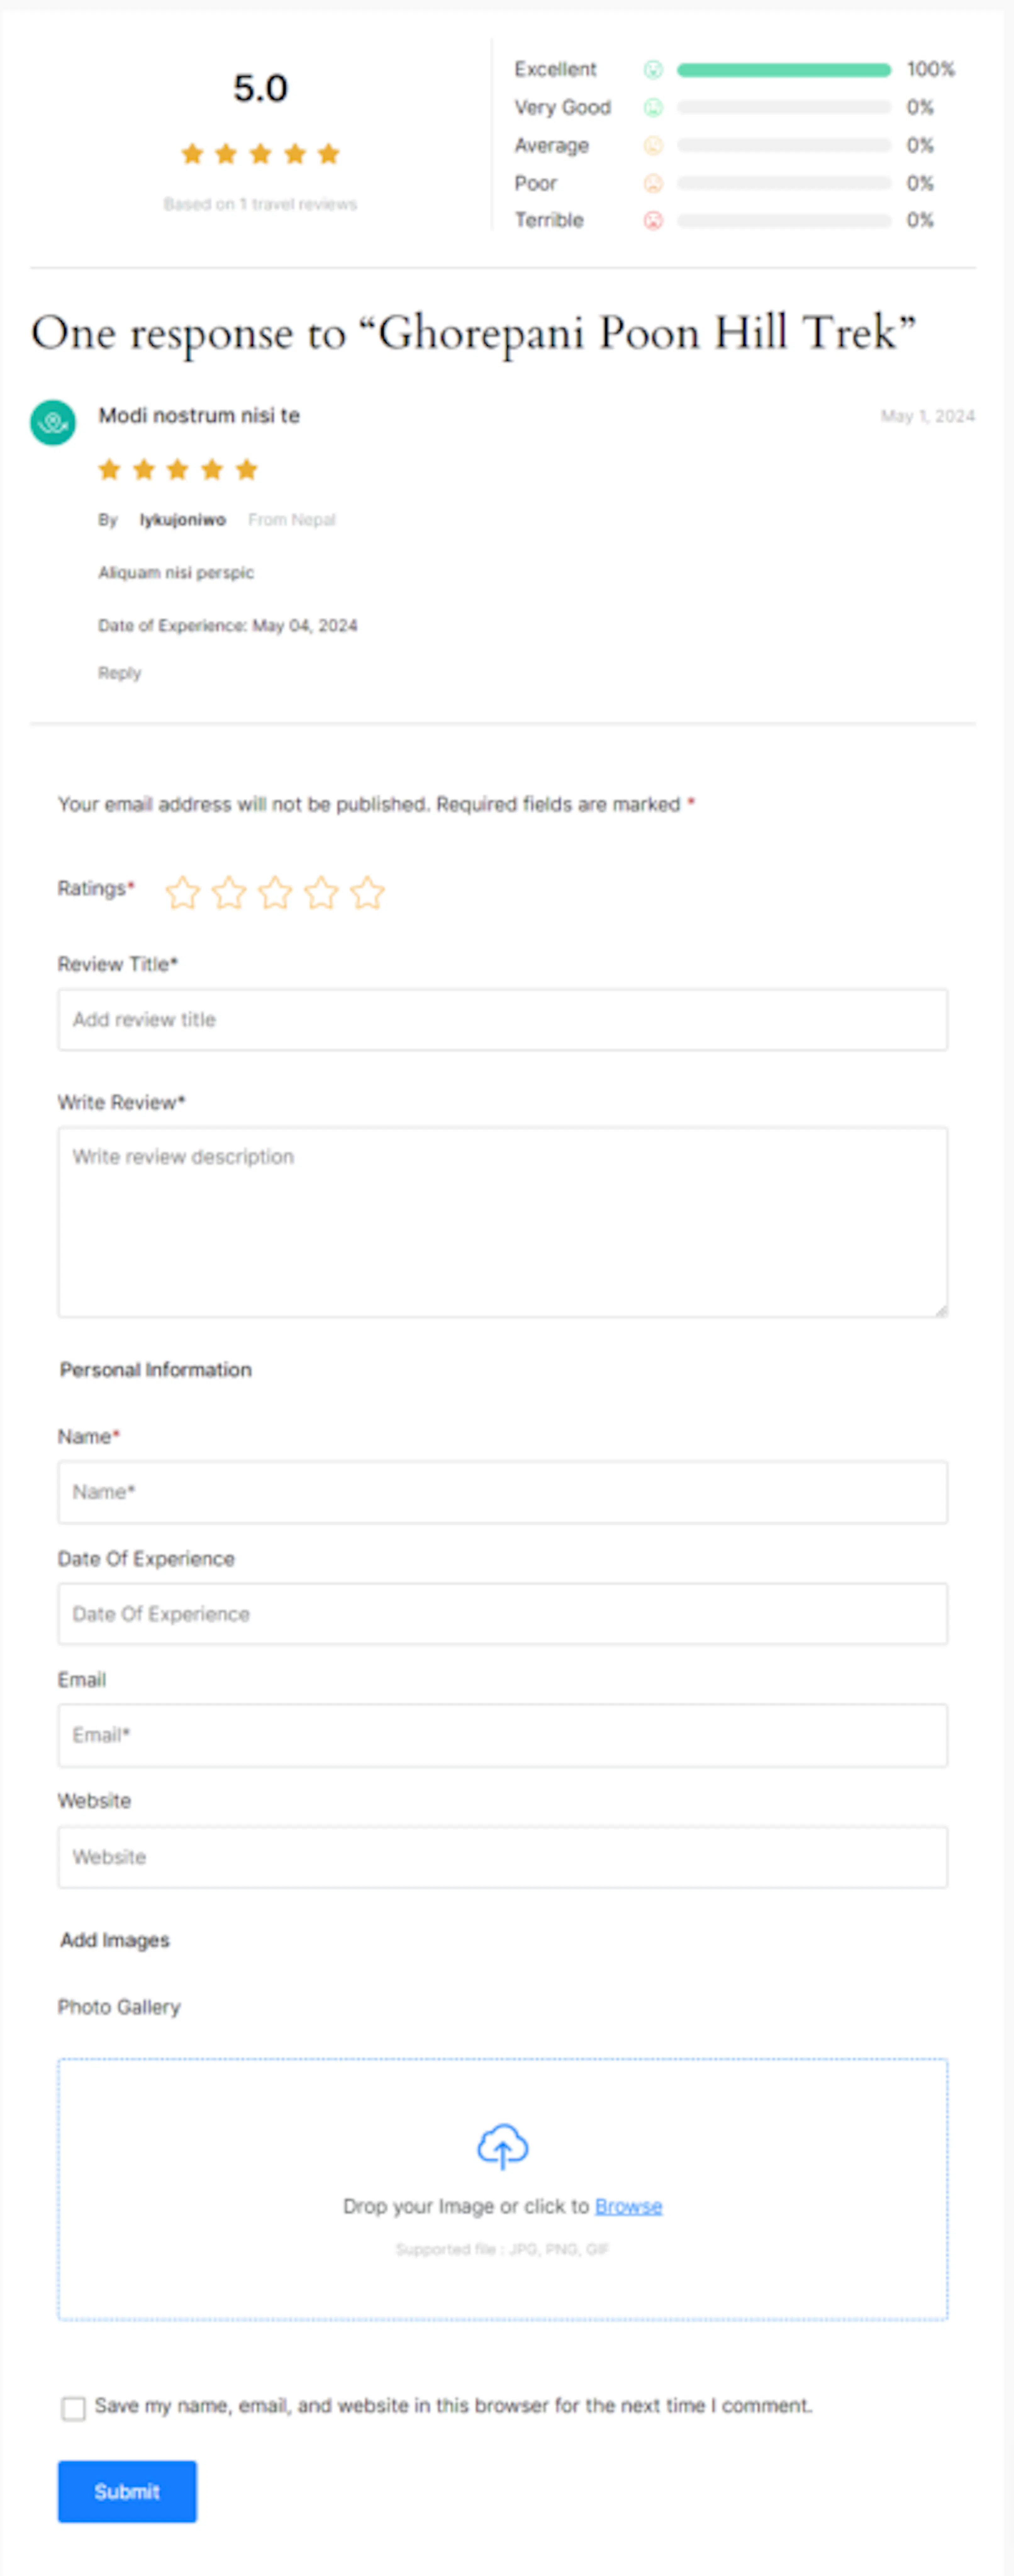
Review Block pattern
Displays a single trip review as a ready-made section you can drop anywhere on the page.
Aggregate Reviews pattern
Combines review data across a trip into one summary view.

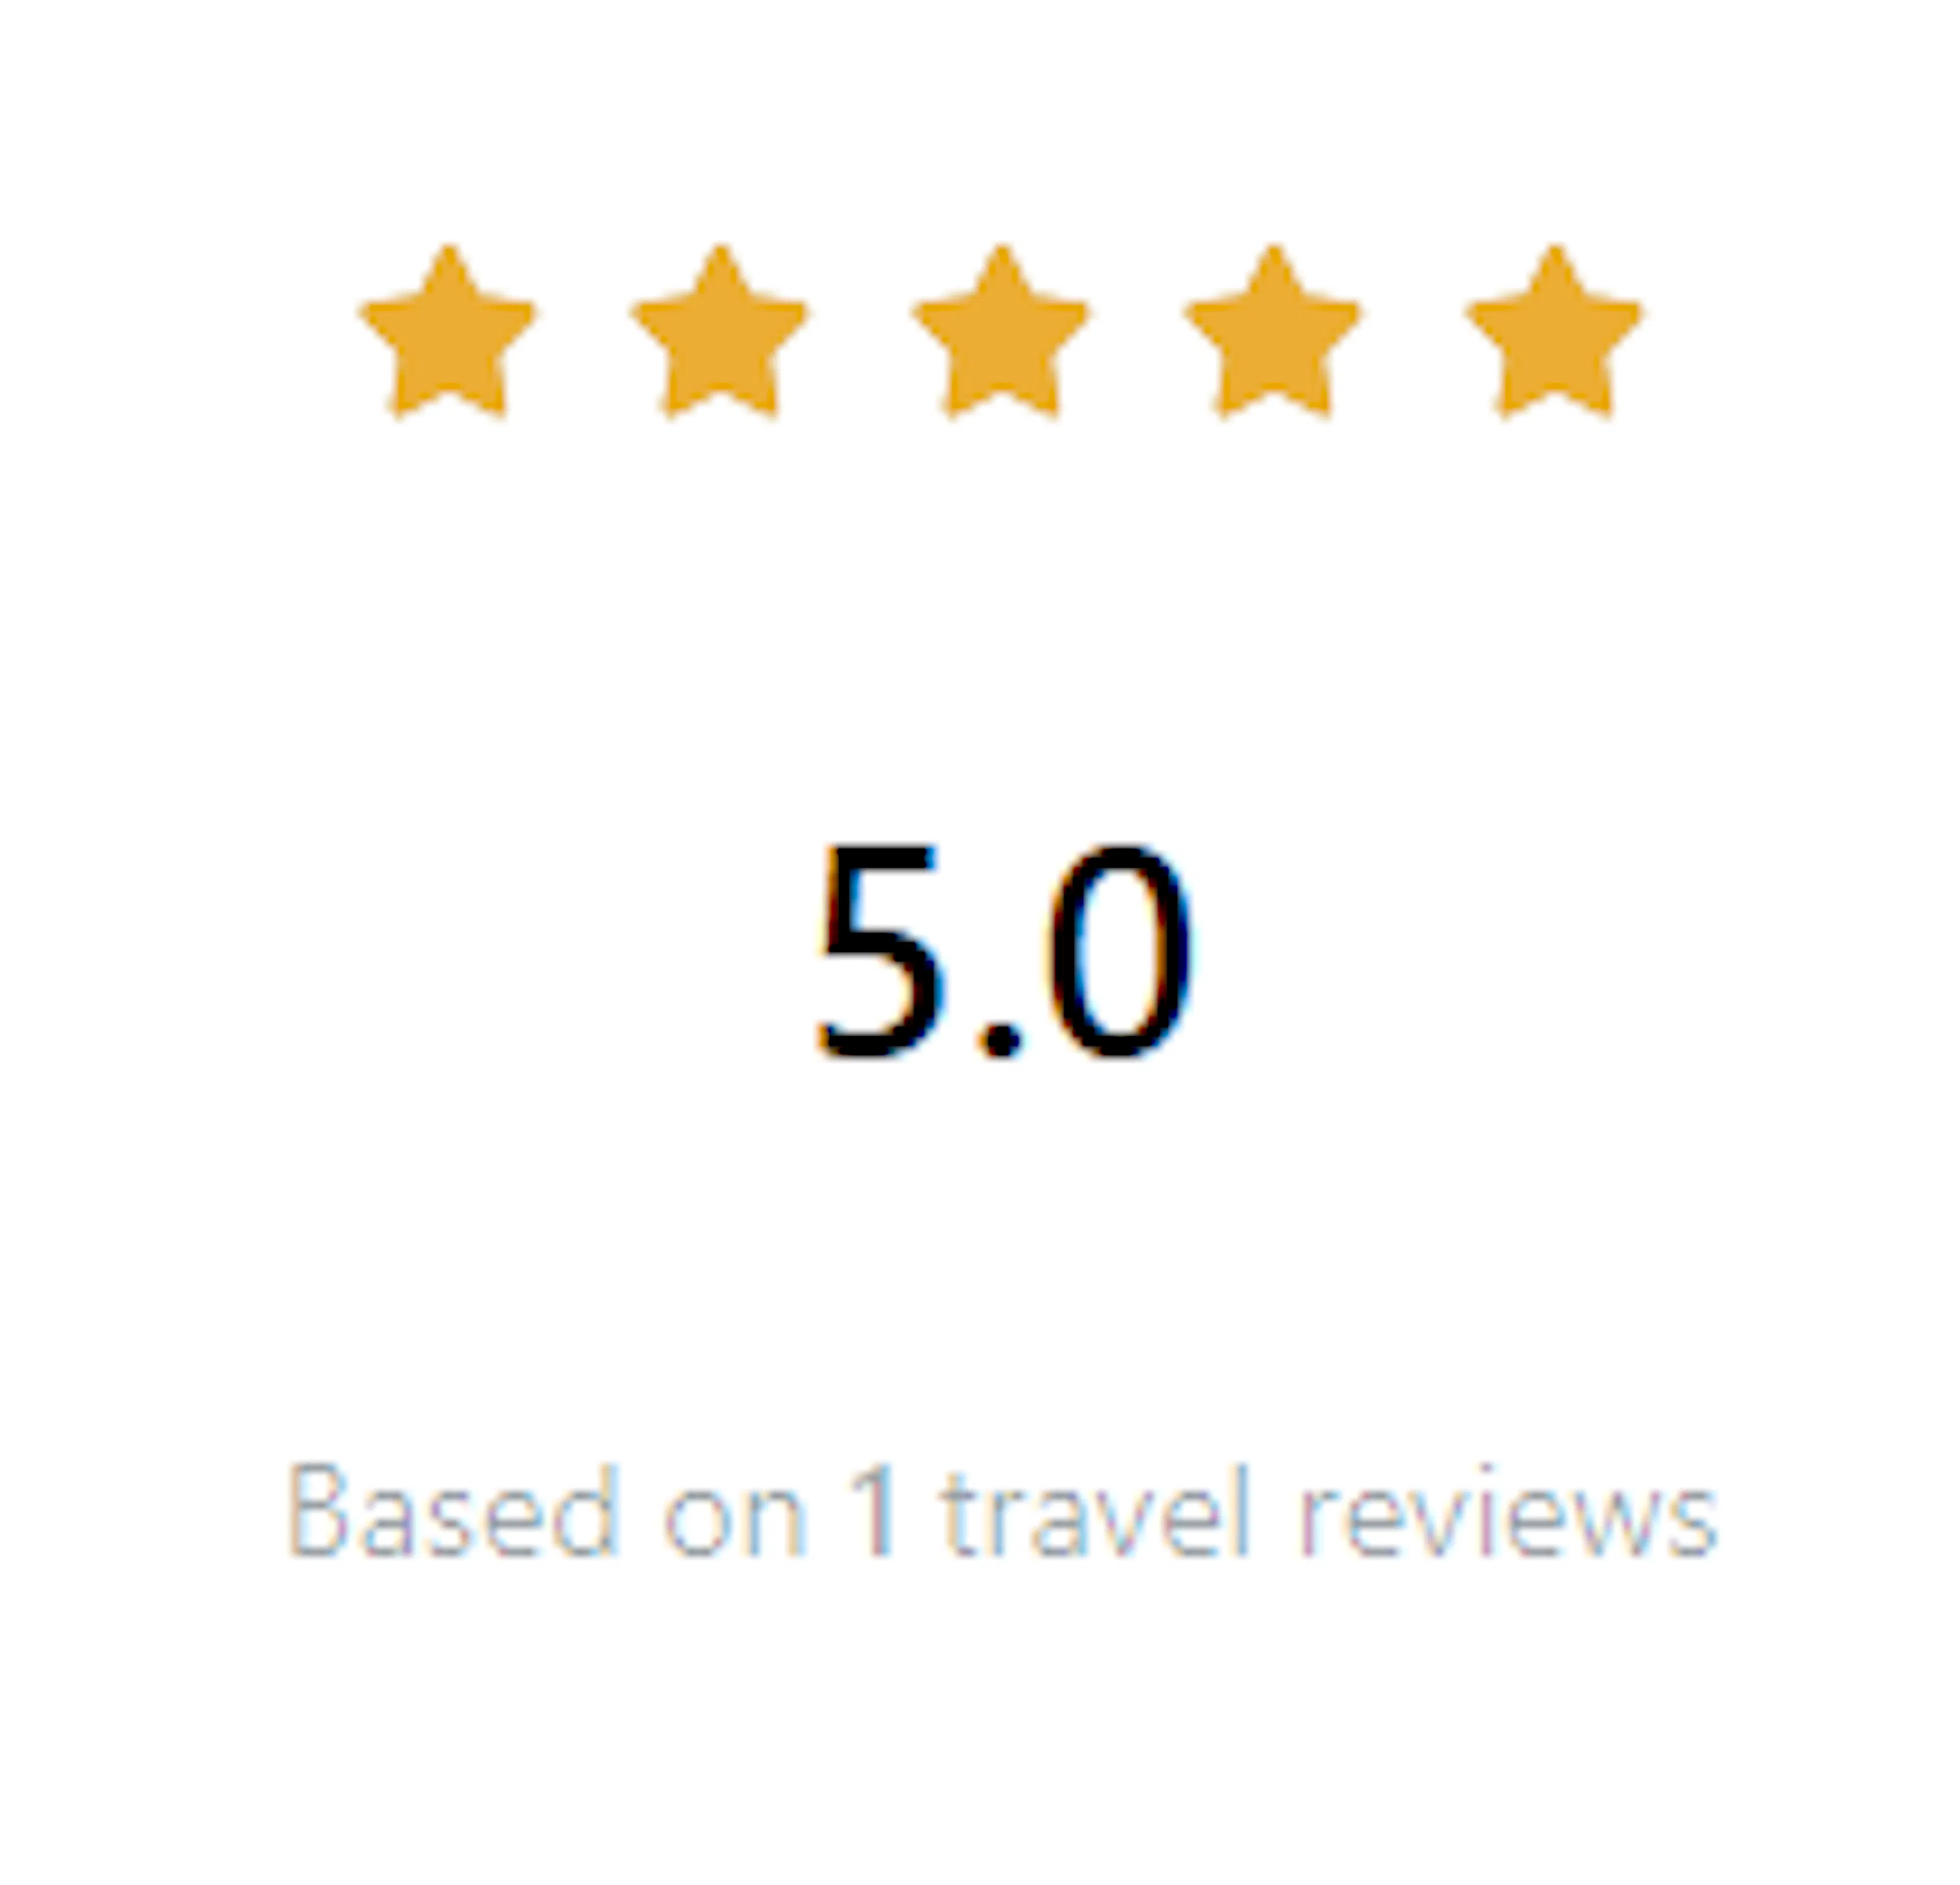
Average Ratings pattern
Shows the trip's average rating at a glance.
Review List pattern
Lists multiple trip reviews in a clean, scrollable layout.
To add any of these patterns to a page, open the block inserter. The block inserter is the panel you use to add new blocks to a page. Click the Patterns tab and you'll find all four patterns there, ready to insert.
If you're still stuck or have a question we didn't cover, our support team is happy to help. Reach out at our support page and we'll get you sorted.