

Price on Request
Replace the booking widget on any trip with a pricing card and inquiry button so you can collect leads for custom tours, private trips, and packages where the price depends on the customer.
Some trips need a conversation before a booking. Price on Request is built for those trips.
It replaces the booking widget on your trip page with a pricing card. The card can show a starting price, a few highlights, and a button that sends travelers to an inquiry form. You might use it for custom itineraries, private tours, luxury packages, or any trip where the price depends on who's asking.
It works one trip at a time. The rest of your site stays exactly as it is.
Key features and benefits
| Feature | What it does for you |
|---|---|
| Per-trip toggle | Turn any trip into a lead capture page before you're ready to publish a price. |
| Optional starting price (original + sale + category) | Give travelers a rough cost idea before they inquire, without locking in a fixed amount. |
| Trip highlights | Tell travelers what's included and what's flexible, right on the pricing card. |
| Customizable section title and button text | Match the card's wording to the trip and your brand. |
| Three button actions (inquiry form, custom link, own form) | Send travelers to whichever inquiry channel works best for you, without sending them off your site. |
What you'll need before you start
Before using this add-on, make sure you have:
- WP Travel Engine installed and activated on your WordPress site. A plugin is a piece of software that adds features to WordPress. WP Travel Engine is a plugin.
- WP Travel Engine updated to its latest version.
- The Price on Request add-on is installed and activated. An add-on is a small extension that adds extra features to WP Travel Engine itself.
Installing the Price on Request add-on
See how to activate a Pro add-on license key for the full installation and activation walkthrough.
Making sure the add-on is active
To confirm the add-on is installed and working, you'll check for its tab inside a trip. This takes about a minute and saves you from troubleshooting later.
Go to your WordPress Dashboard
Log in to your site's admin area. This is the back end of your website where you manage everything. You can usually get there by adding /wp-admin to the end of your website address.
Open a trip's Date and Price settings
On the left sidebar of your dashboard, click Trips. Open any trip you've created. Then click Date and Price from the menu on the left side of the trip editor.
The trip editor is the page where you fill in details for a specific trip, like dates, prices, and itineraries.
Check for the Price on Request tab
Look for a Price on Request tab at the top of the page, alongside the other tabs. If you see it, the add-on is active and ready to use.
If the tab doesn't appear, go to Plugins on your dashboard sidebar. Find the Price on Request add-on in the list. Click Deactivate, wait a moment, then click Activate again. Come back to the trip and check again.
Setting up the pricing card
Configure the pricing card from the Price on Request tab in the trip editor. The settings apply to the current trip only, so you can continue using the standard booking widget on other trips.
Turn on Price on Request for this trip
Open the trip you want to configure, select Date and Price, and open the Price on Request tab. Turn on the option to replace the standard booking widget with the pricing card.
For example, use Price on Request for a Himalayan trek when the final cost depends on the route, accommodation, group size, and travel dates. Travelers can review the trip details and request a quote instead of booking at a fixed price.
Once Price on Request is enabled for a trip, the Packages tab is locked for that trip. Instead of the package and pricing fields, you'll see this message: "Packages are currently disabled because Price on Request is enabled for this trip. Disable it from the Price on Request tab to edit packages and pricing again."
To edit packages or pricing again, go back to Date and Price → Price on Request and turn the option off.
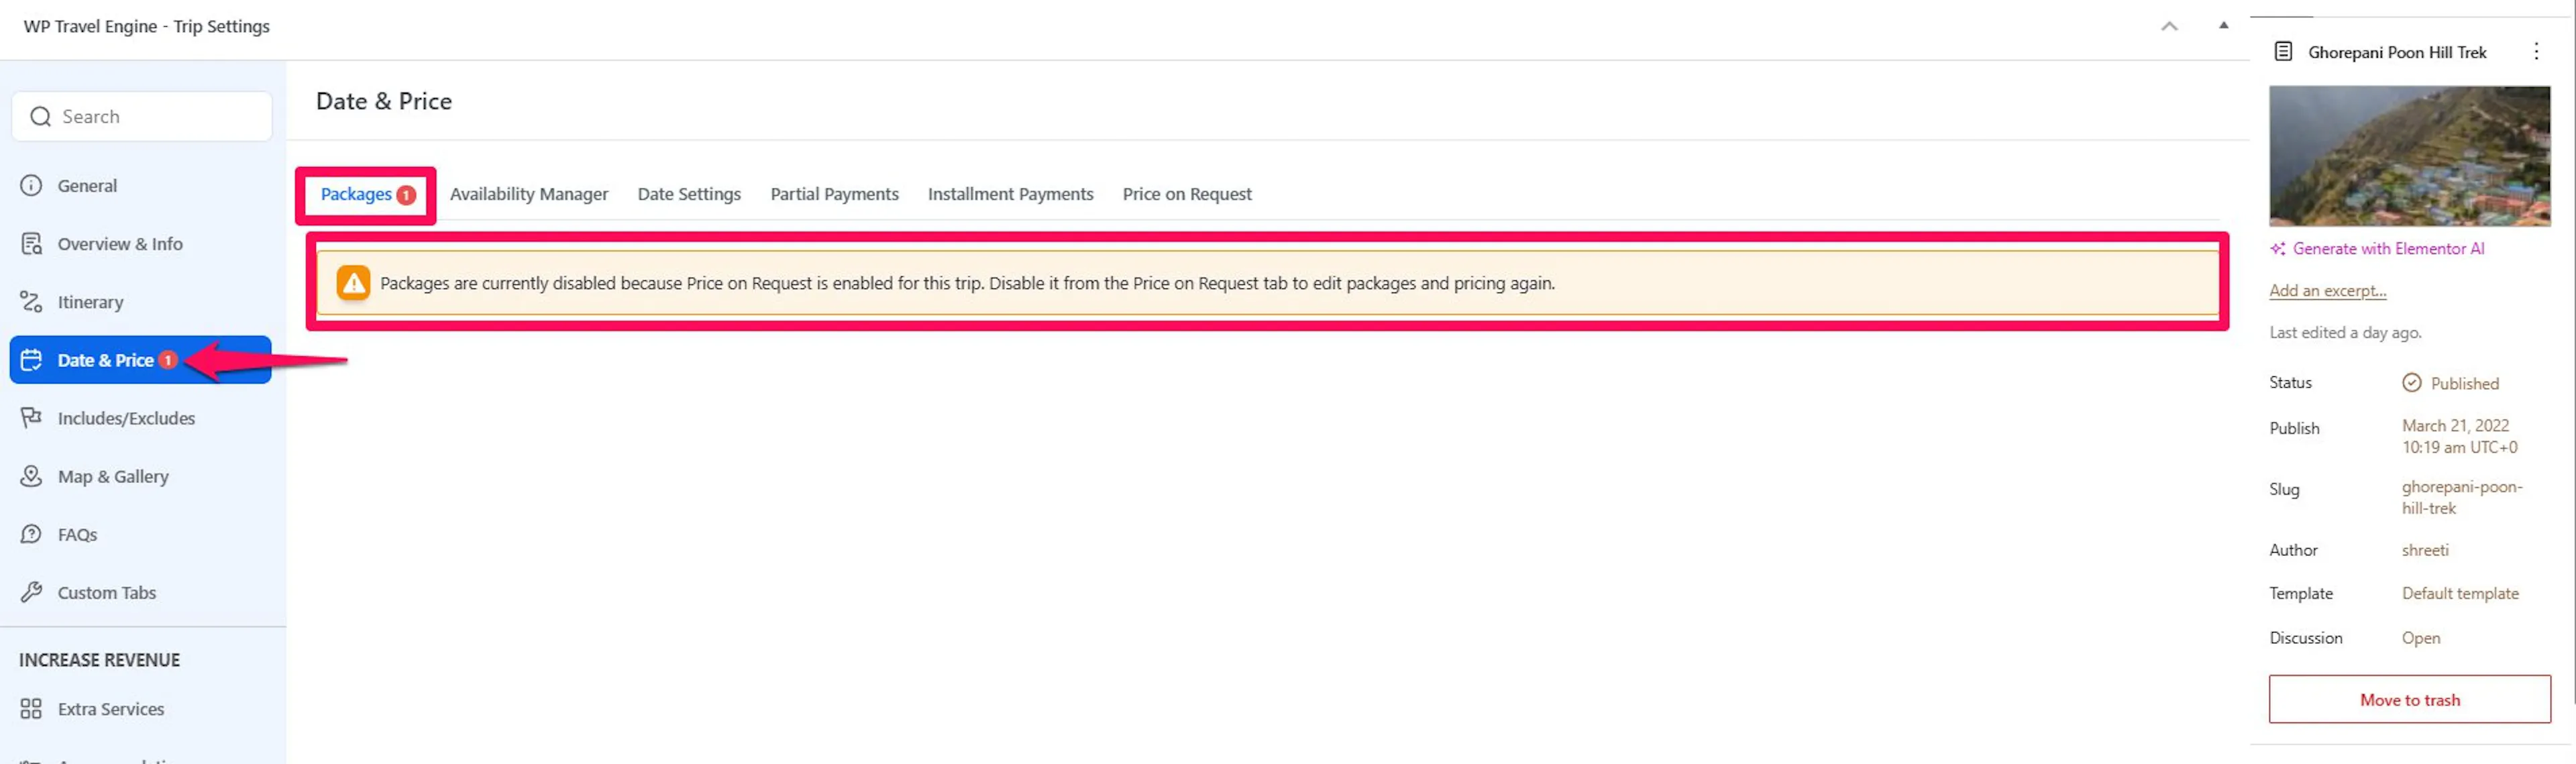
Price on Request is configured per trip. Enabling it does not change the booking widget or pricing on any other trip.
Choose a heading for the pricing card
Enter a heading that tells travelers what happens when they click the button. Use a short, specific phrase such as Request a custom quote, Plan this trip with us, or Build your Himalayan adventure.
The heading should match the trip and the next step in your inquiry process. A heading such as Request a quote for your private trek sets a clearer expectation than a generic label such as Submit.
Show a starting price (optional)
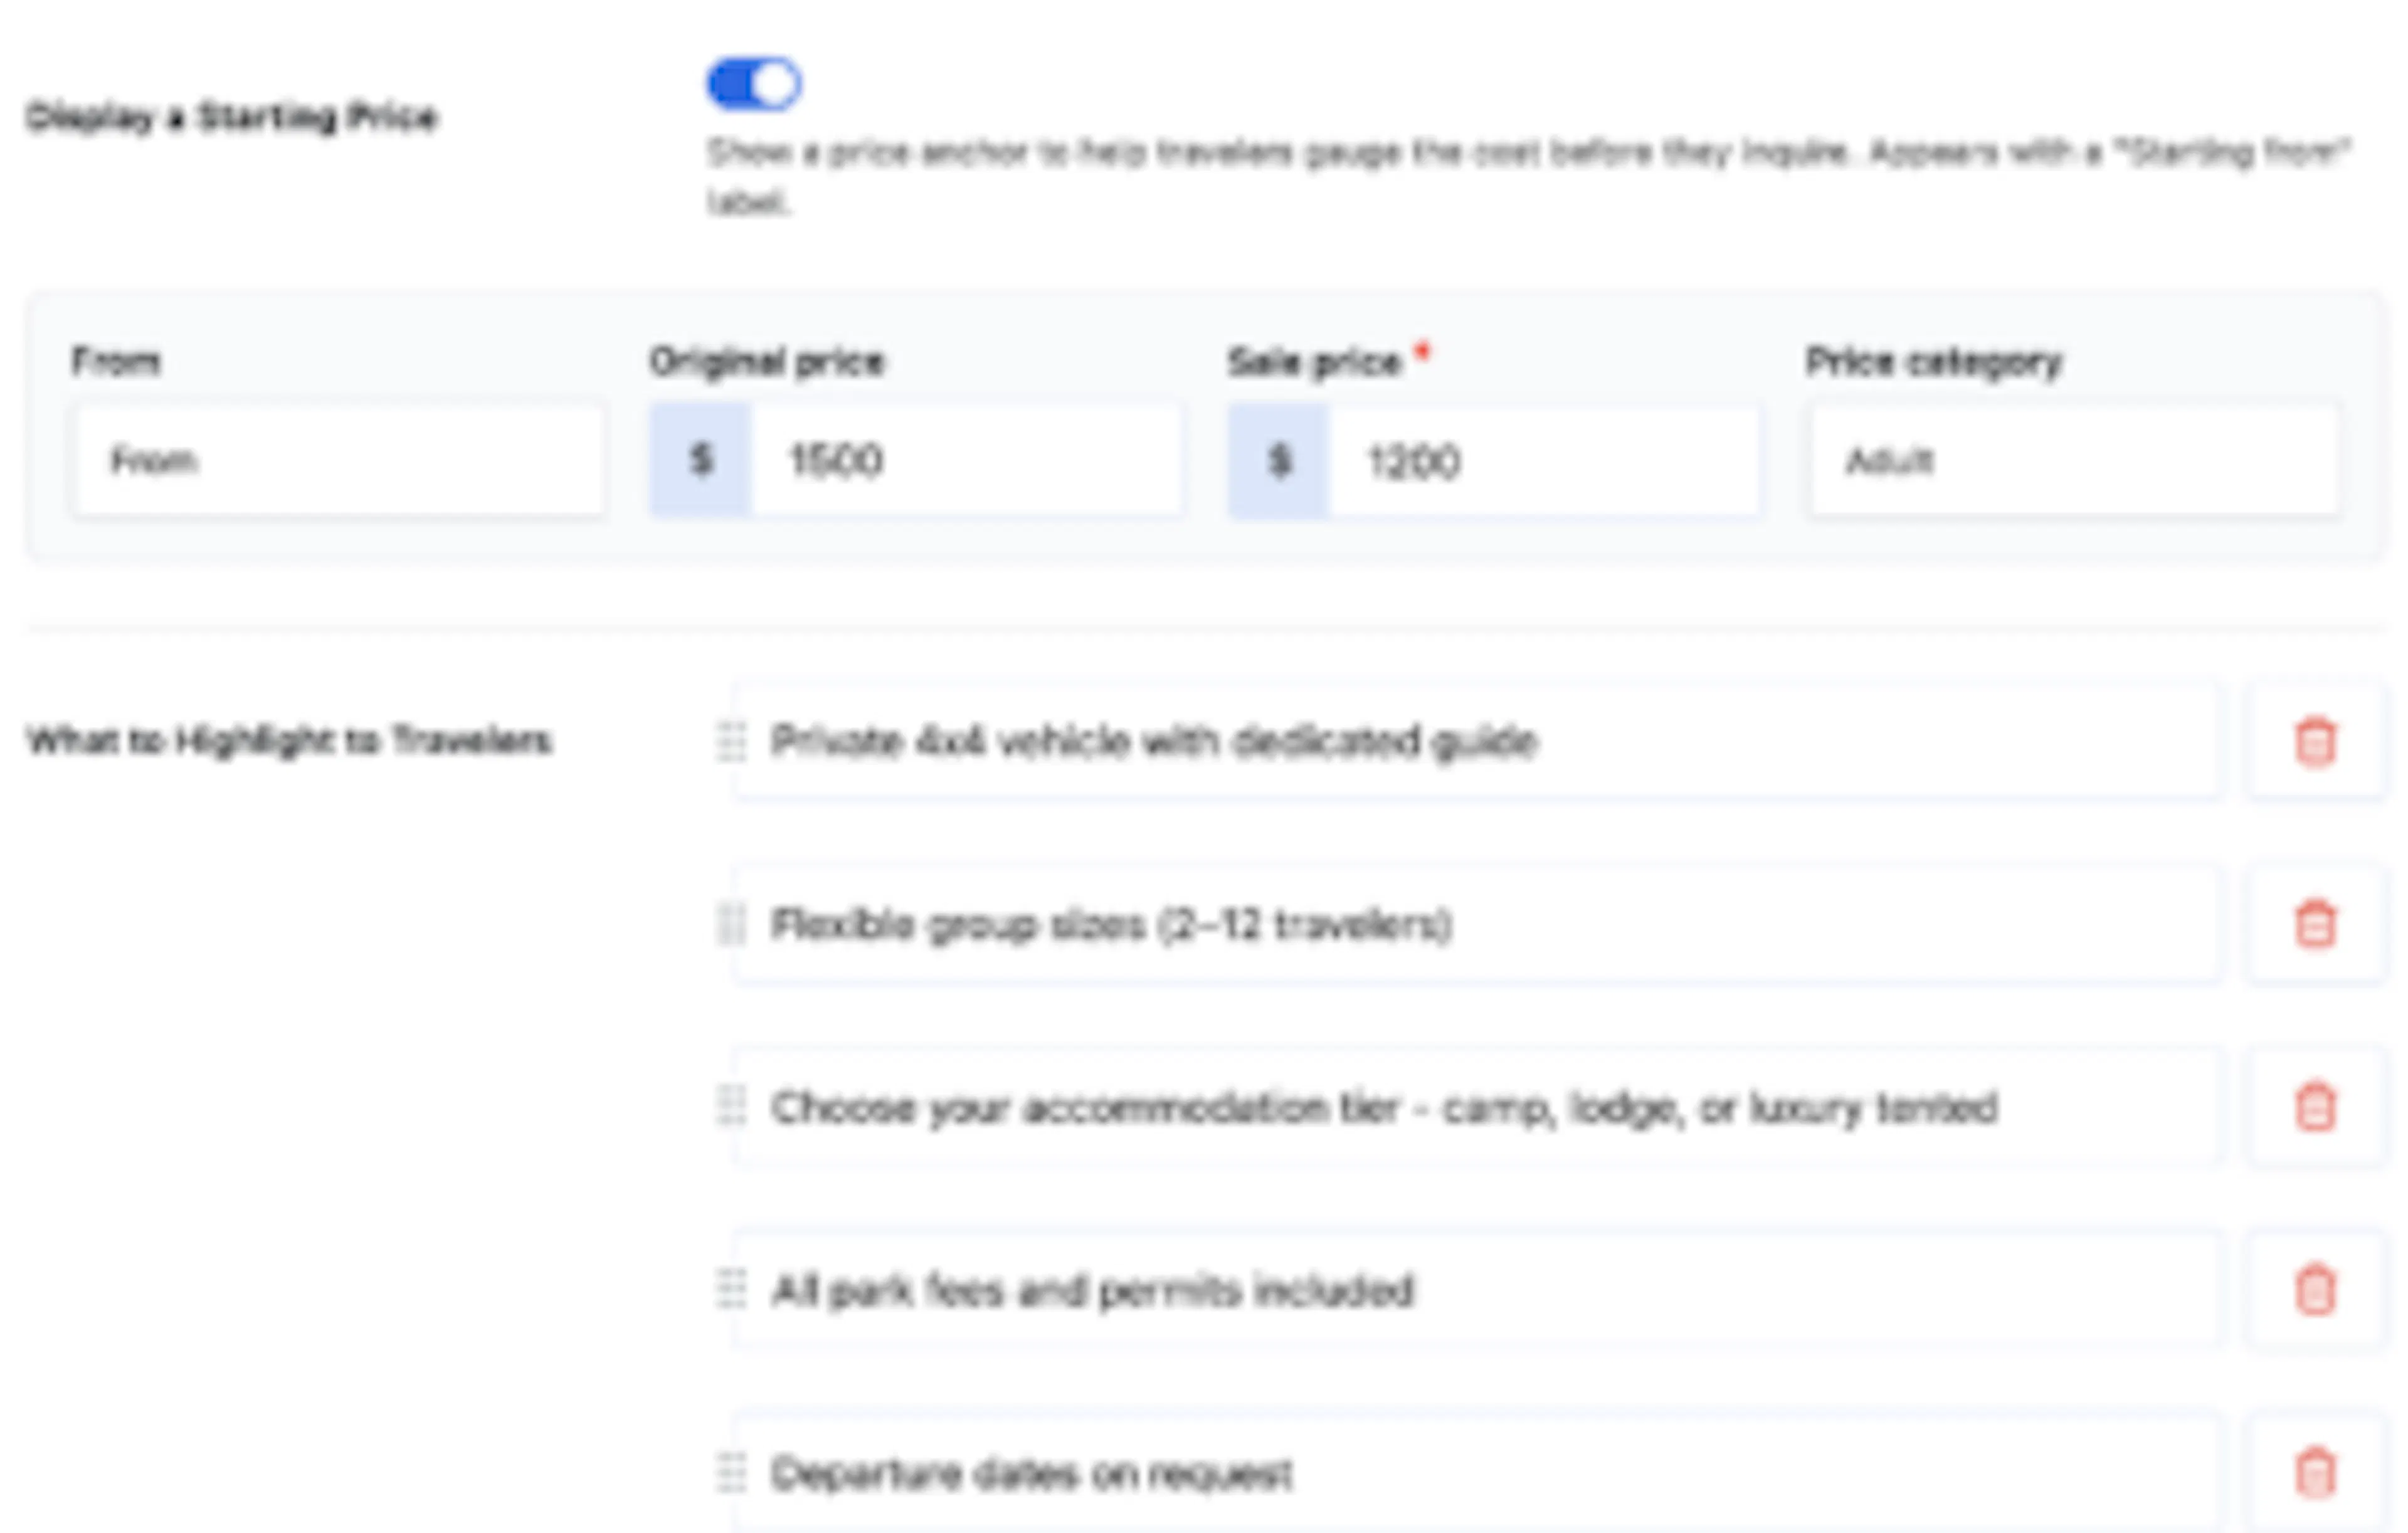
Add a starting price when travelers need a general cost reference before they inquire. You can provide the amount and the way it appears on the pricing card through these fields:
- From: The starting amount shown to travelers.
- Original price: The regular price used when you want to show a comparison price.
- Sale price: The current or discounted price shown on the card.
- Price category: The unit or basis for the amount, such as per person or per group.
For a Himalayan trek, you might show From $2,400 per person while explaining that the final quote changes with accommodation, permits, transportation, and itinerary choices.
The starting price is a reference point, not a booking price. Travelers still use the configured inquiry action to request the final amount.
Add highlights to the pricing card
Add concise highlights that help travelers decide whether the trip fits their needs. For a private safari, mention details such as the number of days, included game drives, private vehicle access, and flexible accommodation choices.
Travelers can scan the highlights before clicking the inquiry button. Use each highlight to answer a question that could otherwise prevent a traveler from contacting you, such as what is included, how long the trip lasts, or how much customization is available.
Write the button text
Use a button label that describes the action travelers will take. Examples include Request a quote, Ask about this safari, and Plan my itinerary.
Keep the label short and specific. Match it to the destination configured for the button so travelers know whether they are opening a form, visiting another page, or using your own form.
Choose what happens when travelers click the button
Select the inquiry action that matches the way you collect trip requests.
Open inquiry form
Choose Open inquiry form to use the built-in WP Travel Engine inquiry form on the trip page. Travelers can submit their contact details and trip requirements without leaving the trip page.
Configure the fields you need, such as travel dates, group size, and preferred activities, then save the trip. The inquiry button opens the form configured for that trip.
Go to a custom link
Choose Go to a custom link when your inquiry process uses another page, booking questionnaire, or scheduling tool.
- Destination URL: Enter the complete destination URL, including
https://. - Open in a New Tab: Enable this option when you want the inquiry page to open without replacing the trip page
Use my own form
Choose Use my own form when you already use a form plugin or another form provider. Add the form shortcode provided by that tool to display the form in the inquiry flow.
- Form Shortcode: Paste the complete shortcode supplied by your form provider. Keep the opening and closing shortcode characters intact.
Click Save after configuring the card. Open the published trip page and test the heading, starting price, highlights, and inquiry button from a traveler's perspective.
Real-world examples
Custom tour with variable pricing
A private safari may require a different quote for each traveler based on accommodation, season, group size, and selected activities. Use Price on Request to explain the experience, show a starting point, and collect the details needed to prepare an accurate quote.
Open the safari trip
Open the safari trip in the WordPress dashboard and go to Date and Price, then select Price on Request.
Enable Price on Request
Turn on Price on Request for this trip. The standard booking widget is replaced by the pricing card on the published page.
Add the starting price and highlights
Add a starting price and describe the safari length, included game drives, private vehicle options, and accommodation choices.
Configure the inquiry action
Select the inquiry form and request the travel dates, group size, preferred activities, and accommodation preferences needed for the quote.
Save and test the published page
Save the trip, open the public page, and submit a test inquiry to confirm that the button opens the expected form.
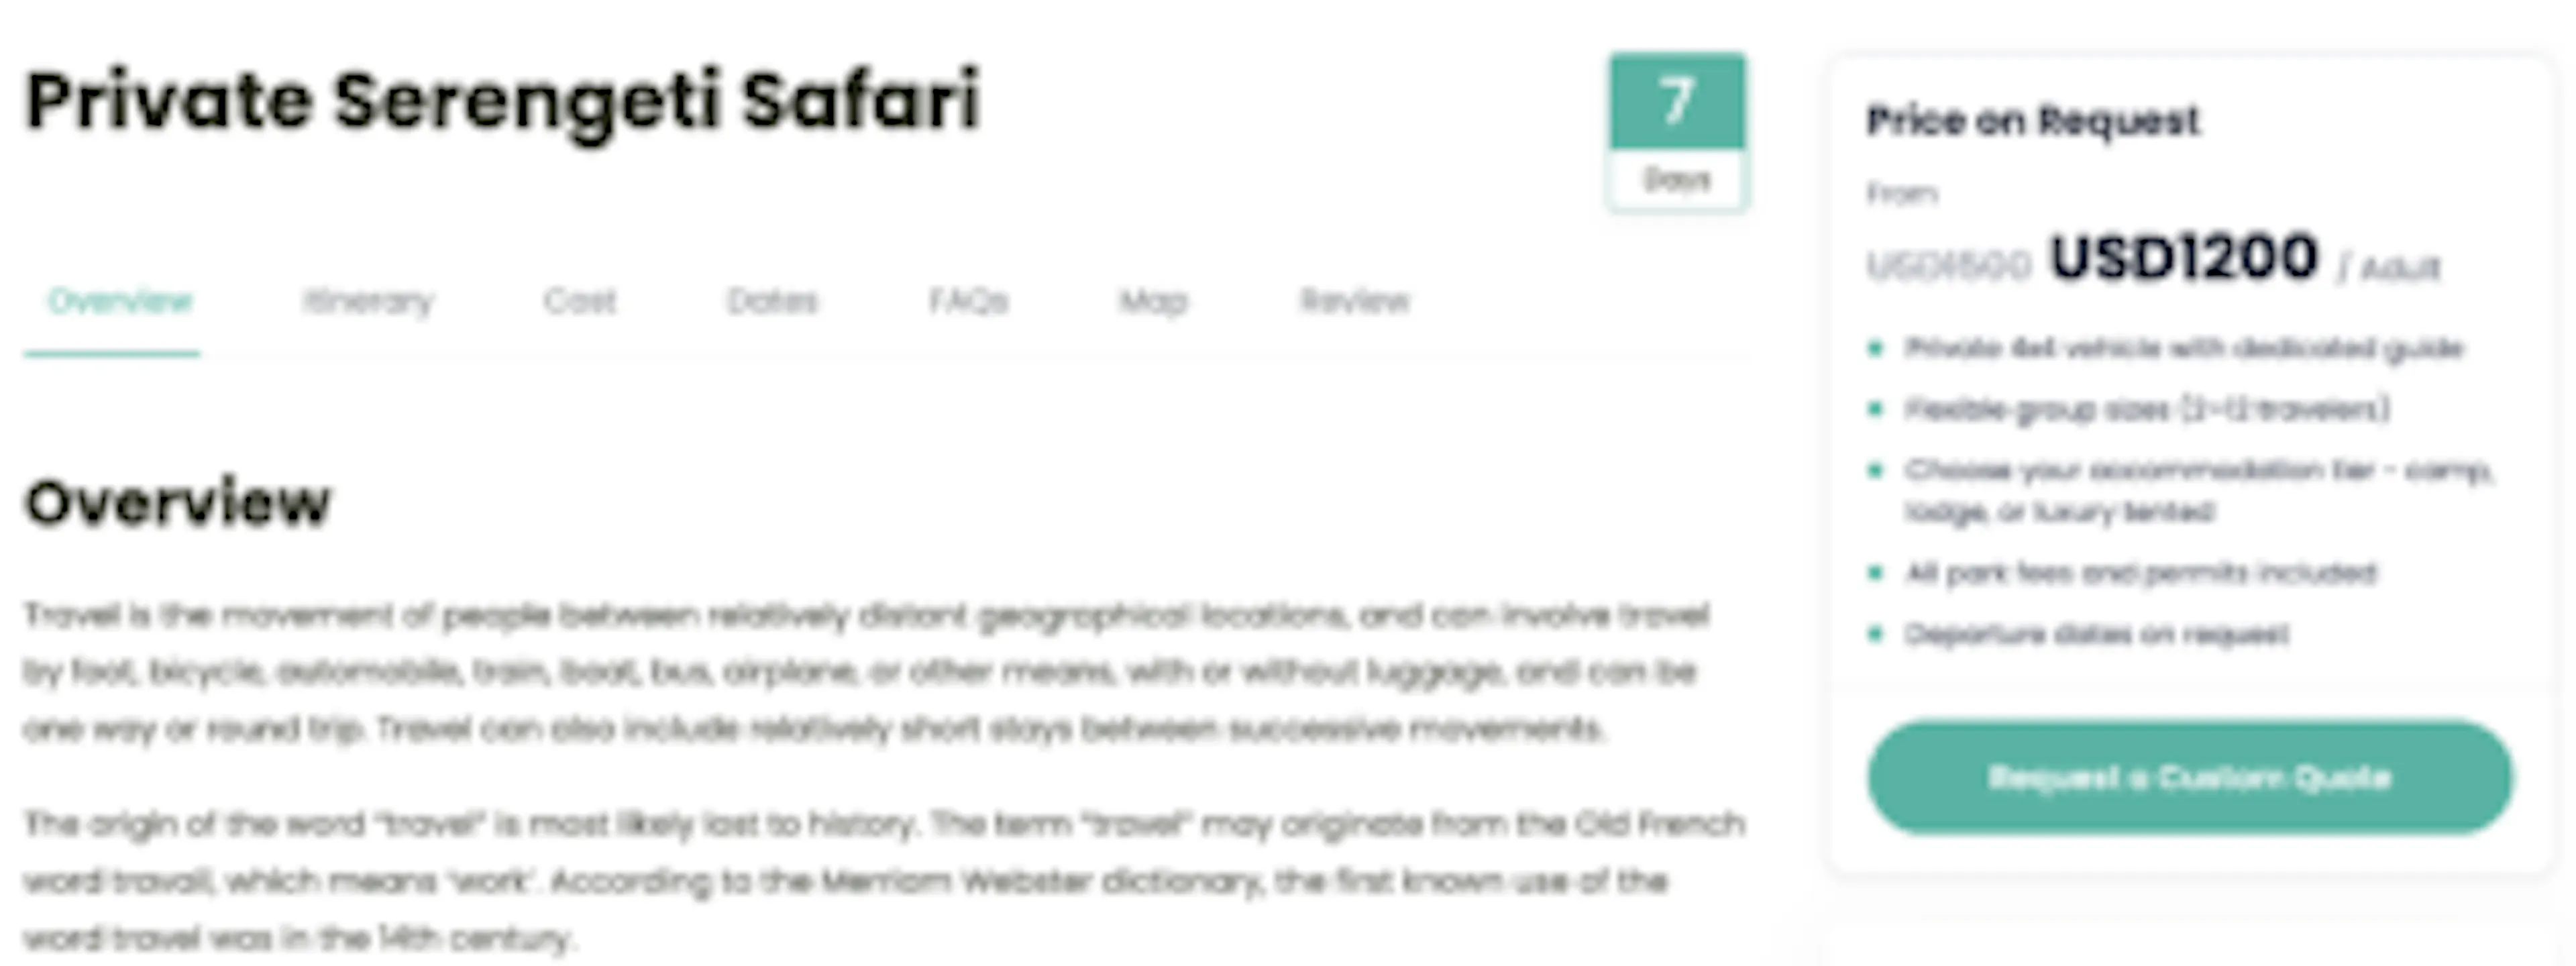
The published page gives travelers enough context to decide whether to inquire while leaving the final quote flexible for your team.
Publishing a trip before you've set the price
Price on Request lets you publish a trip while you finalize supplier rates, seasonal pricing, or itinerary details. Travelers can learn about the experience and express interest without seeing an incomplete booking price.
Finish your packages first if you plan to use them later. While Price on Request is enabled, the Packages tab is locked.
Create the trip page
Add the trip description, images, itinerary, inclusions, and other details travelers need to evaluate the experience.
Open the Price on Request settings
In the trip editor, open Date and Price and select the Price on Request tab.
Turn off the starting price display
Leave the starting price fields blank or disable the option to display a starting price while your team finalizes the amount.
Configure an inquiry action
Add an inquiry form, custom link, or your own form so travelers have a clear way to request more information.
Save and publish the trip
Save the trip and review the public page. Confirm that the page shows the pricing card and inquiry button instead of an unfinished booking price.
When your pricing is ready, update the card, save the trip, and test the published page again before directing travelers to book or inquire.
What your travelers will see
On a desktop
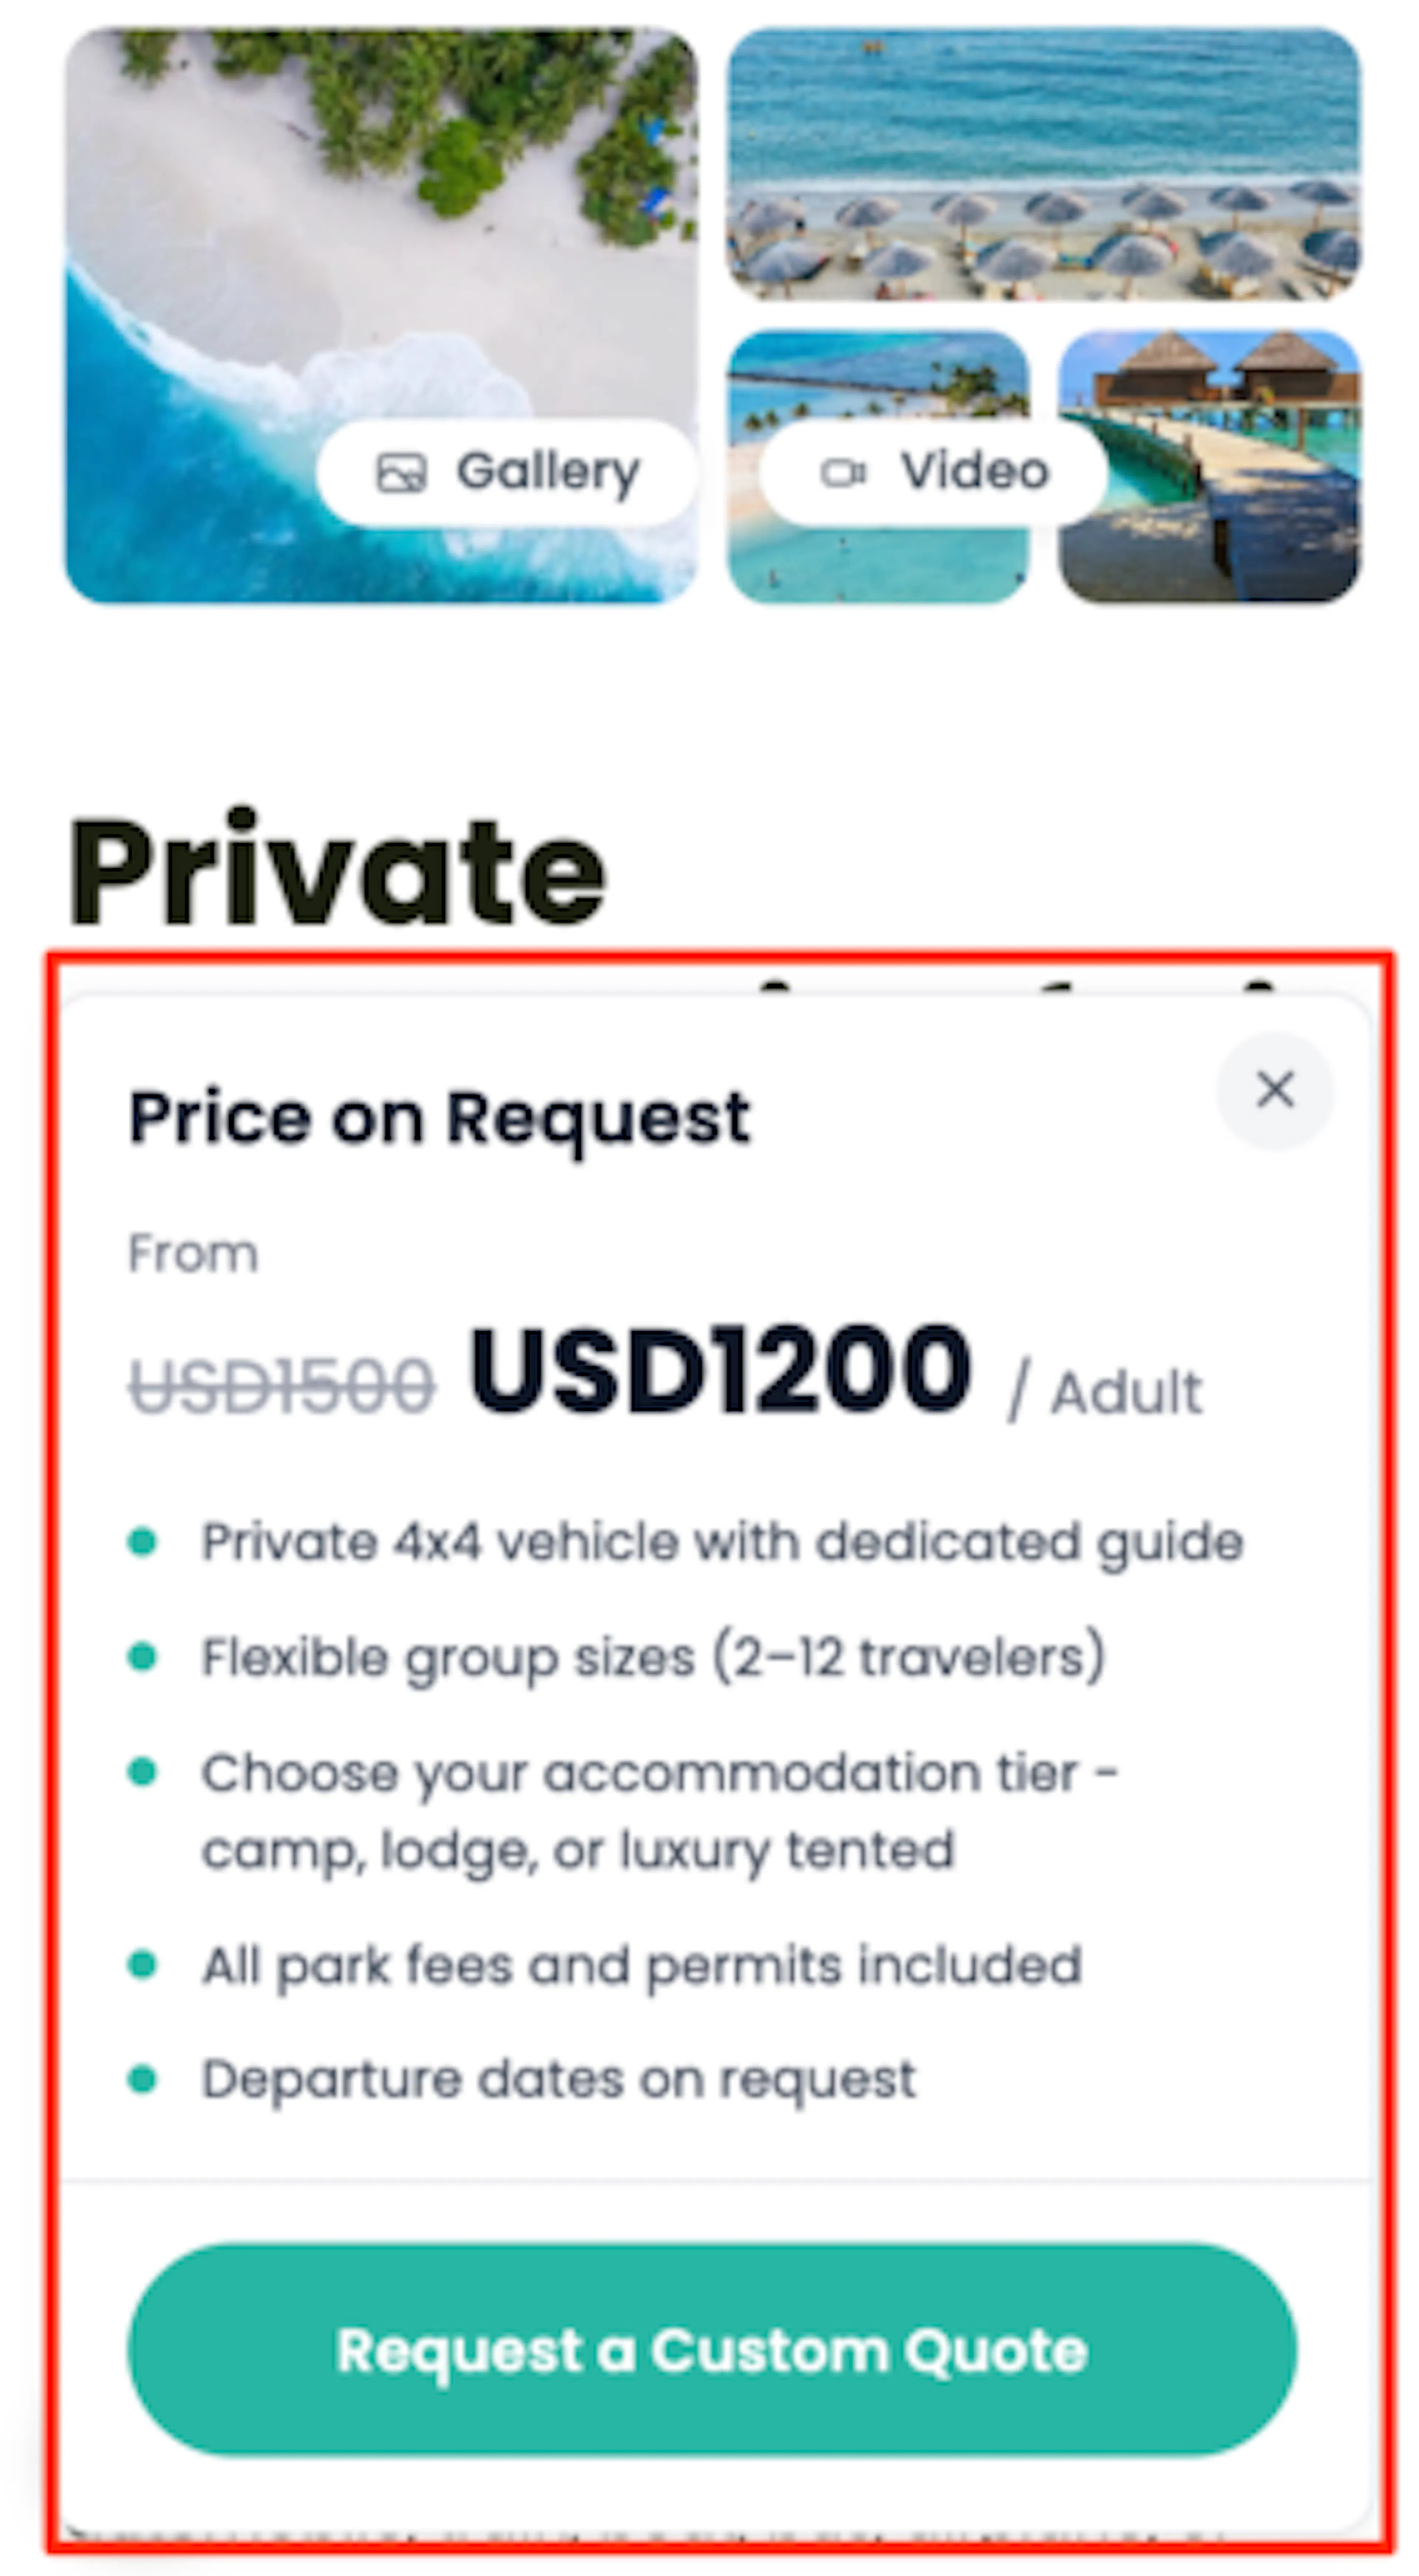
The pricing card appears alongside the trip details. It keeps the heading, price information, highlights, and inquiry button together so travelers can choose the next action without searching the page.
On a phone
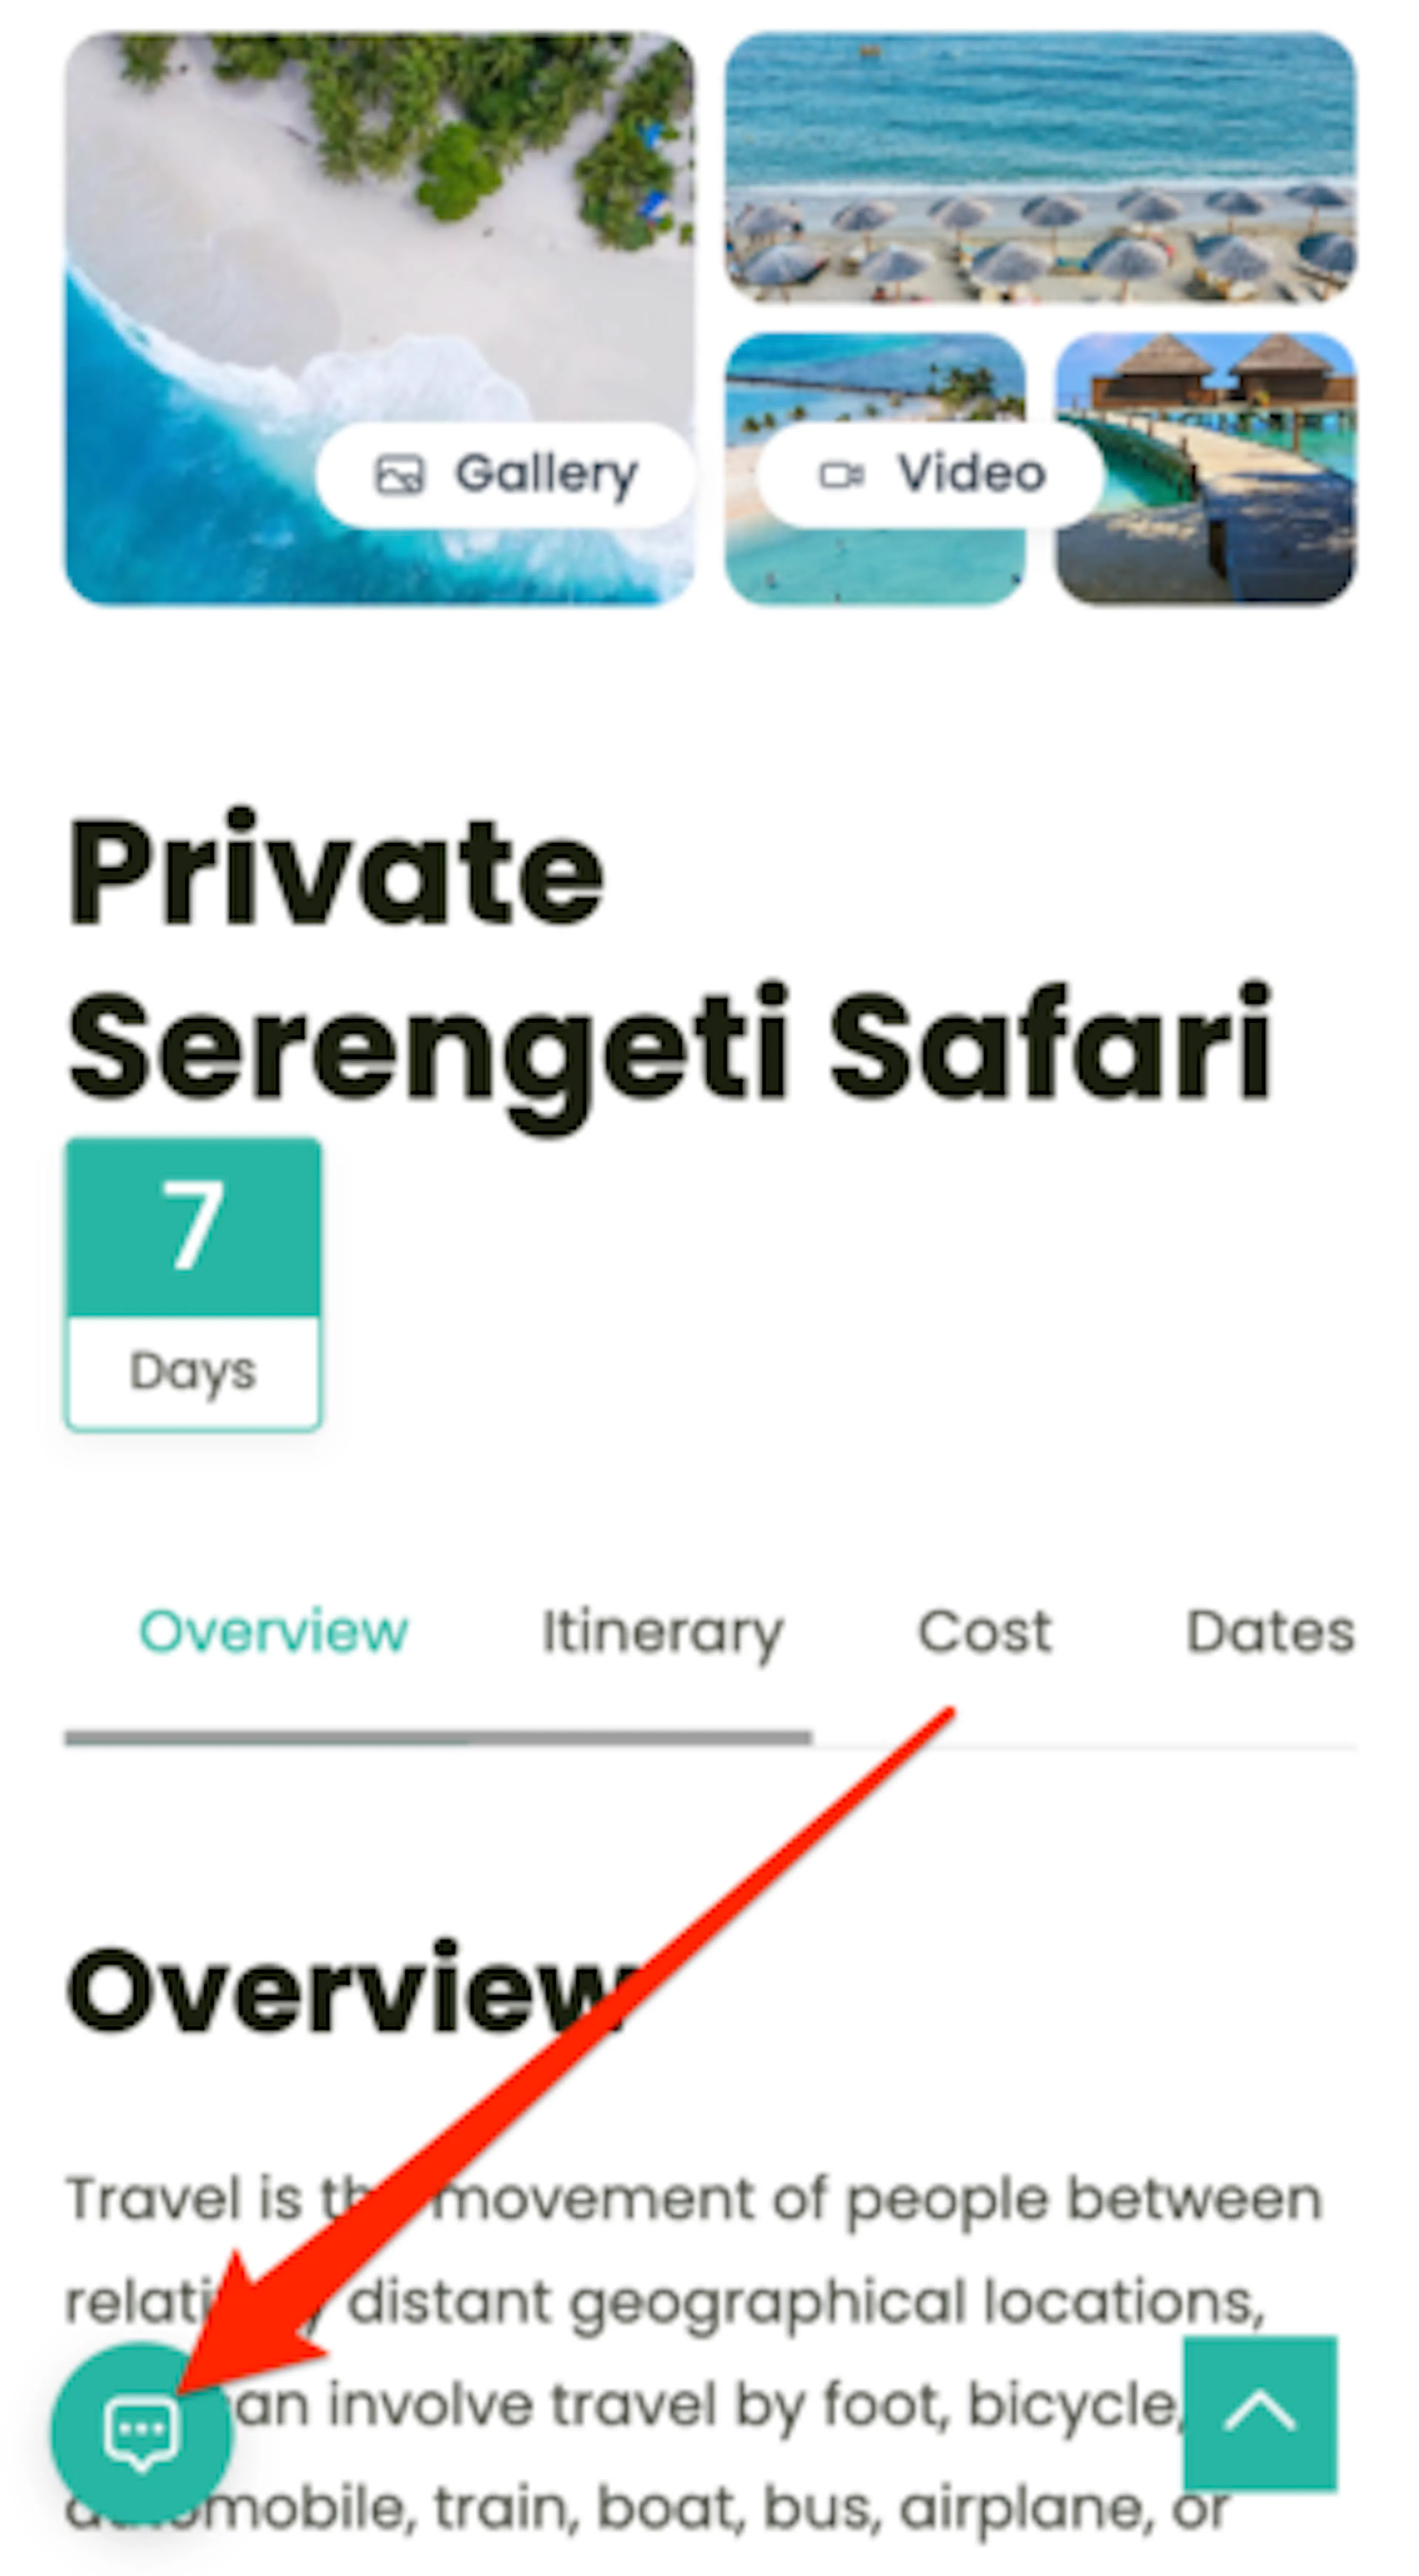
The pricing card adapts to the available screen width while keeping the main trip information and inquiry action accessible.
Travelers can review the card and start an inquiry without needing to use the standard booking widget.
Troubleshooting
The Price on Request tab isn't showing up on my trip
Confirm that the Price on Request add-on is installed and activated. If the add-on is active but the tab is still missing, deactivate and reactivate the add-on, then reopen the trip editor and check Date and Price again.
I turned on Price on Request but the pricing card isn't showing on my trip page
Confirm that you enabled the setting for the trip you are viewing and saved the trip. Clear your site cache, refresh the published page, and test the page in a private browser window.
My booking widget disappeared from the trip page
The booking widget is replaced when Price on Request is enabled. Open the trip's Price on Request settings and turn the option off if you want the standard booking widget to return.
I can't edit packages or pricing on my trip
If the Packages tab shows the message "Packages are currently disabled because Price on Request is enabled for this trip," Price on Request is enabled for that trip. Open Date and Price > Price on Request, turn the option off, and save. The Packages tab becomes editable again.
The inquiry button doesn't do anything when I click it
Check the selected action. A custom link must include a complete URL beginning with https://, and an external form must include a valid form shortcode or destination. Save the trip and test the published page again.
The starting price is showing on a trip where I didn't set one
Open the specific trip and review its Price on Request settings. Starting prices are configured per trip, so remove the value or disable the starting price display, save the trip, and clear any page cache.
Frequently asked questions
Need help configuring Price on Request? Contact WP Travel Engine support with the trip name and the inquiry action you want to use.