

Footer Settings
Set up your website's footer so travelers see your copyright notice, payment options, and branded colors at the bottom of every page.
Overview
Your footer is the section at the bottom of every page on your website. Travelers see it while browsing trips, reading about a destination, or finishing a booking.
The footer appears across your entire site. Setting it up once helps you keep important business details and payment information visible wherever travelers go.
The Travel Monster theme must be active for these footer settings to appear and work correctly.
The Customizer is a live preview tool in WordPress. It lets you see your changes before you publish them.
Use the left sidebar of your WordPress dashboard to open the footer settings.
Log in to your WordPress dashboard
Open the dashboard where you manage your Travel Monster website.
Open the Customizer
On the left sidebar, click Appearance, then click Customize.
Open Footer Settings
In the left panel, click General Settings, then click Footer Settings.
You can now see your footer in the preview and make changes to its colors, text, and payment information.
Upper footer
The upper footer is the top part of the footer area. Use it to control the colors of the text, links, and content blocks that travelers see there.
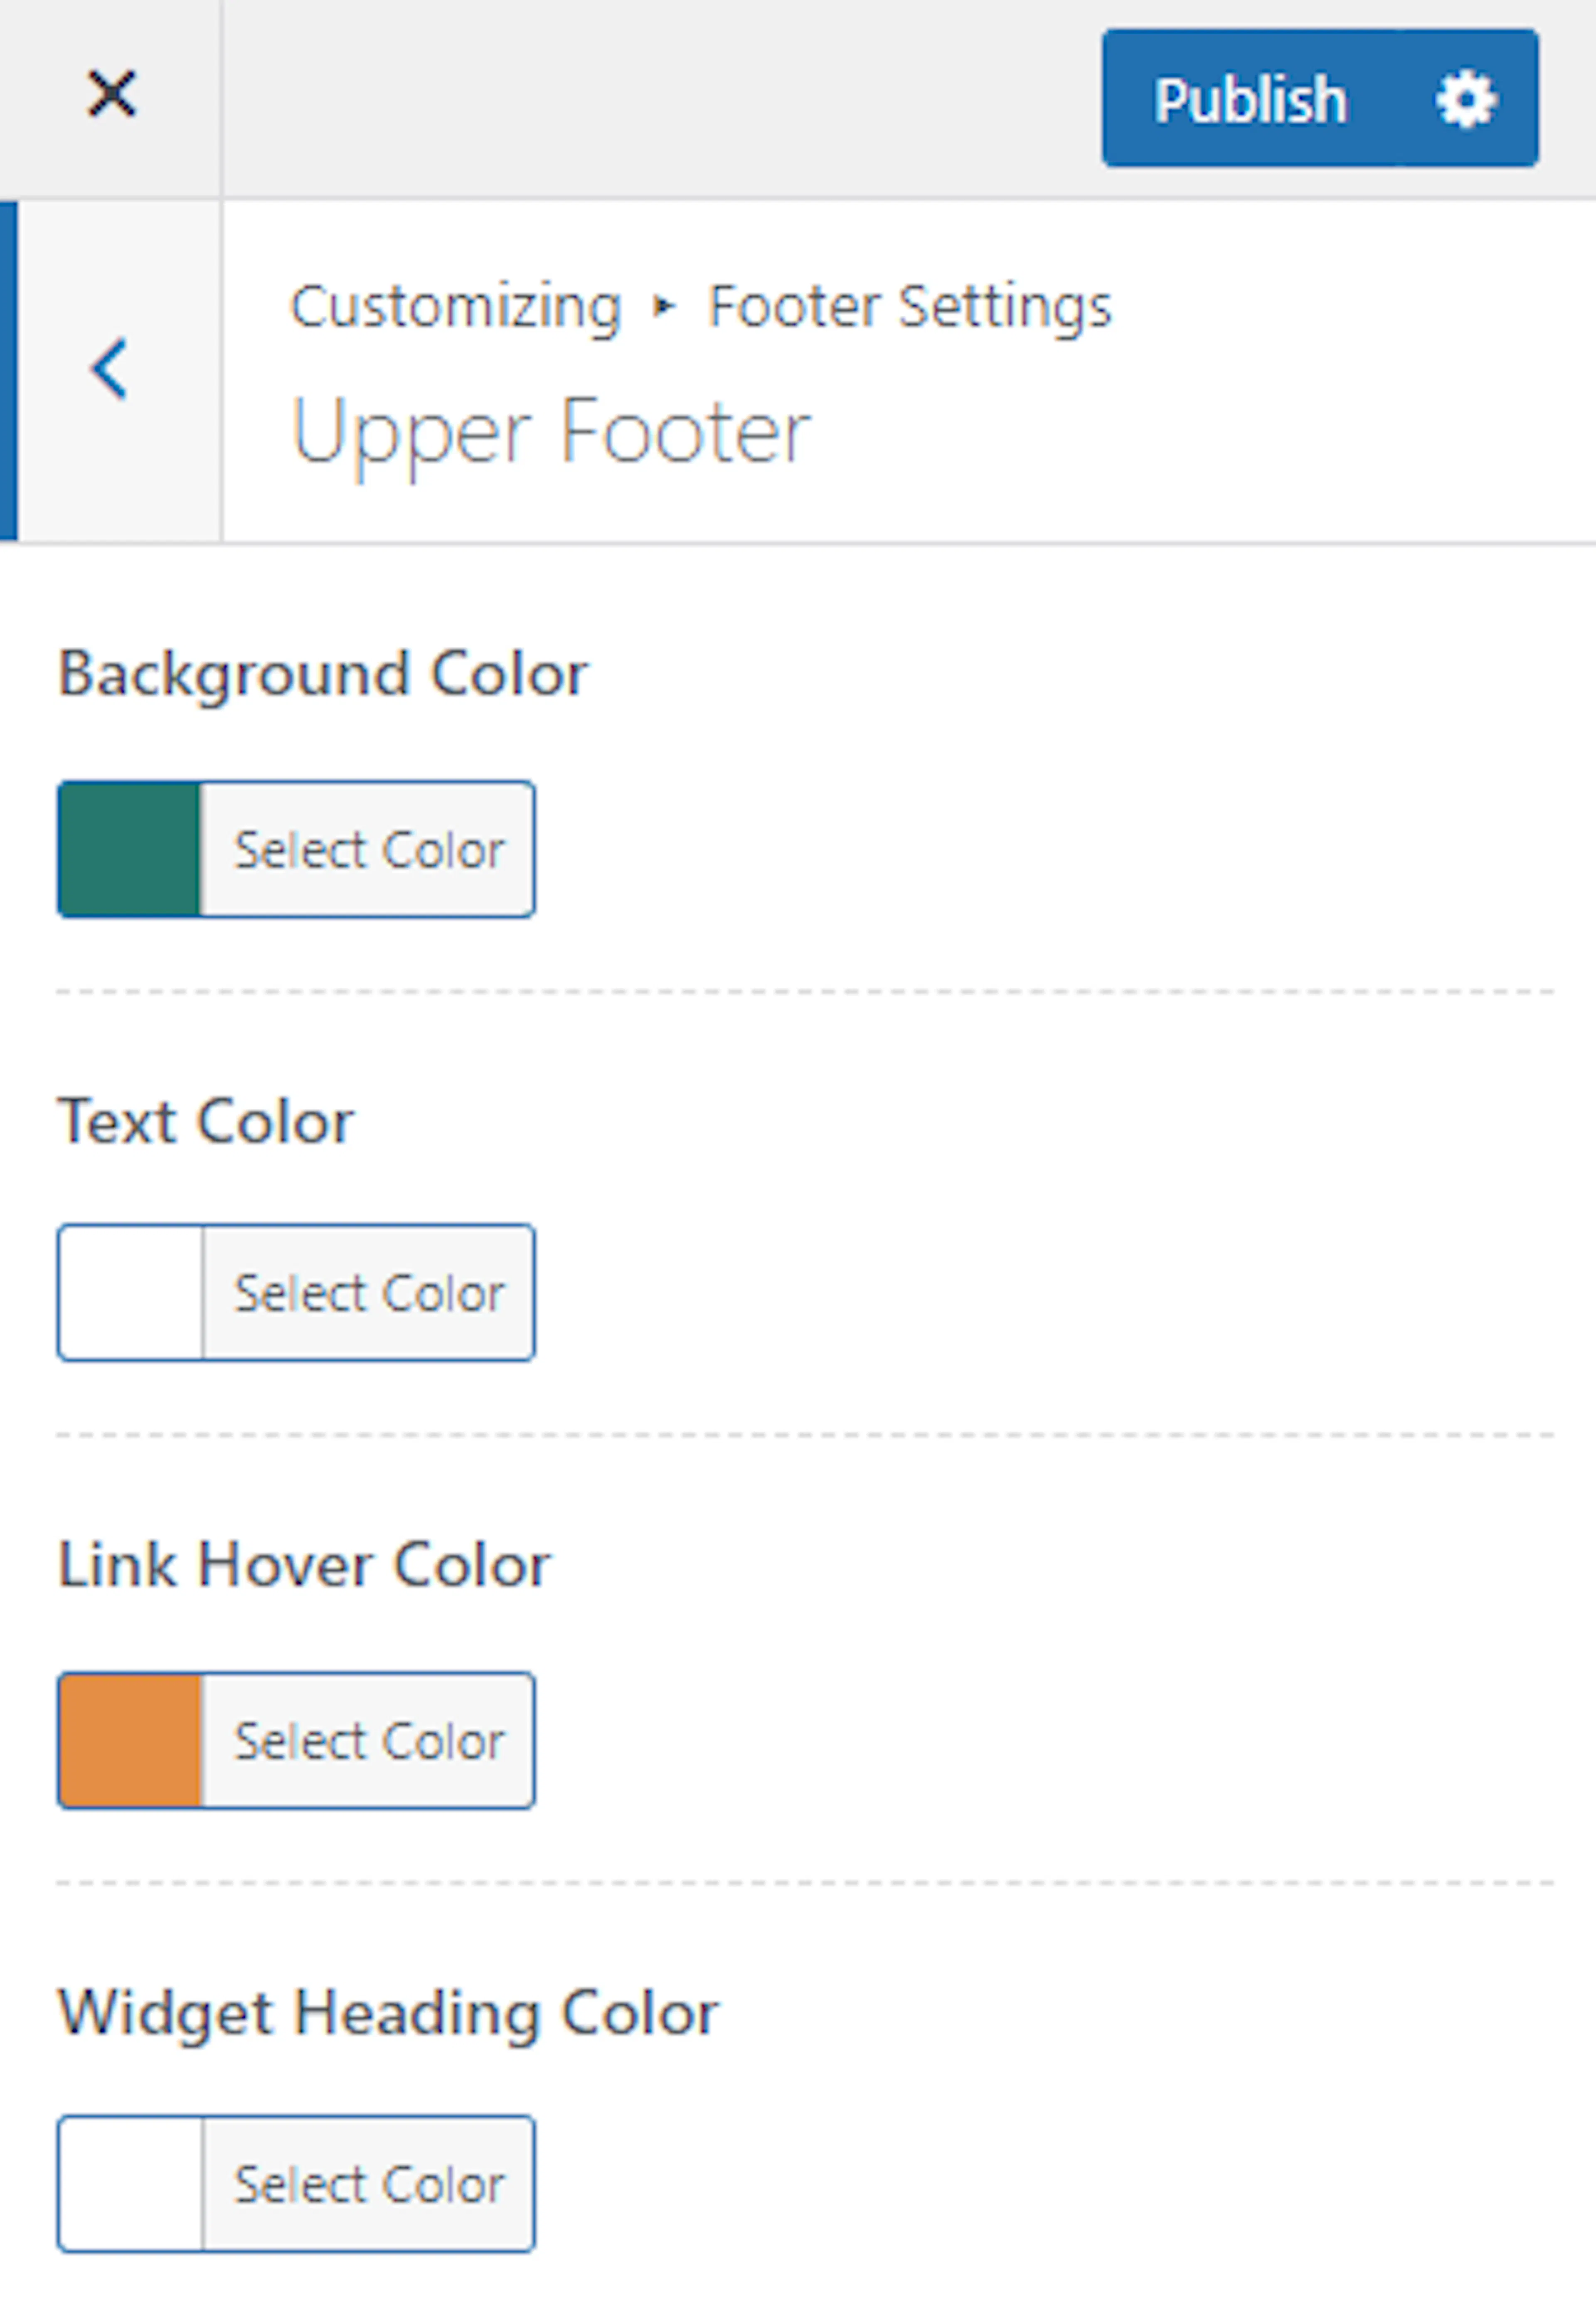
| Setting | What it does |
|---|---|
| Background Color | Changes the background color of the upper footer. |
| Text Color | Changes the color of regular text in the upper footer. |
| Link Hover Color | Changes the color of a link when a traveler moves the mouse pointer over it without clicking. |
| Widget Heading Color | Changes the color of the titles above content blocks in the footer. |
A widget is a small block of content on your website. It might contain a list of popular trips, a destination list, or a contact form.
For example, if your footer shows a list of popular destinations and a contact form, Widget Heading Color controls the title text above each block. Choose colors that are easy to read against the footer background.
Your upper footer is now ready to match the look of your tour business.
Bottom footer
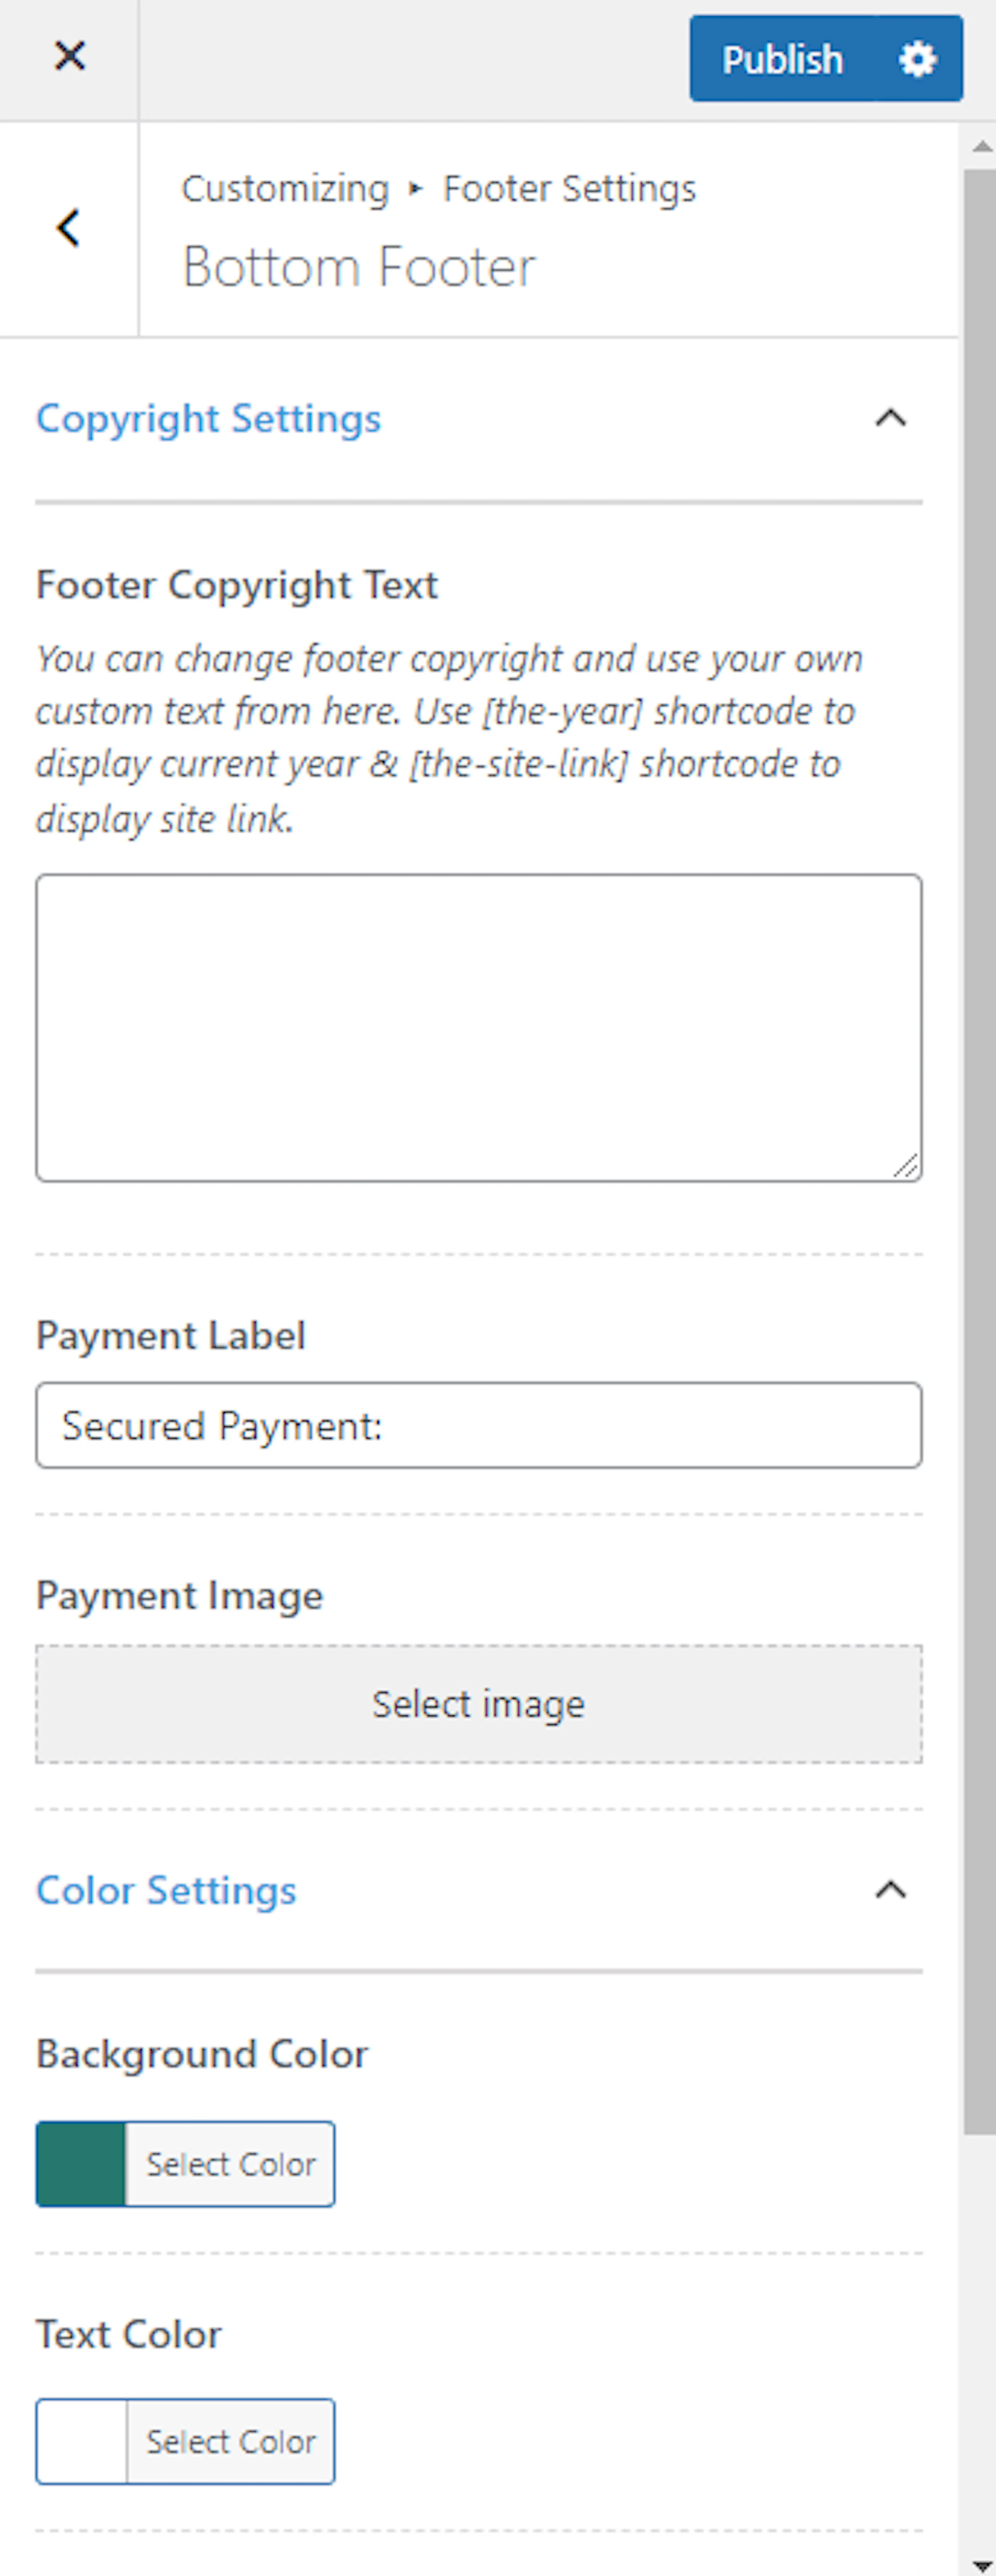
The bottom footer is the lower part of the footer area. This is where your copyright notice and payment icons appear.
Before choosing a link color, remember that hover means moving a mouse pointer over a link without clicking it.
| Setting | What it does |
|---|---|
| Footer Copyright Text | Adds the copyright text that appears in your site footer. |
| Payment Label | Adds a label for the payment section. |
| Payment Image | Uploads an image that shows the payment options you want to display in the footer. |
| Background Color | Changes the background color of the bottom footer. |
| Text Color | Changes the color of regular text in the bottom footer. |
| Link Initial Color | Changes the color of links in their normal state. |
| Link Hover Color | Changes the color of links when a traveler moves the mouse pointer over them without clicking. |
If you accept Stripe and PayPal, upload a small image showing both logos in Payment Image. Add We Accept in Payment Label so travelers know which payment options you support before they reach checkout.
Your copyright text typically includes your business name and the current year. For example: (c) 2024 Himalayan Treks. All rights reserved. Update the year when needed so the notice stays current.
When your changes look right in the preview, click Publish at the top of the Customizer to save them.
If you're still stuck or have a question we didn't cover, our support team is happy to help. Reach out at our support page and we'll get you sorted.
Next step
Posts & Pages Settings
Choose how your blog posts and website pages appear so travelers can find useful trip information more easily.